


Tom Dove discusses hookbait colours
Tom Dove explains why your approach should include various colour options when it comes to hookbaits
For a fair while now, my angling year has consisted of, well, everything: short sessions in the UK, longer trips across Europe and others around the world with Monster Carp, sometimes fishing with boilies, sometimes with particles, tackling busy day ticket lakes or pressured syndicate waters. I guess you could say that my fishing is pretty varied to say the least, but within all this randomness, there are some things that remain - and need to remain - consistent within my set-up and approach.
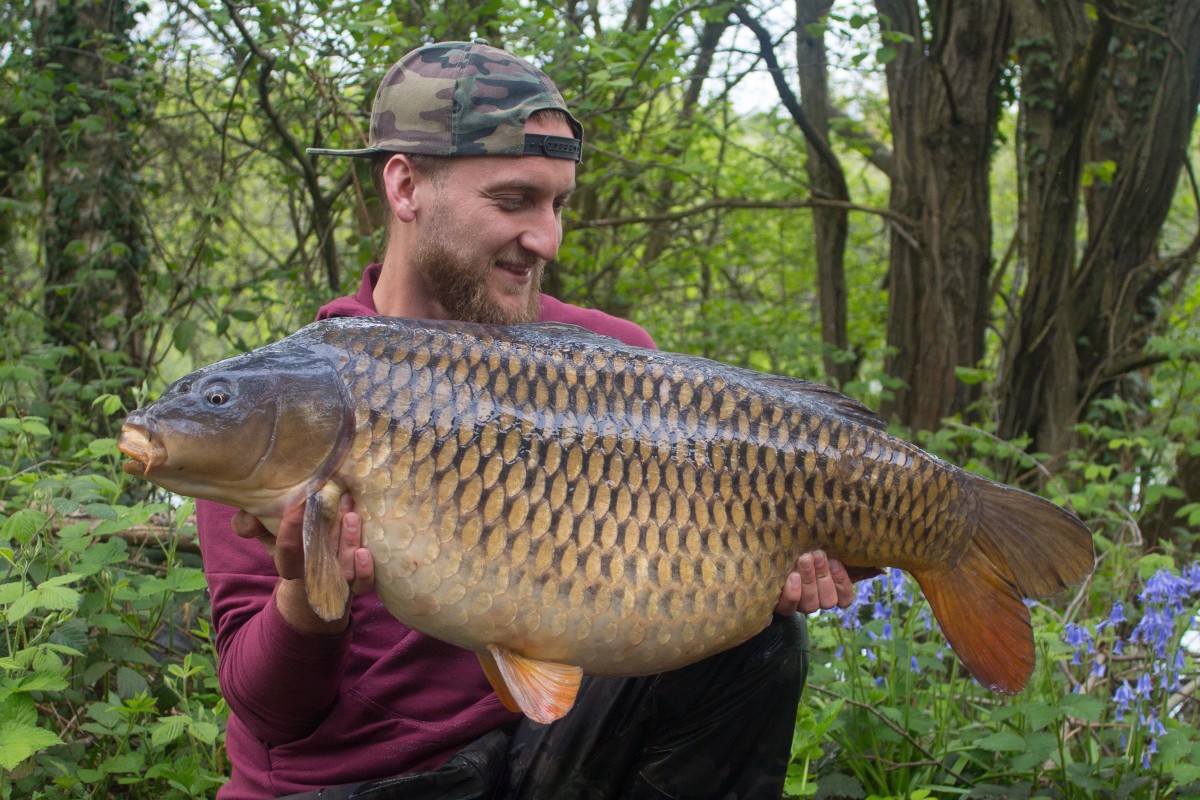
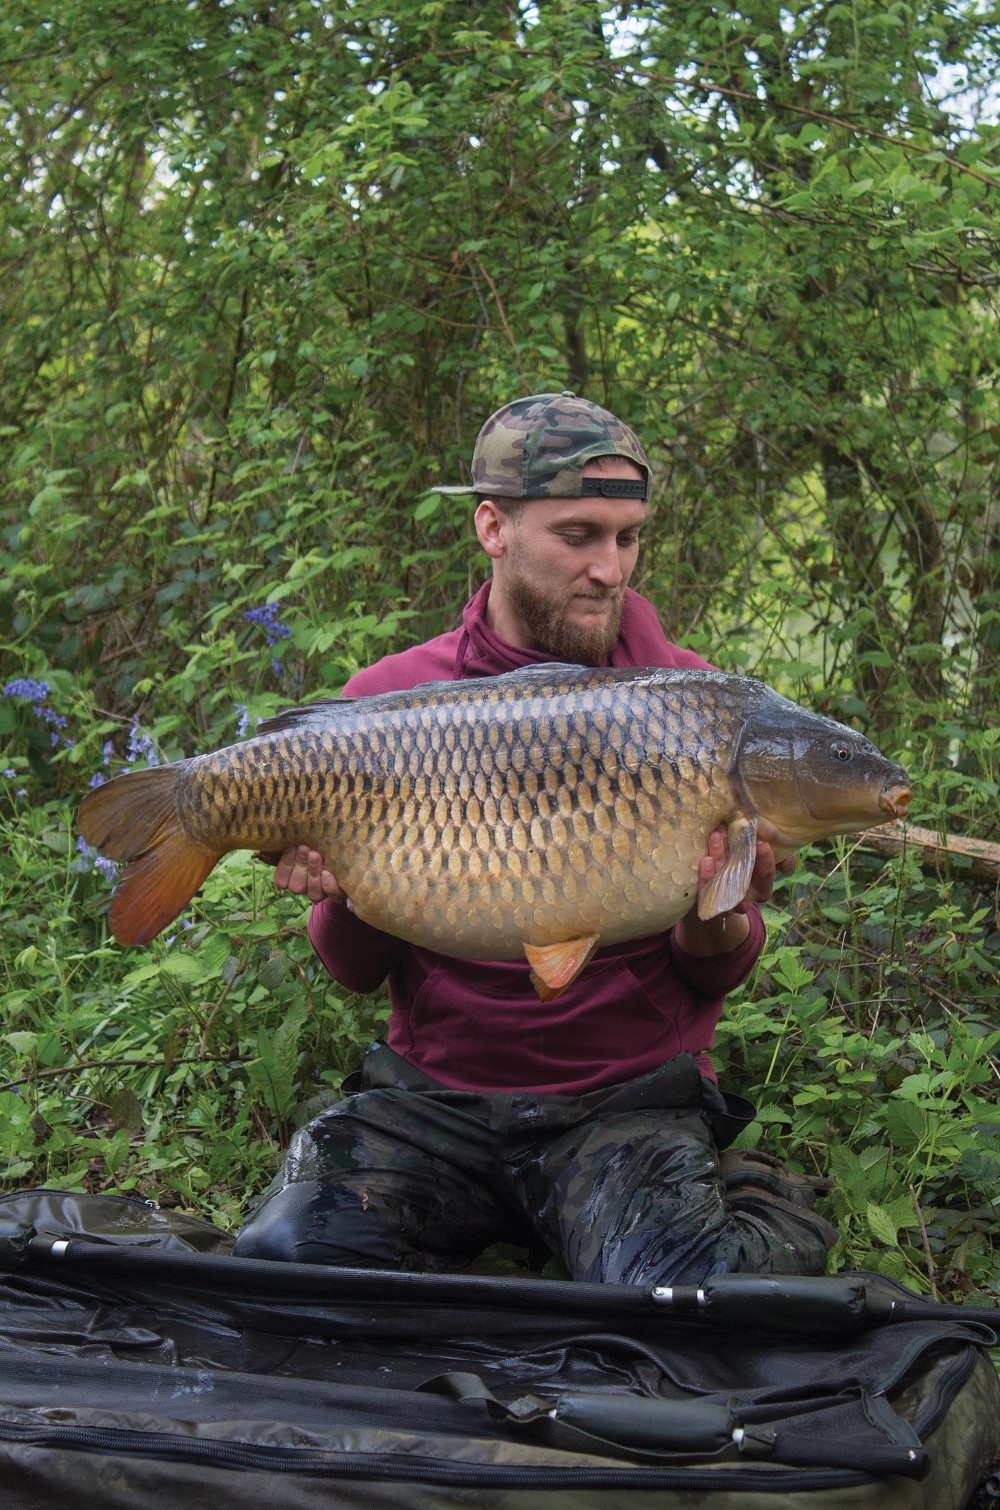 A Spinner Rig fished over Essential Cell, and paying attention to the simple practices and consistency within my approach, all led to this Sandhurst forty!
Most of these are simple practices that all contribute to my initial mindset of presenting the right hookbait in the right place at the right time. They include things such as feeling the lead down onto the lakebed - a simple process often overlooked, despite being massively important. It’s all like a self-assurance tick list that, when applied, gives you the confidence that you’re probably doing things correctly. Obviously one of the things I place a huge amount of focus on is my hookbait choice, and consideration as to whether it will suit my fishing situation. Again, as for most anglers I guess, this choice will hold a common theme in many cases: pop-ups when weed or lake debris is present, maybe balanced-wafters over silt, and tiger nuts when perhaps durability is important.
These are all things that make sense, but there’s still one element when it comes to hookbaits which I think, gets slightly overlooked - or rather, isn’t given quite the amount of thought it deserves - and that’s colour. For me, this is massively important and begins by me simply using a different colour on each rod I’m permitted to use, in an attempt to distinguish which, if any, will produce the most bites. It amazes me how often anglers understand that fishing three colours to see which might work best with Zigs is good practice, but don’t follow the same chain of thought when fishing on the bottom - especially perhaps, on a new water which they have little or no knowledge of.
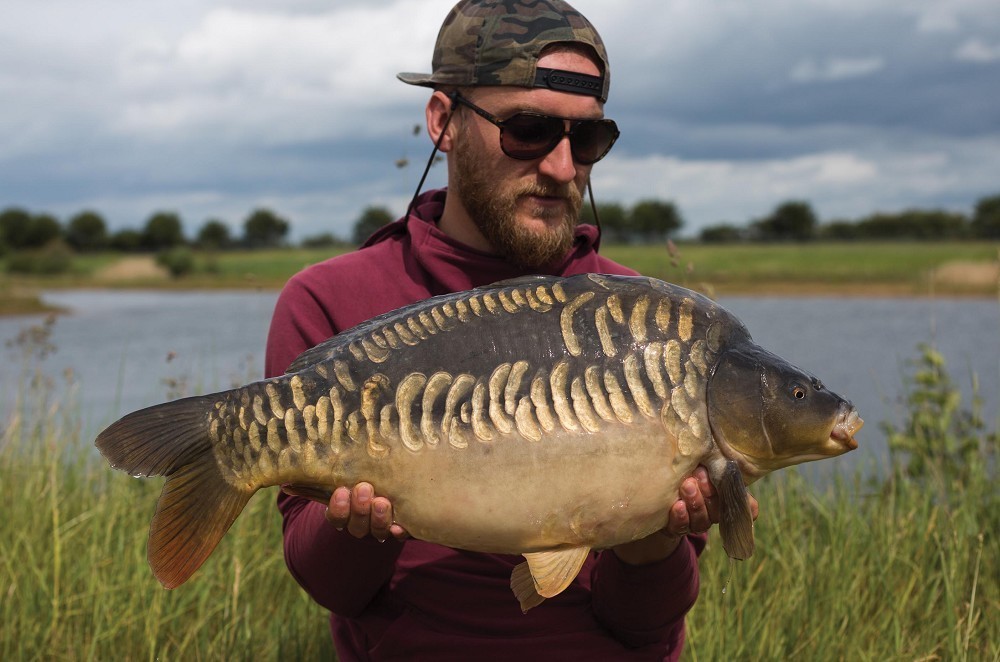 Considering hookbait colour is very important to me and it kept the bites coming from these stunning Norton Disney, Embryo carp!
A trip this spring to Embryo venue, Norton Disney, when filming for Mainline and The Carp Project was a good example. I began the session with three differently coloured pop-ups on Spinner Rigs (another tick on my confidence list) - perhaps my two favourites in yellow and white Milky Toffee, plus a pink as the outsider. Half expecting the yellow to produce the goods, the white was in fact, the first to go. This colour then produced the next two bites, by which time I’d armed all three rigs with white Milky Toffees. These then produced three more takes for a total of six fish. To begin with, I could’ve quite easily put out three hookbaits of the same colour or not changed things as the bites came, but I’m certain it would have cost me fish! Although you might have some idea, you never really know which colour will work on the day. On another occasion perhaps, with different conditions - water clarity for instance, or light levels - the pink, or the yellow, could have been ‘the one’.
So for me, when there are so many hookbait choices available, from match-the-hatch style baits to bright, high-attract pop-ups within the Hi-Visual range, and with the various liquids to give them a tweak, it really does pay to vary your offerings.
How to tie Tom's Milky Toffee Spinner Rig
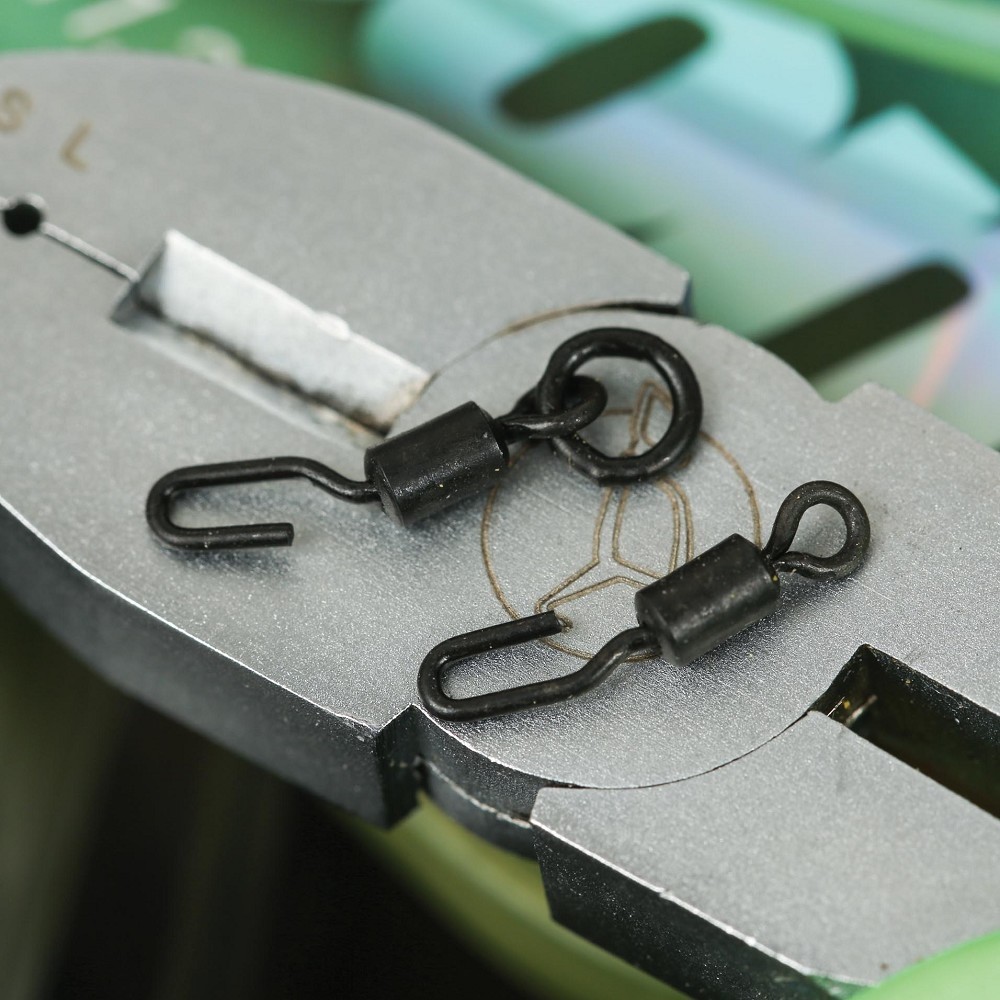 1. I start the Spinner Rig by removing the small ring from a Spinner Swivel.
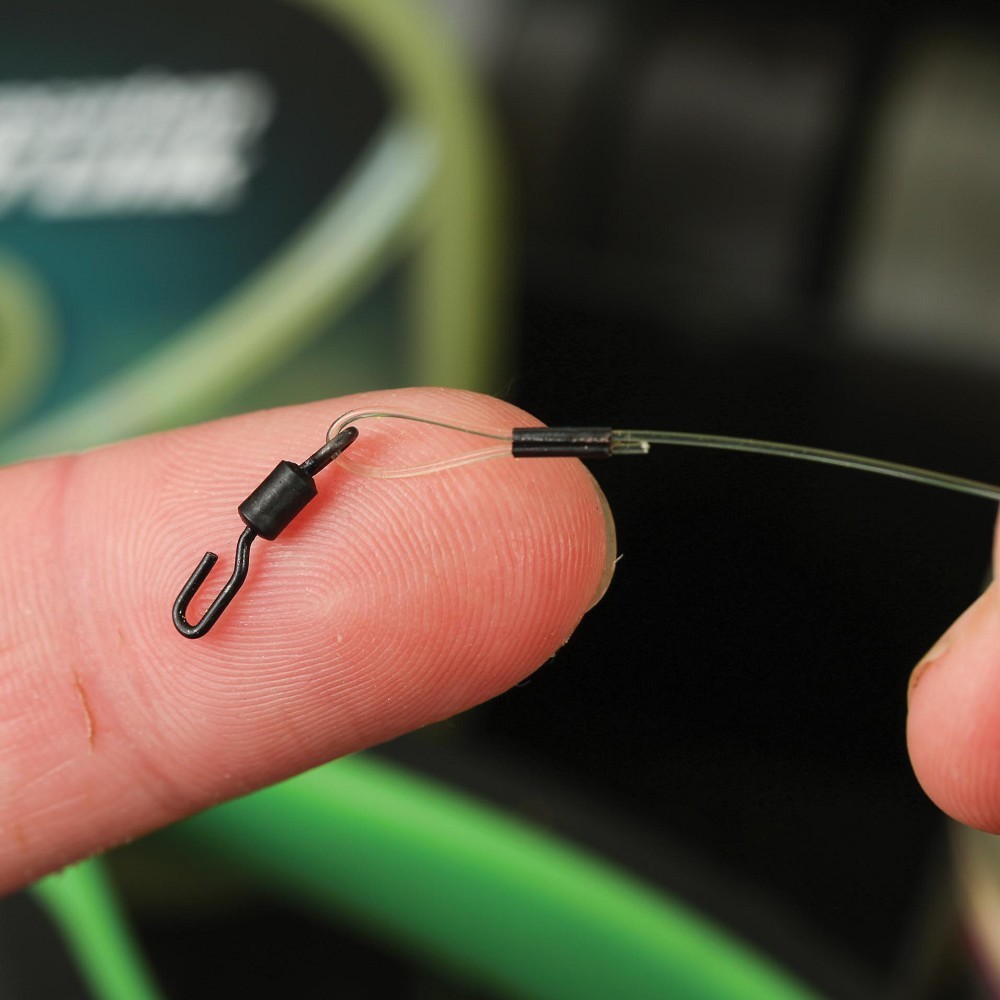 2. Next, I crimp the swivel within a loop of 25lb Boom hooklength like so.
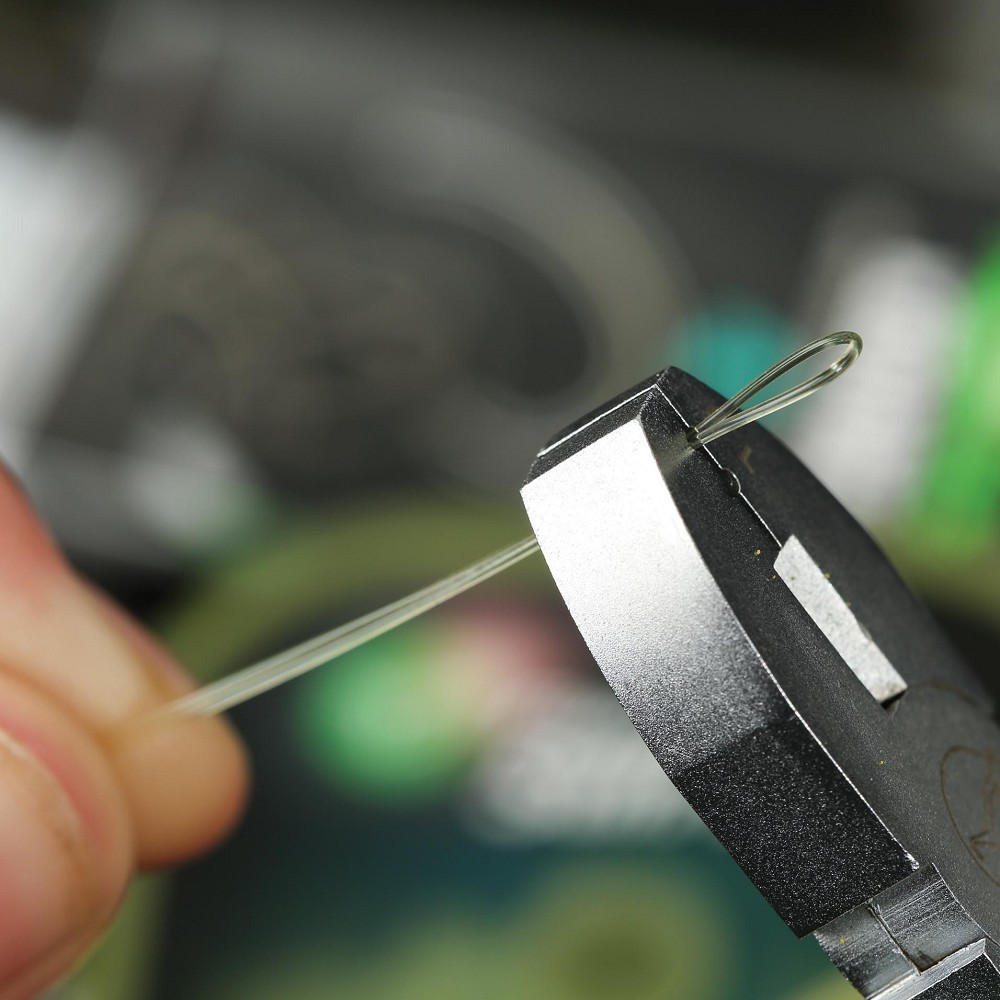 3. Slide on a trimmed Anti-Tangle Sleeve and crimp a loop at the other end.
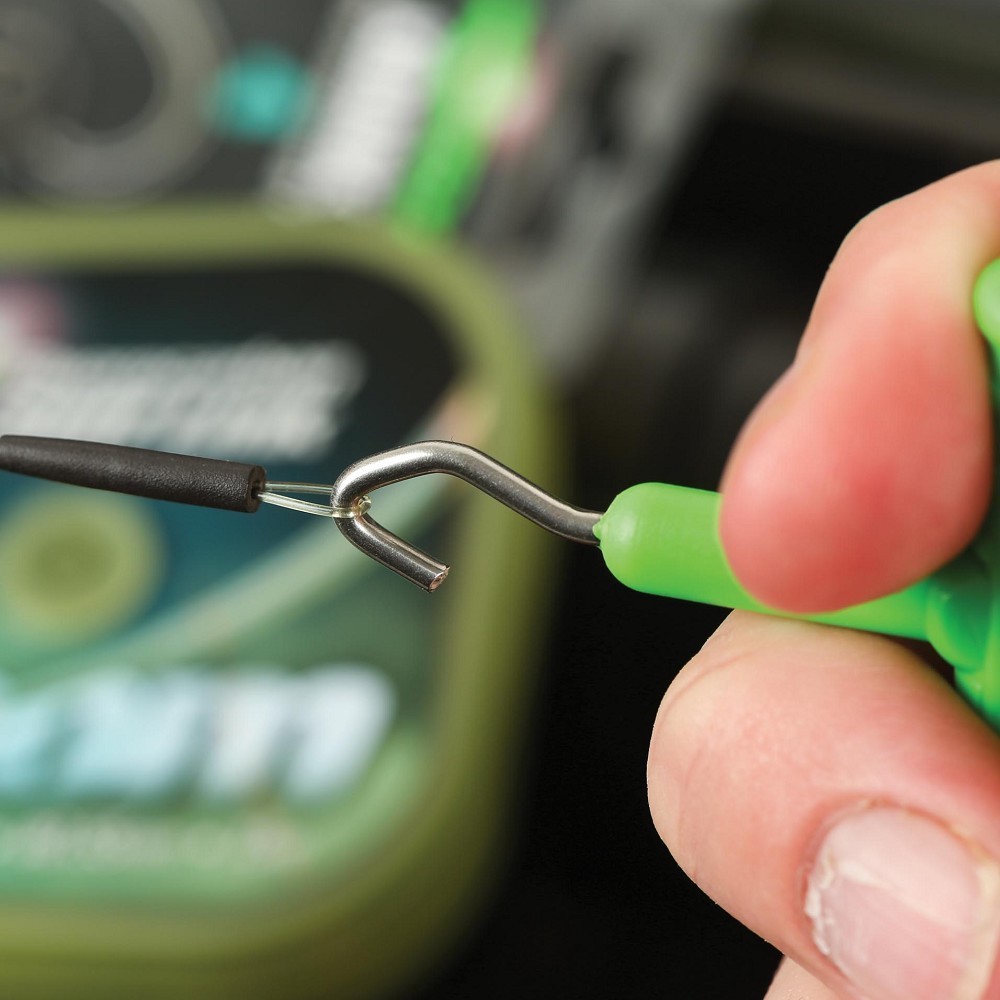 4. Push the sleeve over the crimp and pull the boom section to straighten it.
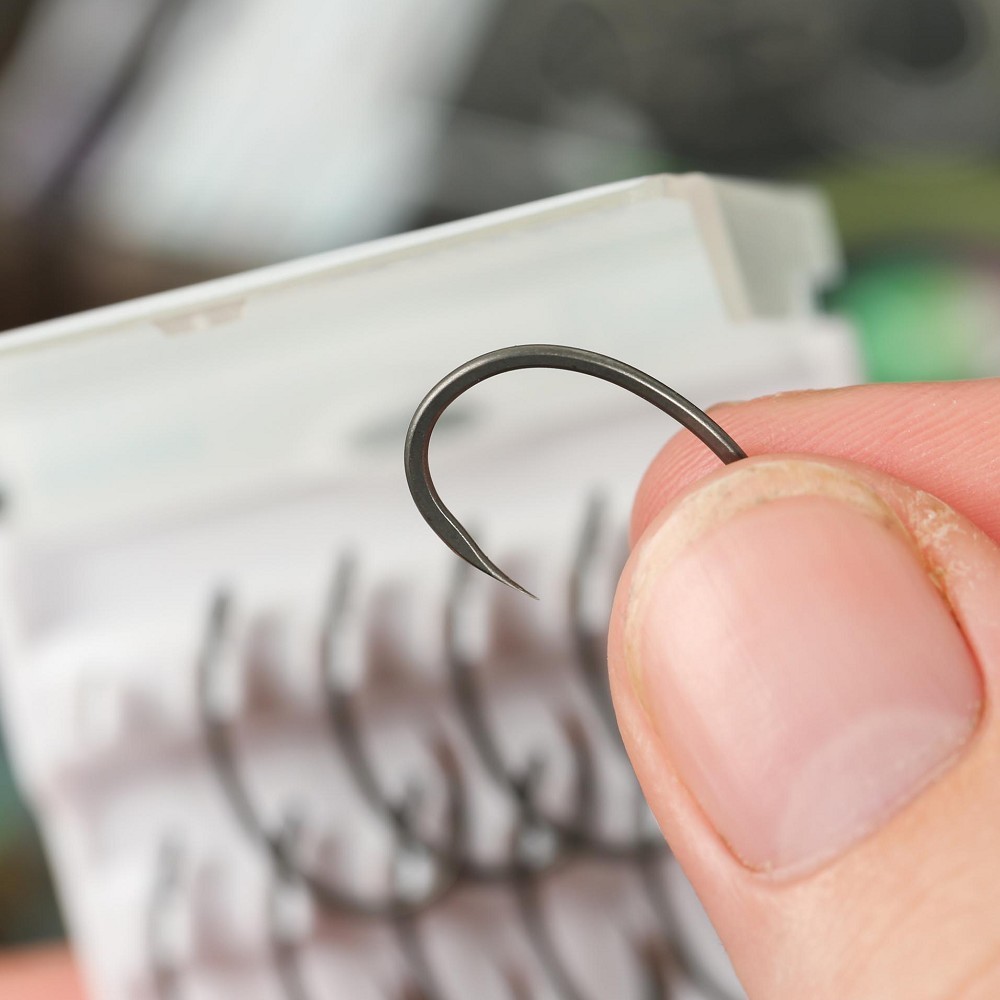 5. Now take a size 4 Krank hook - barbless here for the Norton Disney rules.
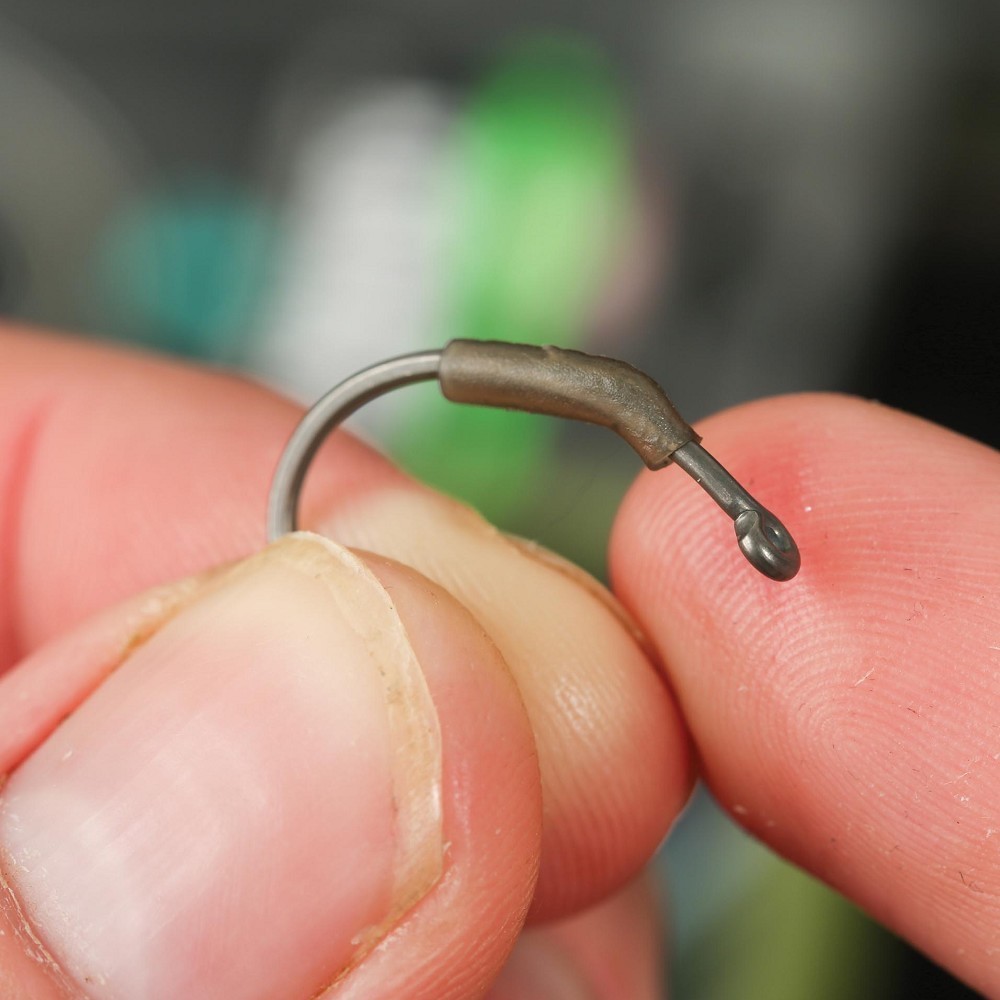 6. I trim a Kickers Sleeve just a little next, and slide it onto the hook like this.
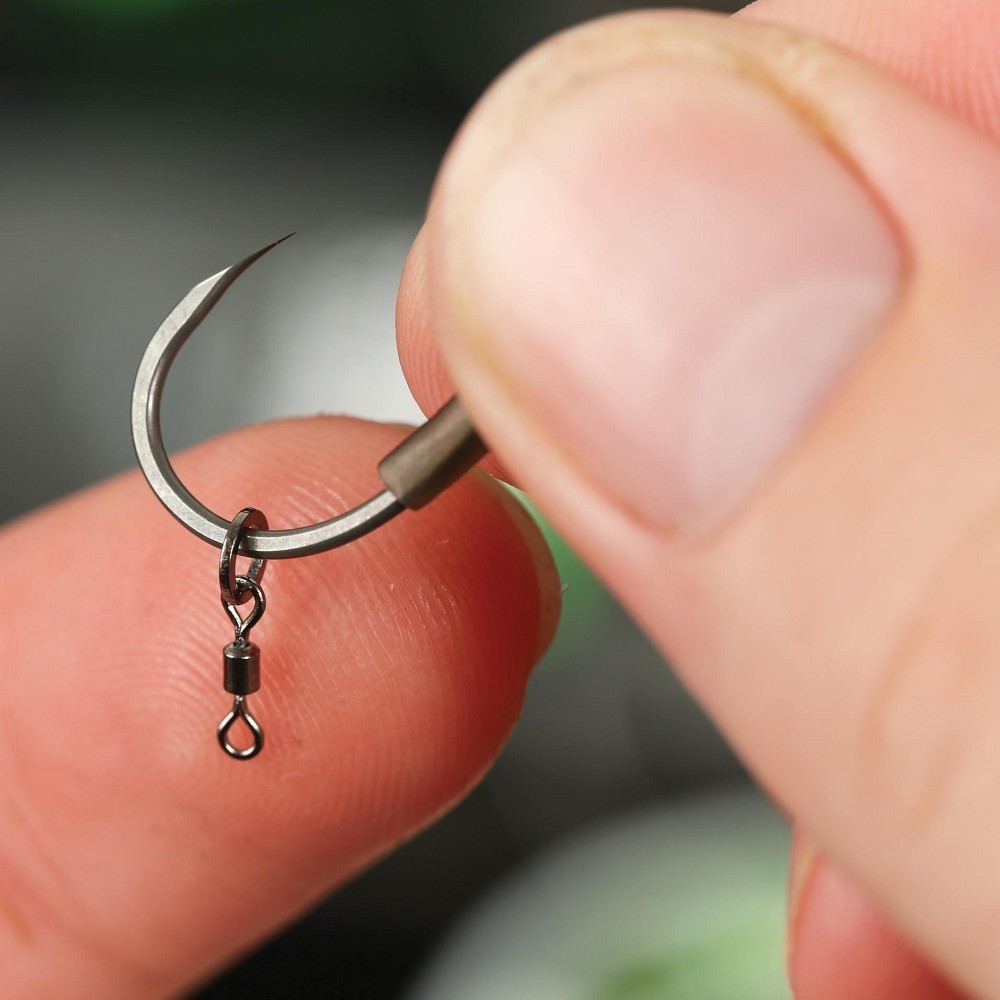 7. Okay, the next step is to add a tiny Micro Ring Swivel to the Krank hook.
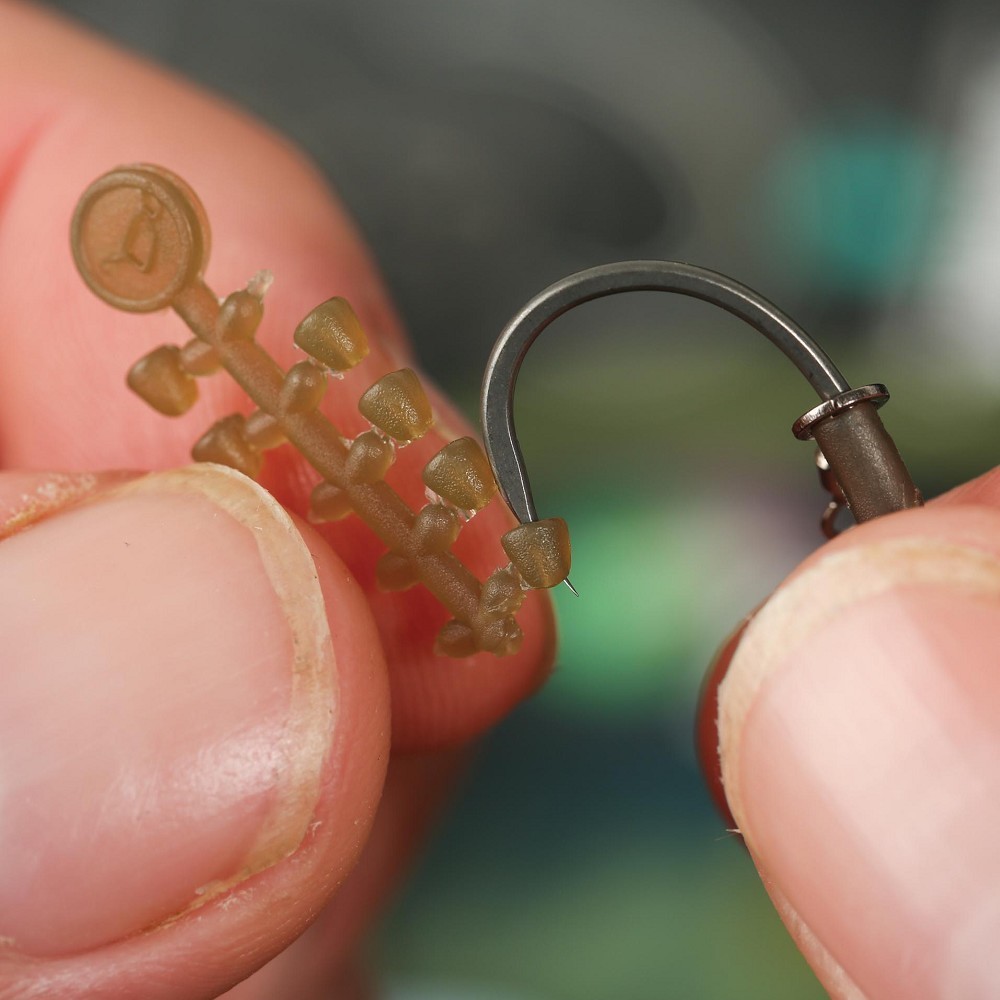 8. To keep the Micro Ring Swivel in position on the hook, add a Hook Bead.
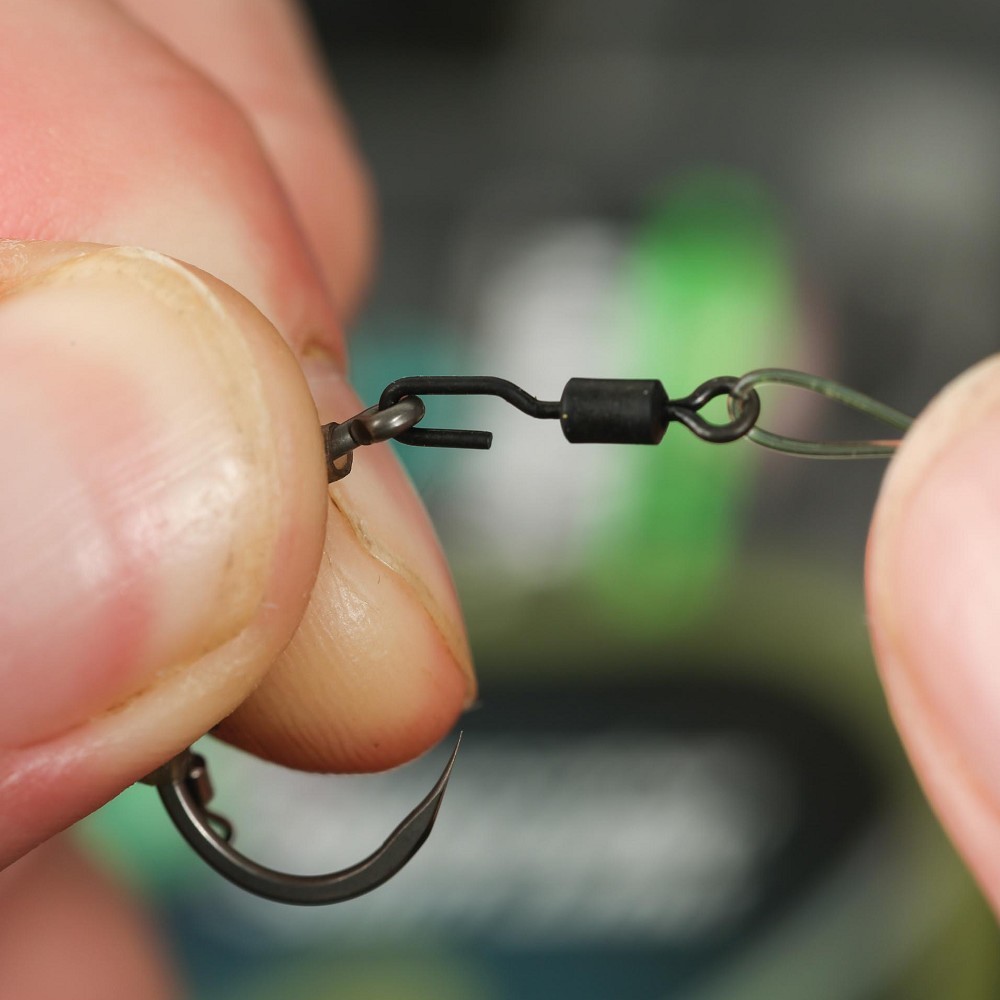 9. You can now simply thread the eye of the hook onto the Spinner Swivel.
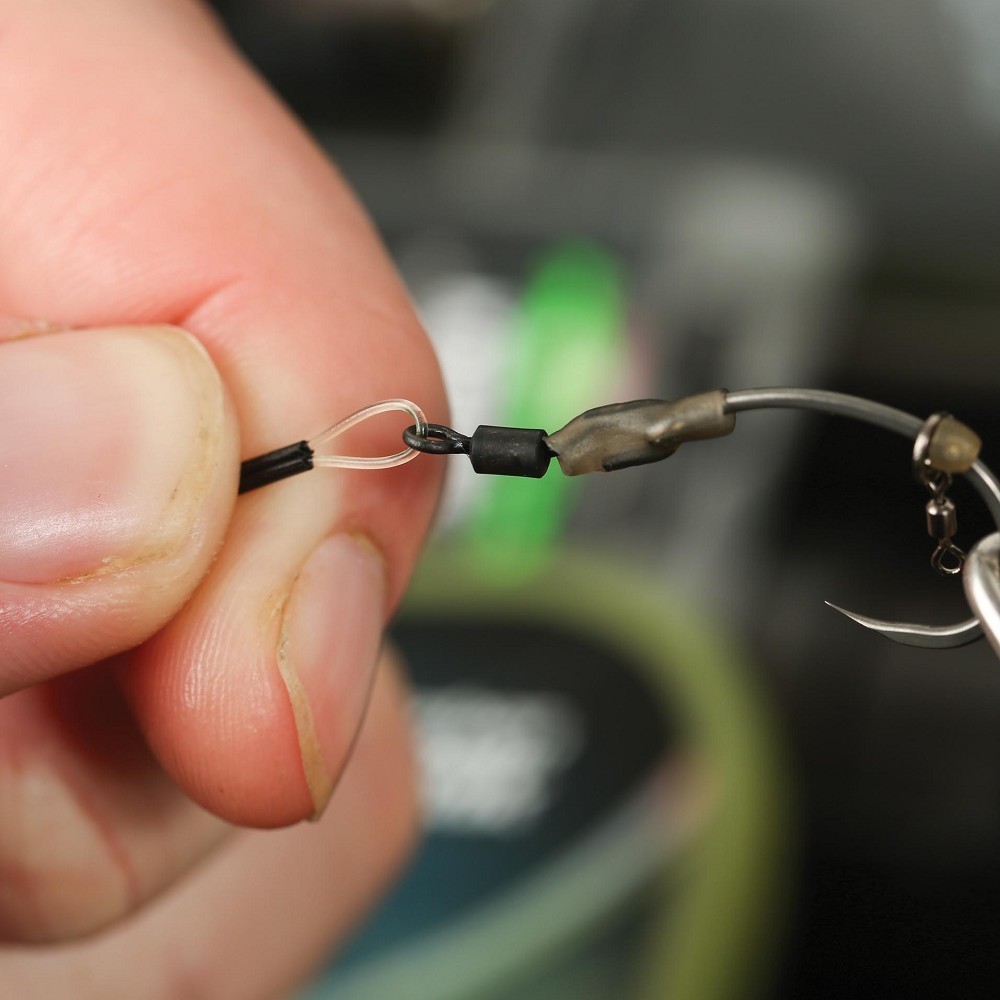 10. Push the Kickers sleeve down over the Spinner Swivel to secure the hook.
 11. Time to pick a hookbait next - these Milky Toffees are one of my favourites.
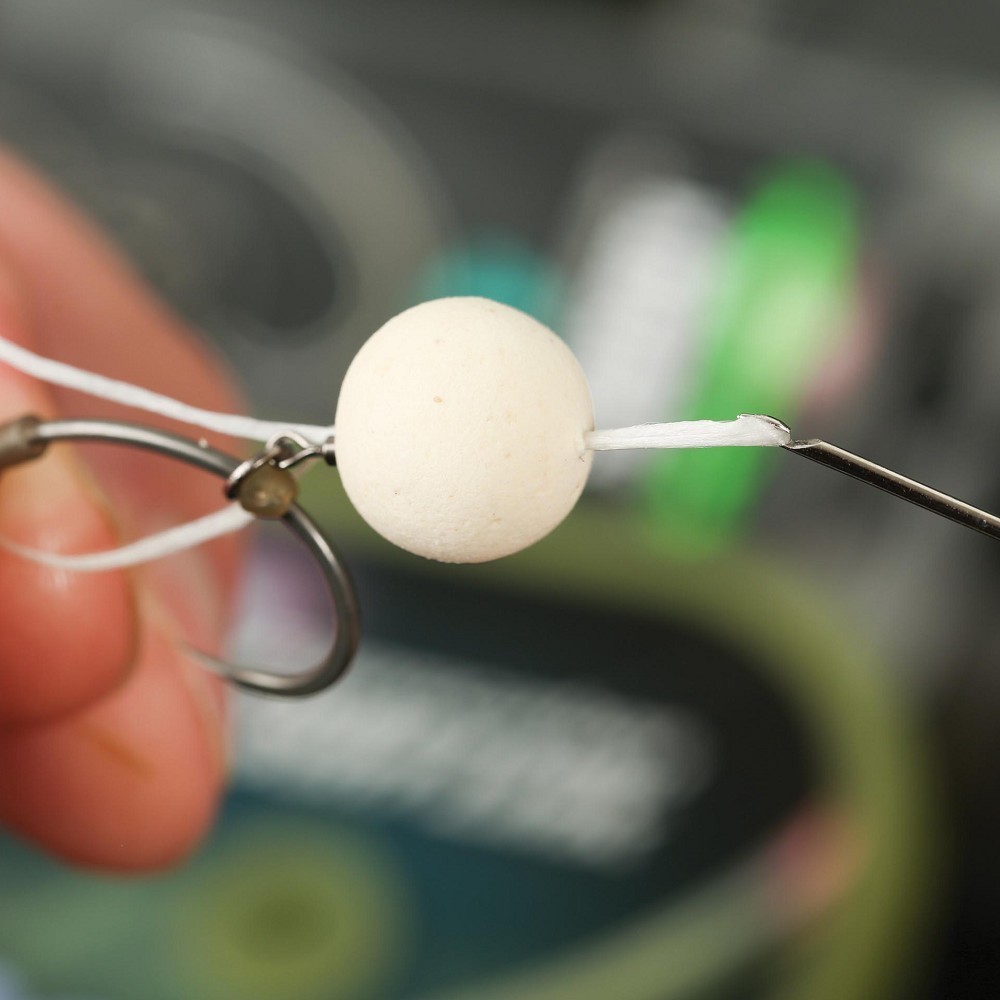 12. Thread a short piece of floss through the Micro Ring Swivel and add the pop-up.
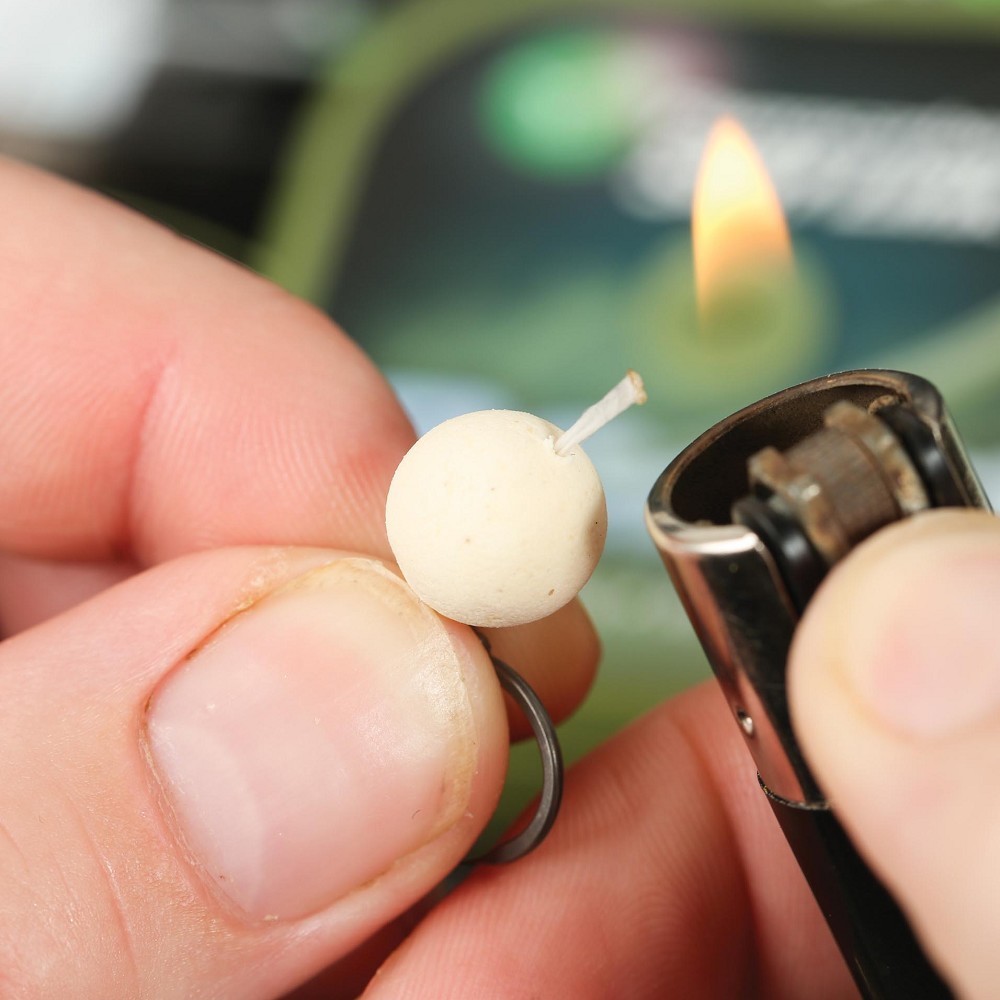 13. Trim down the floss and, using a lighter, carefully ‘blob’ down the floss.
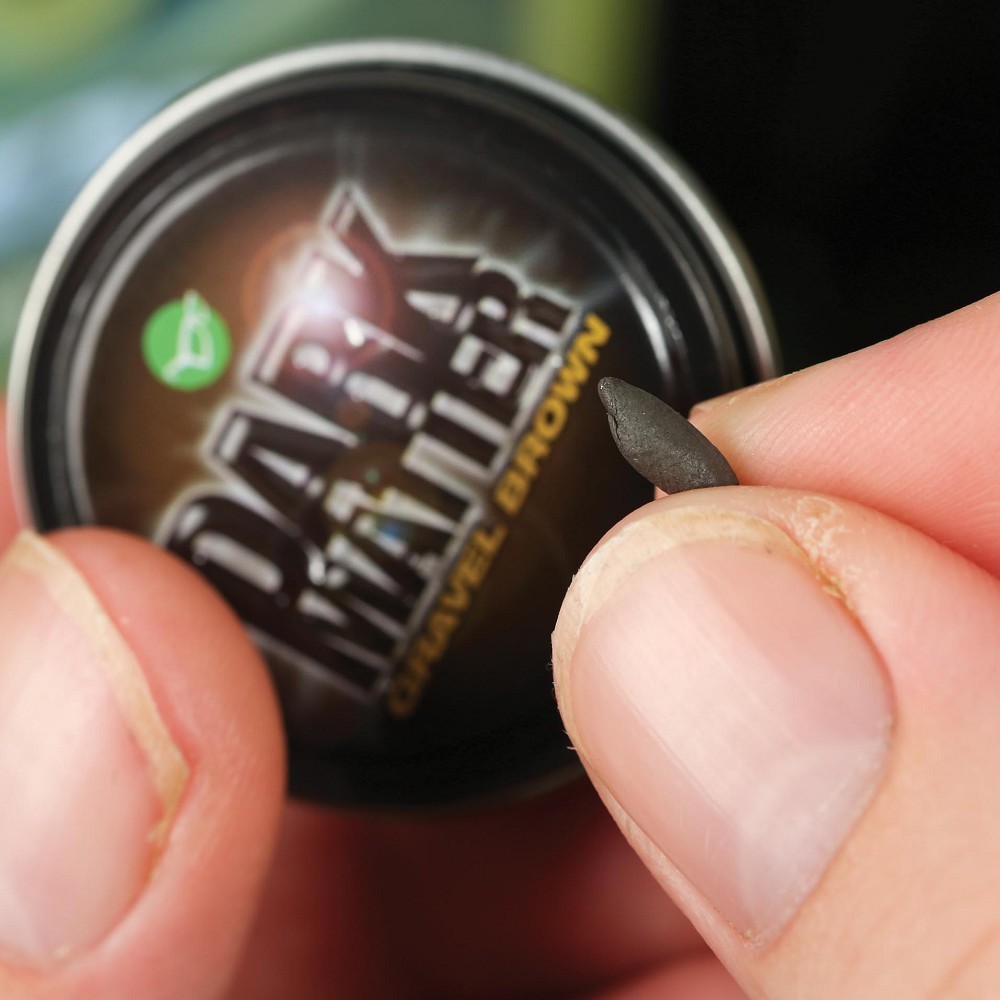 14. You’ll need to add some counter balance, the Dark Matter putty is ideal
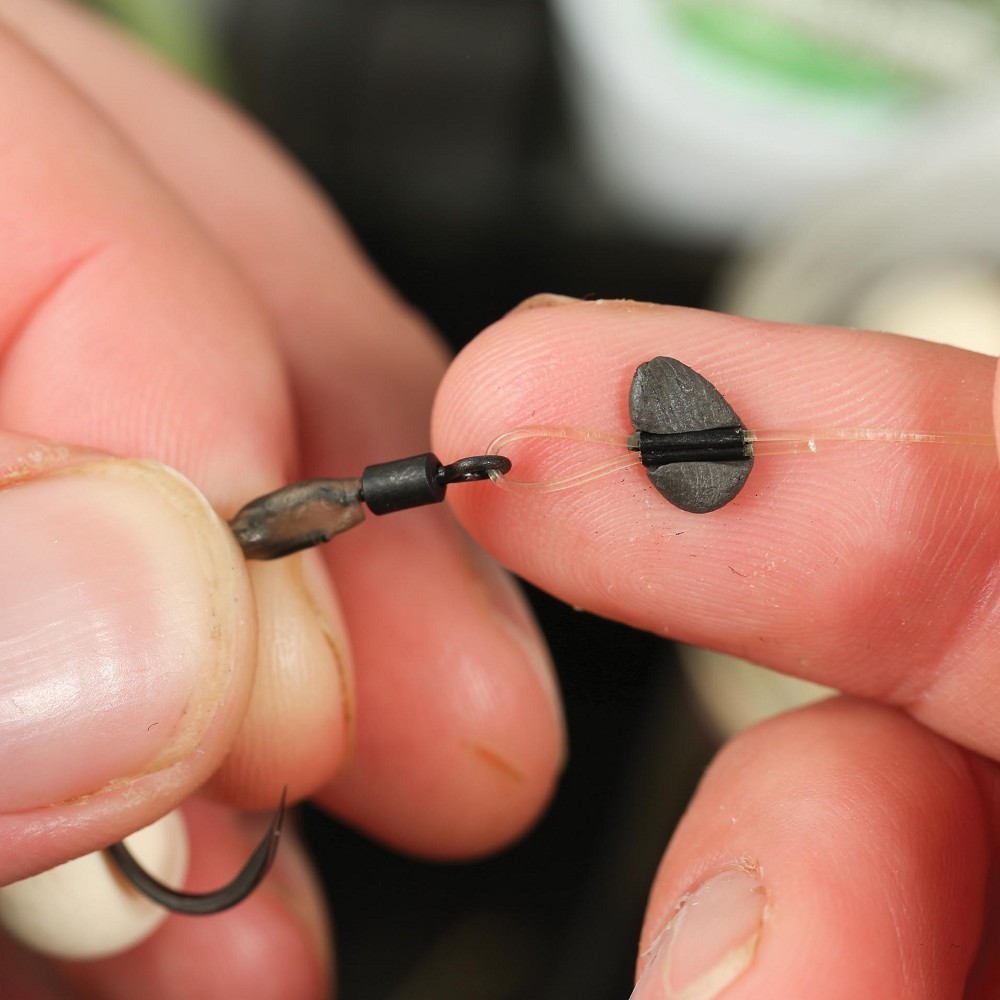 15. Pull off a small piece of putty and mould it around the crimp like this.
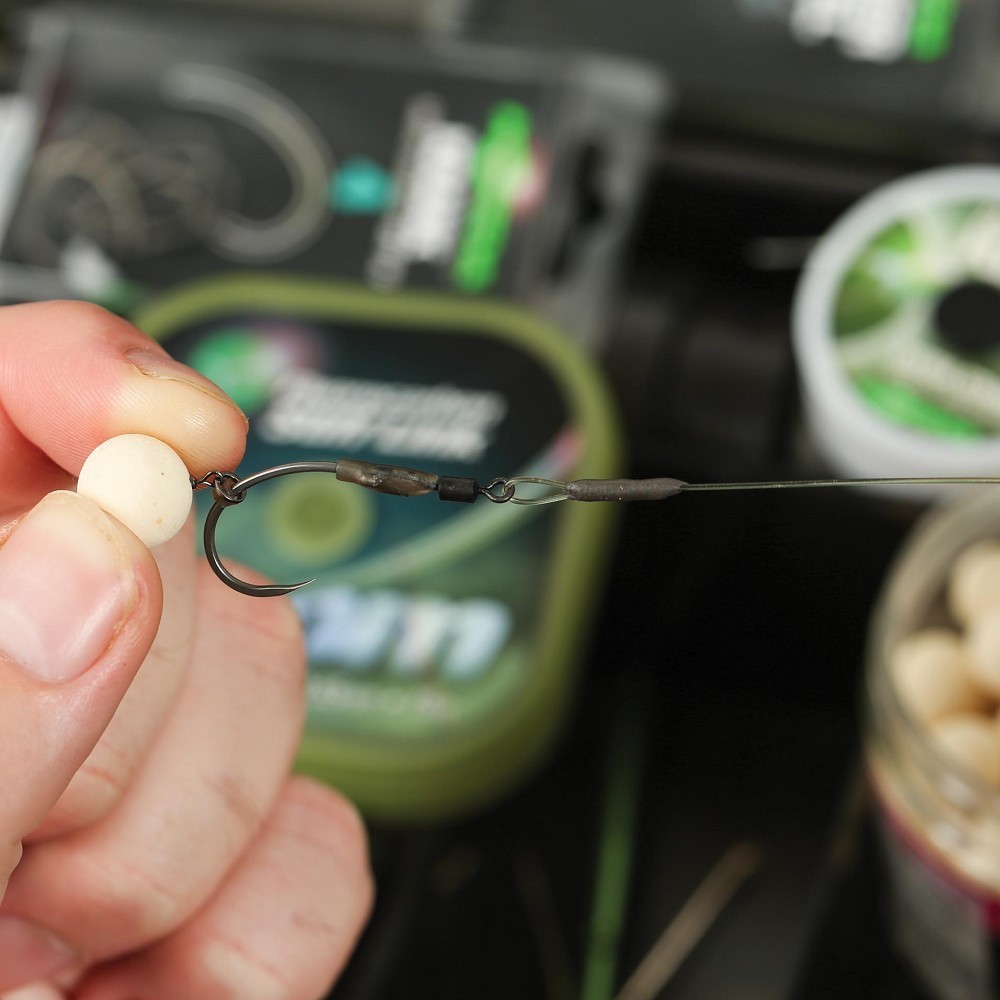 16. Boom! (Excuse the pun). That’s it: the rig is complete and ready to go!