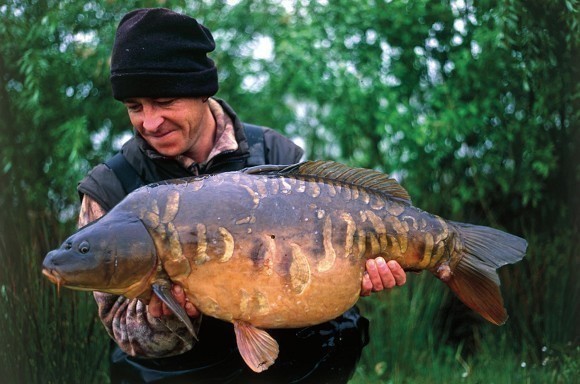


Stiff rig know-how: The Snell Knot
Learn how to tie a whipping style knot called a ‘Snell Knot’ with the best in the business - Terry Hearn.
One of the most popular rigs in recent years has to be the infamous Choddie, great for weedy situations or fishing over debris, but there’s just one hang-up? It can be tricky to tie the stiff monofilament that’s fundamental to this rig, as well as other Stiff Rig presentations like the Hinge Rig to the hook.
When it comes to these rigs there is one angler’s name that comes to mind first and that person is Terry Hearn. So how does he overcome the problem of passing a stiff mono through the hook eye a number of times with the common Knotless Knot? He doesn’t use that knot – that’s how! Instead a whipping style knot called a ‘Snell Knot’ is used that once mastered provides the perfect solution for attaching thick, stiff mono’s to both small and large hooks.
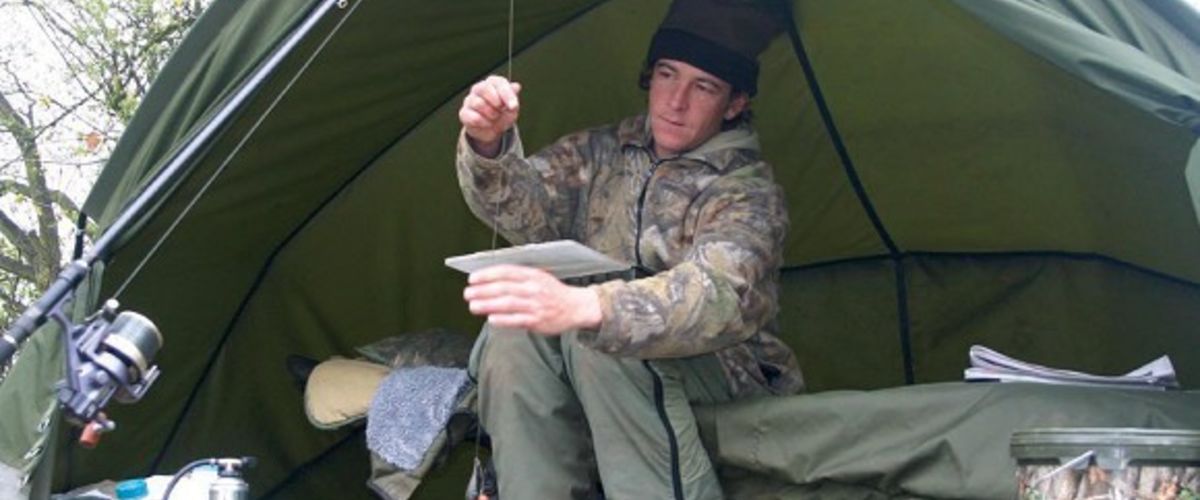
So we hand you over to Mr. Hearn himself to follow his step-by-step guide to the knot he’s probably tied a million times: The Snell Knot.
How to tie the Snell Knot
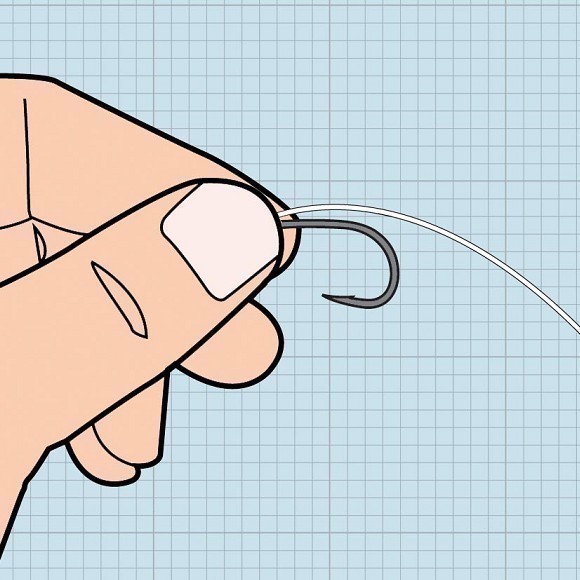
1 First off, take your hook and hooklink and pass the line through the eye of the hook as you normally would.
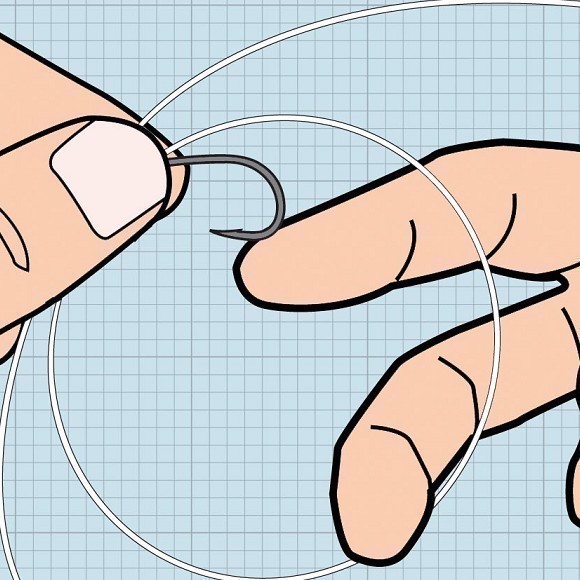
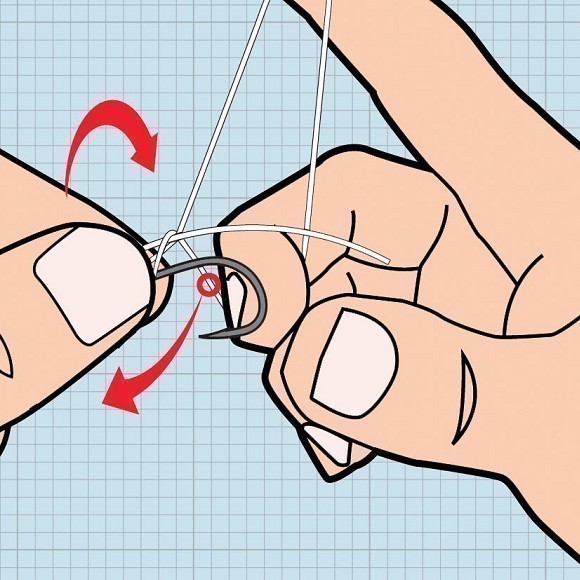
2 Now make a big loop, large enough to get two fingers through.
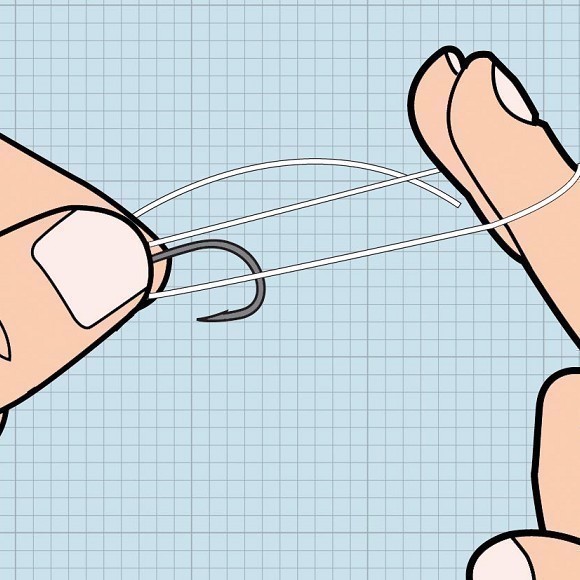
3 Put the loop under tension and then by twiddling your fingers, begin to whip the bottom section of the hooklink around the hook’s shank, at the same time trapping both the top two pieces of hooklink.
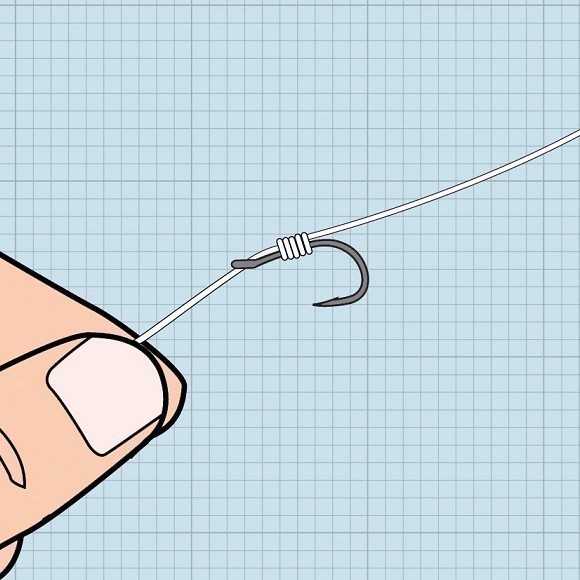
4 Whip over the hooklink and shank as shown at the same time as keeping everything tight.
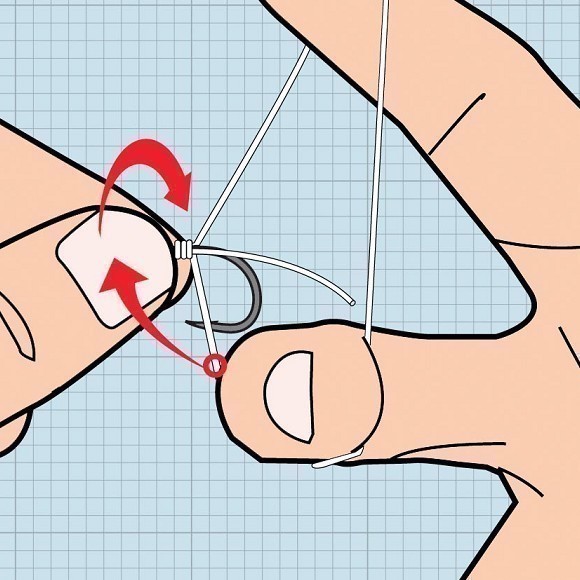
5 It’s all in the twiddling of the fingers, this is where a lot of people have problems, but once mastered it’s really easy. I’ve tried to keep the turns loose so you can see them more easily, but you want to keep them tight.
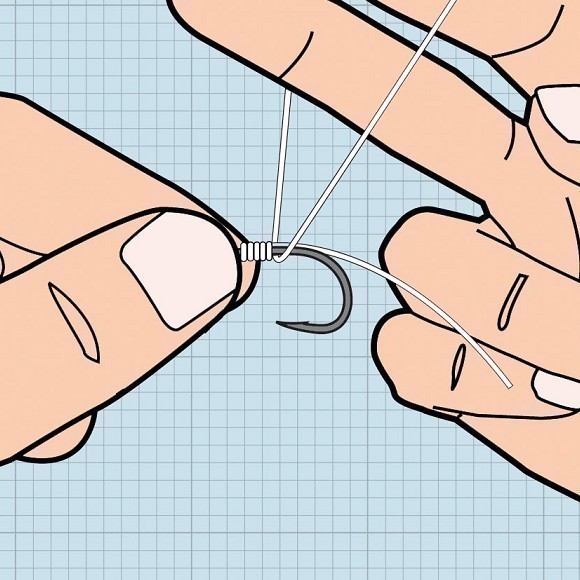
6 I usually go for seven turns on a size 5 hook and eight turns on a size 4.
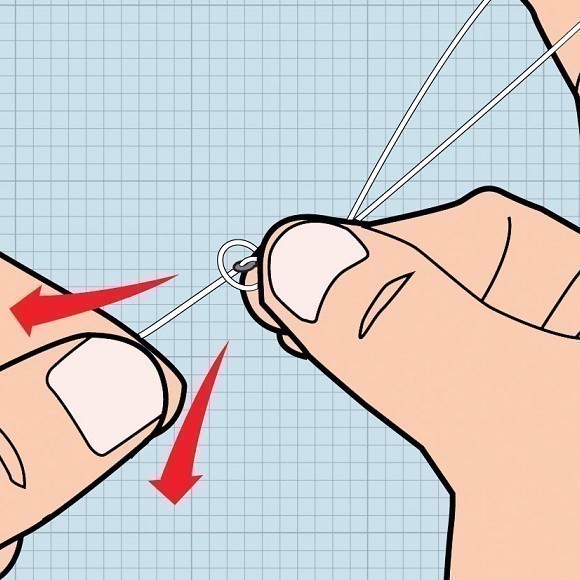
8 Keeping the loop tight with my big finger, I then trap the knot turns between finger and thumb and then begin to tighten the knot by pulling the opposite end with the hooklink spool still attached. This is done downwards as shown in the next picture, as I think this helps reduce damage to the hooklink. Obviously the knot is first wetted before any tightening.
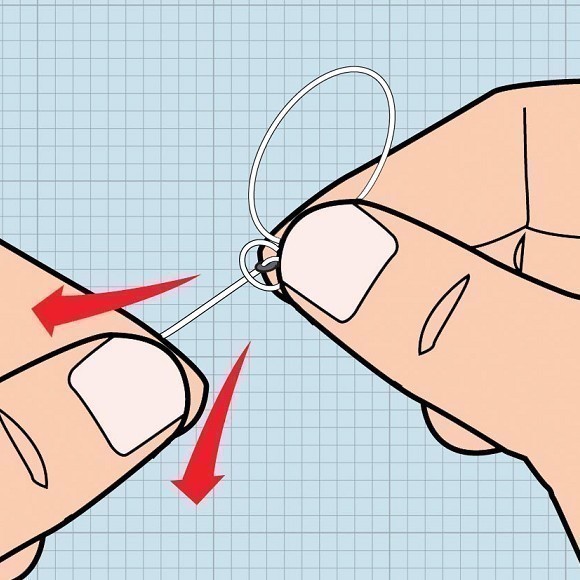
9 Obviously as you tighten, the loop will become smaller. To avoid the loop from twisting round on itself, it’s best to keep your finger in the loop right until the very last moment as shown here.
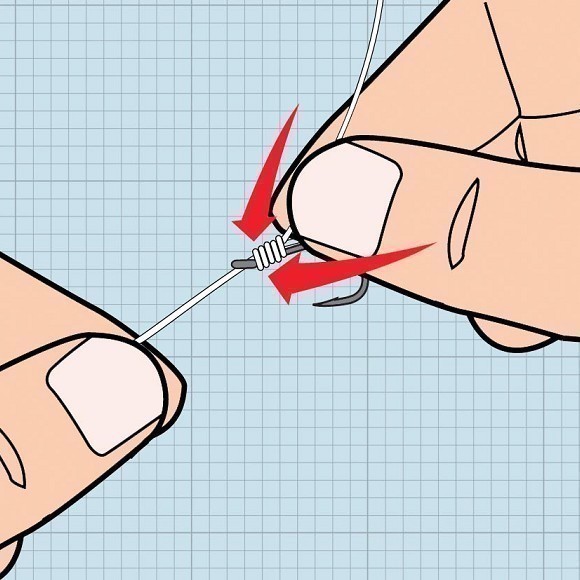
10 Next bit is pretty important as well. Rather than risking damage by pulling the knot down to the eye with the hooklink, I tease the knot down to the eye with my fingernails.
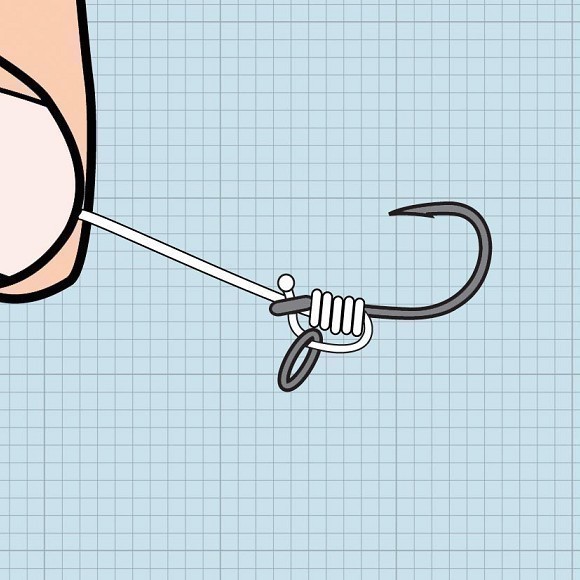
11 Once the turns have been slid down to the hook’s eye, it’s time to tighten fully. This is easiest with a baiting needle.

12 Pass a rig ring onto the tag end before you pass it back through the eye of the hook.
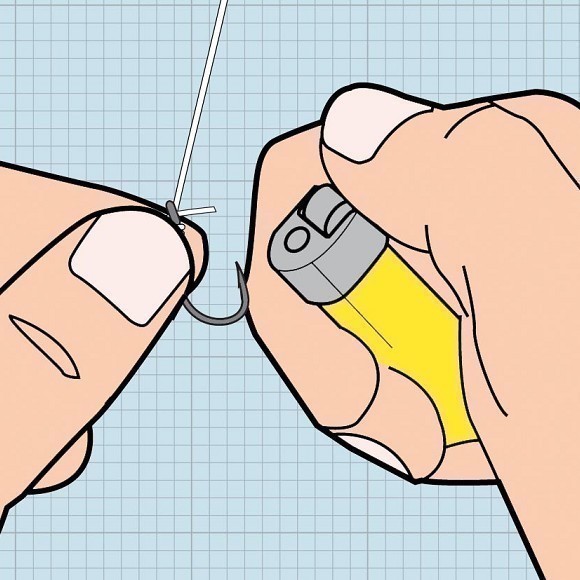
13 Blob and then cool with the end of the lighter.
14 I think the end result is a much neater knot without the last wrap crossing all the turns as it does with a Knotless Knot. As a plus, it’s also a tighter, more secure feeling knot. Once the pop-up is tied on, it’s easier to twist/set the loop at the correct position and there it stays no matter how far you’re casting. The downside: it’s definitely more tricky to teach somebody how to tie compared with the Knotless Knot.