
25 Ways To Improve Your Feature Finding
Here’s our guide on being better at feature-finding
When?
While feature-finding is an important aspect of carp angling, there is a time and place for it. Routinely chucking a marker out at the start of every trip is likely to cost you carp. If you choose your moments, you’ll improve your chances of catching. Inevitably, repeated casting will cause disturbance. This could put the carp on edge, push them out temporarily or even send them packing. A bit of discretion, therefore, is required.
Let’s assume we’ve turned up at first light. We’ve found some fish showing and have our gear in the swim. They’re sticking their heads out and rolling at 40–50yd, and patches of bubbles are hitting the surface. Do we really need to know the depth or what features are out there now, or would it be better to get three rigs amongst them and leave the feature-finding until later?
Bite time is never going to be the best period in which to investigate the contours of a swim and find presentable spots, especially if it’s evident that fish are present. Although venues will differ, early morning is often prime time, so try and refrain from disturbing your swim until things quiet down. The end of a session is often a good time to explore the swim. Your repeated casting won’t affect your sport, and it could provide you with valuable information for future trips. Excessive casting of a marker float rarely goes down well with other anglers, especially during feeding times, so do show a little courtesy.
Application Rods
Stiff application rods will provide you with a better feel than soft-tipped marker rods, and can be used for baiting up as well as feature-finding. Some anglers prefer to carry just one, whilst others will take a pair, one for each purpose. What suits you depends on your type of fishing, the length of your session, and the lake itself. You’ll be more mobile with one, but if there are lots of variations in depth, and the water features bars, plateaus and the like, it might be easier and make things quicker if you have one set up with a marker float and the other with a bare lead to cast around.
Braid
The non-stretch nature of braid offers obvious advantages, and you won’t suffer problems with line twist when paying it out from the clutch. Not all braids fit the bill, though, and some are more suitable than others. Sinking braids have an increased diameter, and will restrict you distance-wise. They’ll also sink and drag against any weed that’s present, and this will impede the float’s ability to rise. Floating or neutral-buoyancy braids are far better.
Mono
Should you be fishing a venue that doesn’t permit the use of braided line, the next best option is mono. A low or pre-stretched one will help to transmit feeling back to the rod tip.
Leader
A strong braided leader offers several benefits. It’s less likely to cut your fingers, will stand up to the friction of sliding through a swivel, and will reduce the chance of a crack-off—especially if you use the same rod for spodding/Spombing. Your leader will need to be long (20ft-plus), should you be fishing deep water. They’re difficult to master, but a slim, tapered knot, such as the Mahin or Carrot Knot, will minimise any effect on your casting.
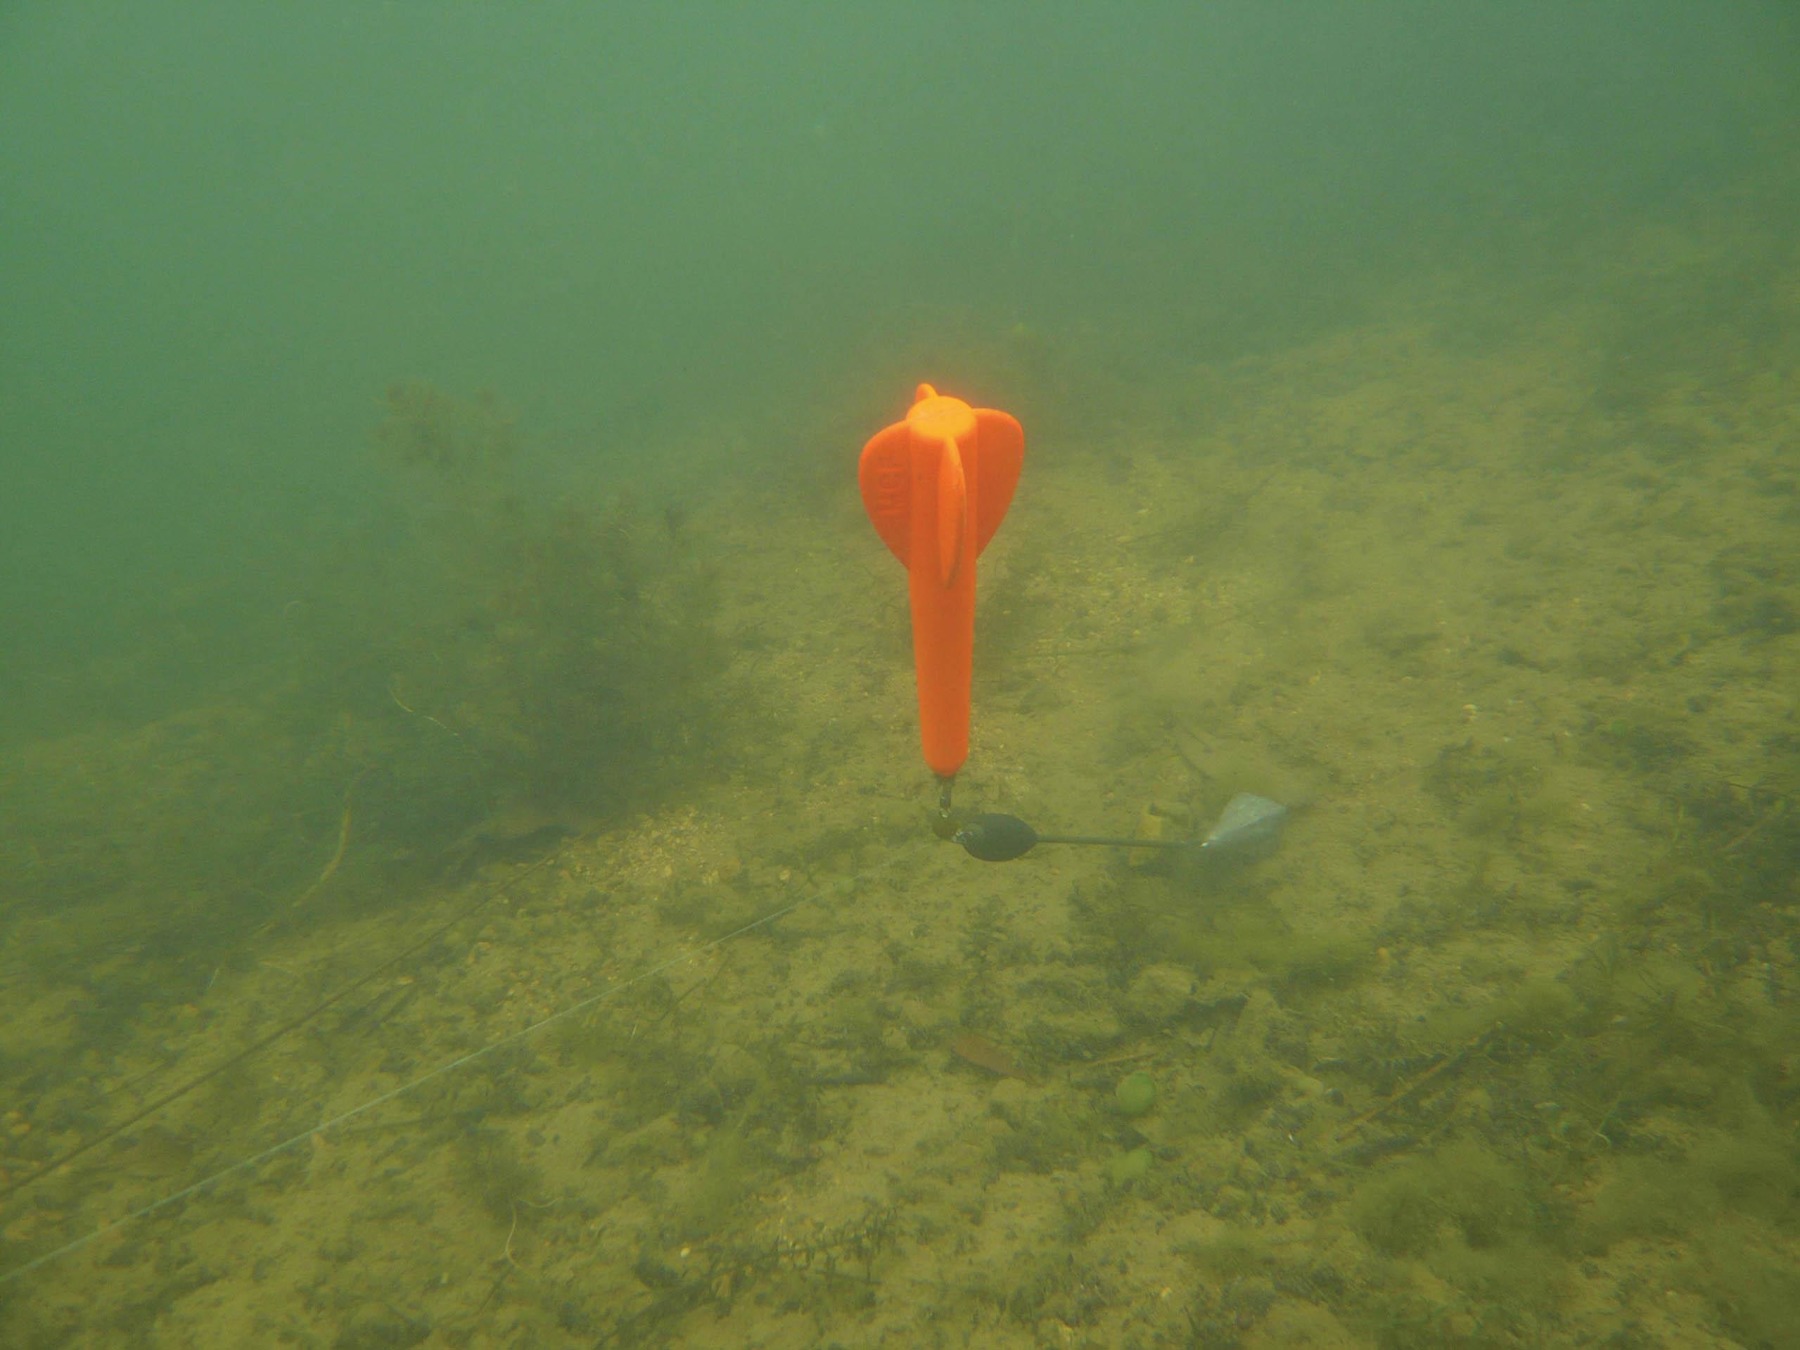
Marker vs Lead
Casting out and dragging back a bare lead will create less disturbance than lobbing out a marker float, and a lead will be less prone to tangling or getting caught up in weed. A marker float serves two purposes. It allows you to measure the depth and map any variations, and will act as a visual marker to aim at. If you don’t require either of those benefits, you’ll probably be better off using just a lead. It’ll give you better feeling, too, as you’ll have no float slowing its descent.
Boom!
Using a short boom to attach the lead helps keep the line and float clear of bottom weed, and this will also help the float rise. Beware, though, as you’ll no longer be able to detect the presence of short weed.
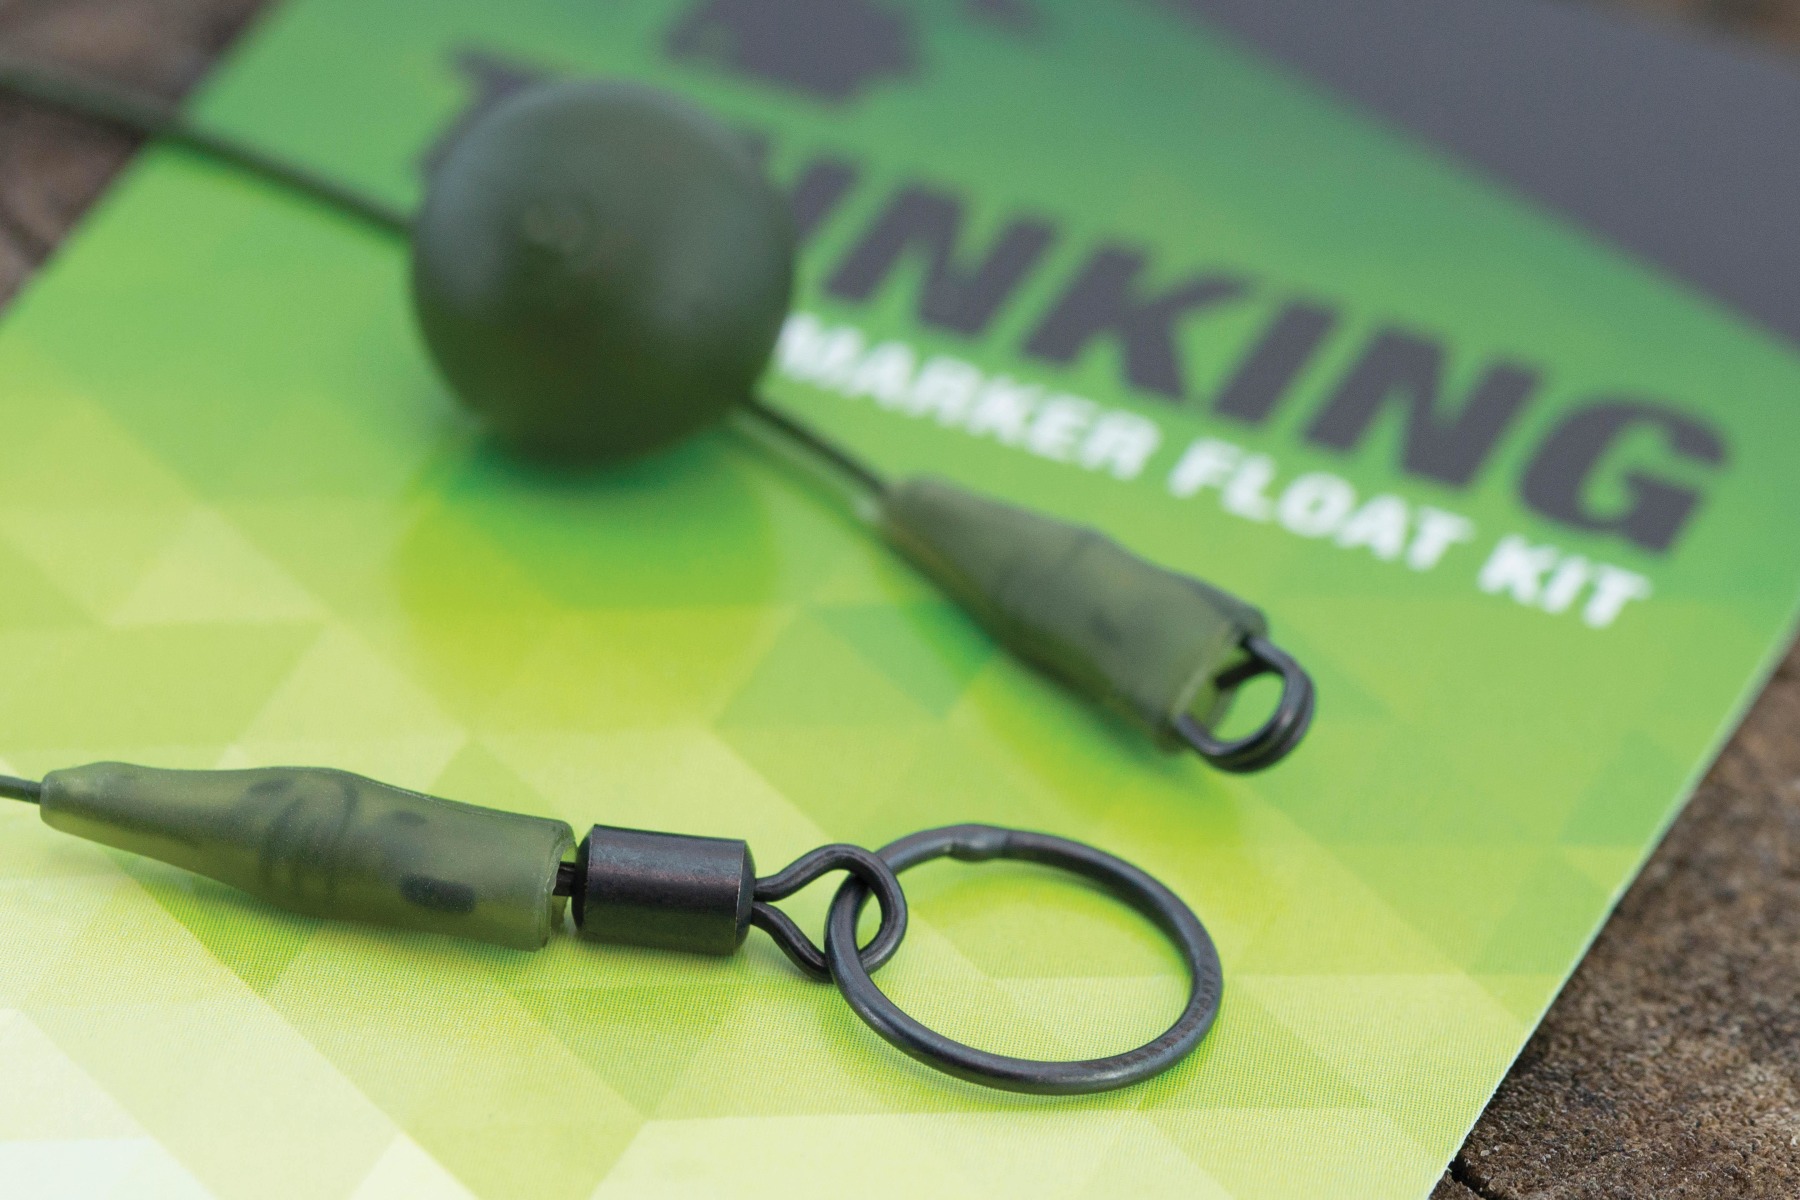
Free-flowing
The eye of a lead swivel is quite small, and you’ll better off with something bigger, such as a large-eyed ring swivel or purpose-made ceramic ring. These allow braid to pass through them freely, unhindered by weed or debris. Don’t use a plastic run ring, though. Braid will cut through it, and might end up sending a lead flying into a bivvy on the far bank!
Interchangeable Tips
Interchangeable tips make marker float work less demanding. Black’s best for bright conditions, and orange will stand out in low light.
Size for Size
Try and use an appropriately sized lead for your marker float. For a big float, you’ll need a heavy lead to hold bottom firmly, rather than one that will be easily disturbed.

Quick Change
Quick-change clips and swivels allow you to switch from a bare lead to a marker float set-up in a matter of seconds. The same can be achieved by using a large Figure-of-Eight Loop Knot, and a double loop makes it even easier to switch between the two, or swap to a Spomb.
Wind Effect
Make sure all the braid between you and the lead is below the surface before you pay any line off. If it’s windy and some is on the surface, it will be susceptible to bowing. This will give a false reading of the depth.
Other Swims
One situation where a marker float really does come in handy is when you’ve seen fish showing further down the bank, or in a swim on the opposite side. Looks can be deceptive, and merely estimating where they were is likely to be surprisingly inaccurate.
You have two options when it comes to pinpointing them, and their range will dictate which you choose. You’ll need to make a mental note of where the shows were, using trees, pylons, reflections, etc. After checking that you’re not going to disturb anyone else, get a marker out to where you saw the shows. Then, you can go round to the relevant swim and pinpoint the spot accurately—you can even get a fishing rod or second marker clipped up to it.
If they’re beyond casting range, things are a little more long-winded. Go to the swim in which the fish were showing, and cast a marker to where you think they were. Then, return to your original swim and see if the marker is close to where you saw the activity. Go back and re-cast further or shorter, and to the left or right, and repeat until you have it spot on.
Lead Size
The size of your lead will have an effect on your findings. Bigger leads will accentuate the feedback transmitted back to the rod tip as they don’t skip up off the lakebed easily. Smaller leads, whilst tricker to work with, create less disturbance and won’t bury as far into weed or silt.
Lead Shape
As in any angling situation, different-shaped leads will offer various properties and advantages. The dumpier, pear shapes will give the best feel and will transmit every little knock and tap as you draw them across a gravel patch. In weed, however, their shape sees them prone to catching and getting stuck. A streamlined, distance-type lead is far better in these situations. They can usually be popped out of weedbeds with a flick of the rod tip.
Tip Down
Keep your tip low to encourage the lead to stay down while you drag it back across the lakebed—you won’t feel anything if it skips up off the bottom.
Take Note
Information gained when feature-finding usually comes in useful at a later date… provided you can remember it! Making a note of the swim, distances, sight lines of features, spots that have produced bites and anything else of significance. Your smartphone is most useful in this regard. It’s easy to take a quick photo, and by using an editing app you can note distances and mark spots on the image for future reference.
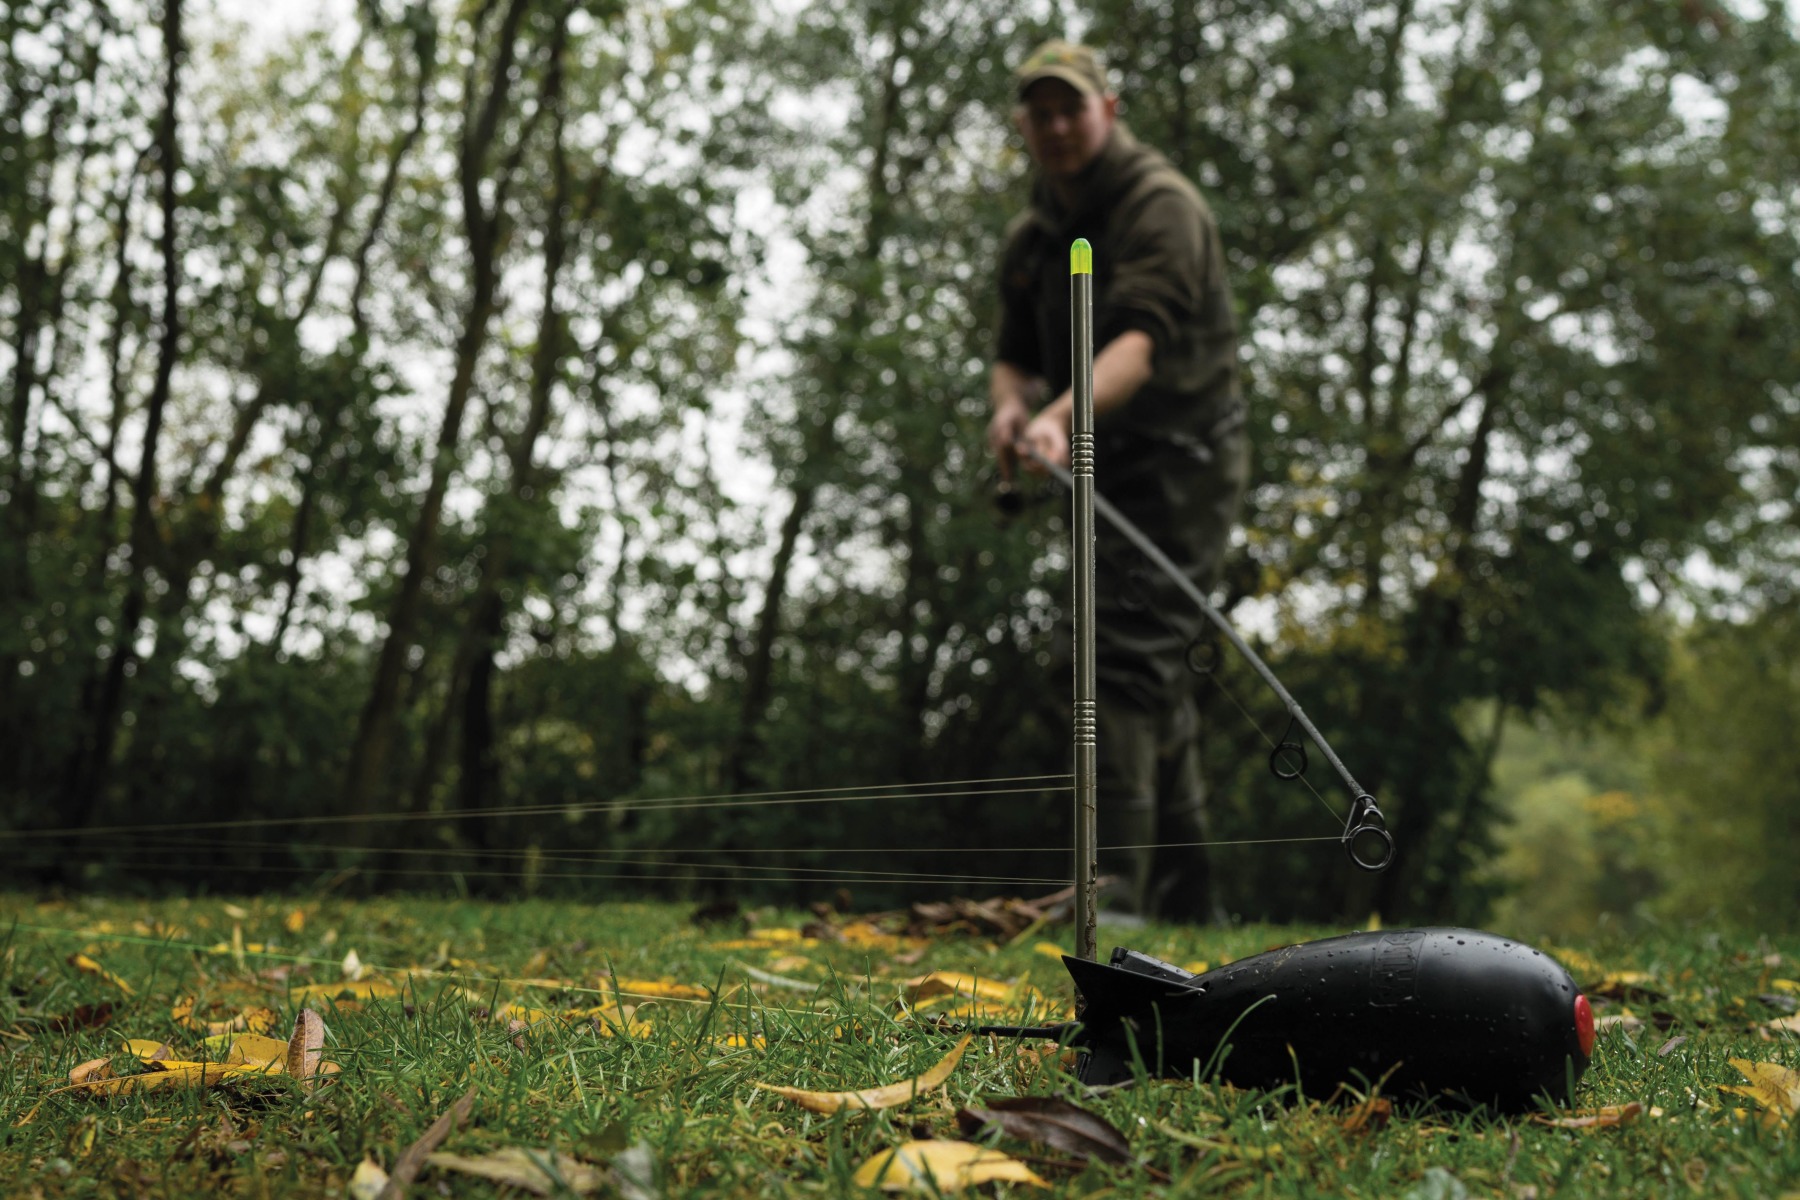
Distance
Knowing precisely how far out a particular feature is, is vital, and there are several ways of establishing this distance. Not so long ago all anglers talked in terms of yards, but wraps are now just as popular. Wrapping sticks provide a very accurate way of determining how far out a feature is, and also allow you to repeatedly cast to it, accurately.
There is still a place for the old-fashioned methods, though, and walking your lines along the bank to a marker—a stake in the ground or cable tie on a fence, for example—remain accurate and reliable techniques. Counting the turns of your reel handle is another old-school method that works, but it helps to know how much line a single turn of your handle actually retrieves. You can then convert the number of turns into yards (46 turns might equate to 50yd). Ideally, your ‘utility’ reel will match your fishing reels, but if not, you’ll be able to calculate the difference and make alterations having established the distance.
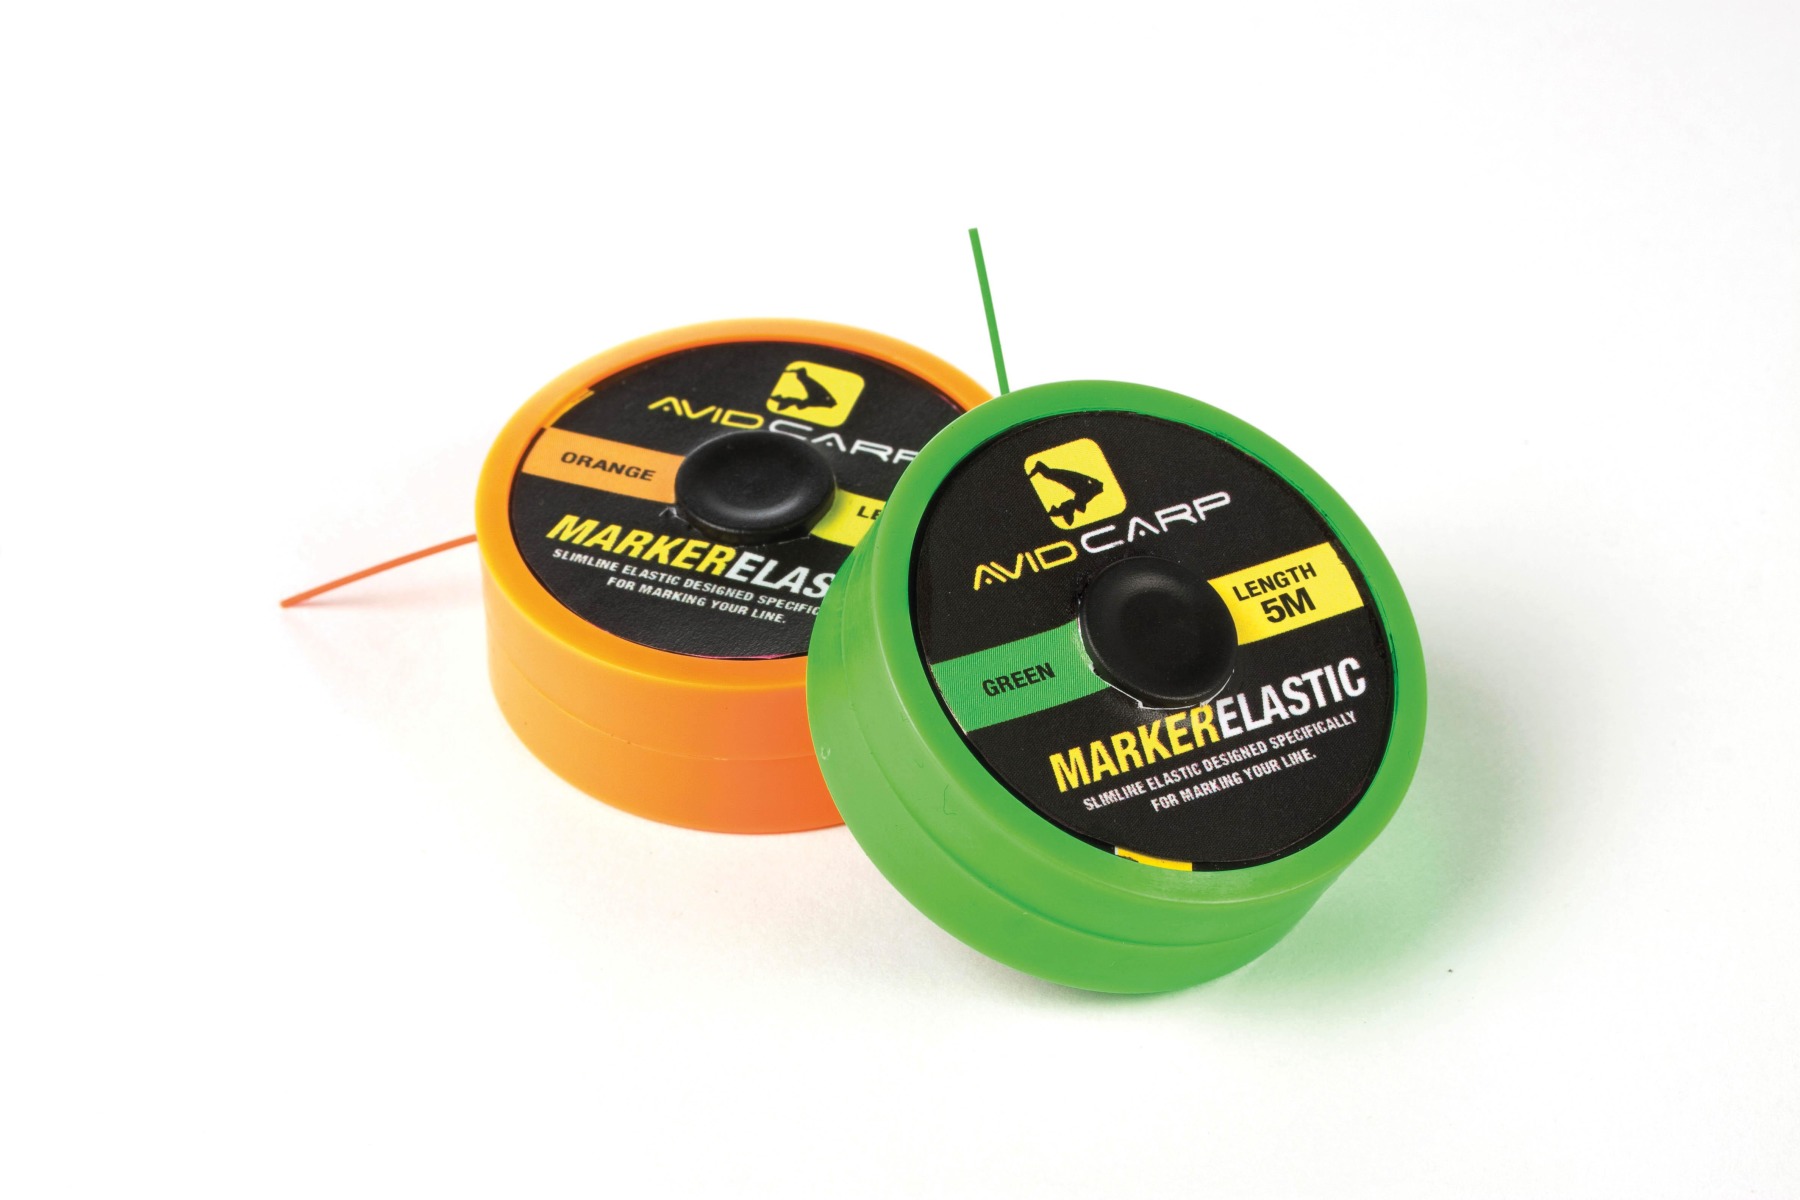
Line Markers
While wrapping sticks have largely done away with the need to mark lines, marking the distance to your spots on your braid will still save you time. Marker braid, elastic or tape come in a variety of colours, so different distances can be marked. Tie them on by the spool clip rather than the rod tip. Then they’ll not be high up the spool and able to interfere with your casting.
Horizon Marks
It’s obvious, but do pick sight markers that are permanent, rather than ones that might move! Pylons, church spires and distinctive trees are good, as are lamp posts, which are great at night. Crane jibs, scaffolding and vehicles, however, will likely move or disappear. If you’re struggling to find a clear, fishable spot, try casting at the most obvious mark. There’s a good chance that others might also fish and bait to the most easily identifiable target. As such, fish may well visit the area regularly.
Vertical Drop
When leading, try to let the lead fall vertically, rather than have it swing down in an arc. It’ll travel quicker, transmit more feel on touchdown and will be accurate. A vertical drop will help you find those little holes in the weed that a lead tracing a diagonal path won’t. After casting, cushion the lead’s entry, then sweep the rod up vertically to eliminate any stretch, before letting it fall whilst also lowering the rod tip to keep in contact.
Gently Does It
If you land on clay, there’s every chance your lead will be smothered in it. Reel in smoothly, and you won’t wash it off on the retrieve.
Shallow Water
Feeling a lead down in shallow water is a difficult skill to master. Once the lead hits the clip, start sweeping the rod back to take the sting out of it before it even hits the water. This saves precious seconds, and you can start feeling it down as soon as it touches the surface.
Experience
Learning to read the feedback gained from a lead is invaluable, and experience will teach you what different substrates feel like. As a guide, a firm drop or donk will come from gravel, sand, clay or rocky ground. When drawing the lead back you’ll feel the telltale tap tap of gravel, whilst rocks will trap the lead until you pull it free. Both sand and clay bottoms will be smooth, and it will feel as though you’re pulling the lead across glass. Upon inspection, the lead is likely to have clay deposits stuck to it, if that’s what you landed on.
Softer drops could indicate silt or some form of weed. Weed will catch the lead when it’s drawn back, whereas silt will be smoother. There are all sorts in between, with firmer silt giving a more solid drop. In heavy weed, it’s unlikely you’ll feel any drop at all. The lead will descend through the water column and come to such a gradual stop that it is indiscernible. The further through the water column you feel the lead fall, the more water there is above the weed and the shorter it is.
Look out for sparse weed species that may grow high but aren’t thick enough to prevent a lead from cracking down on the bottom. On retrieval, your lead can be pulled vertically, with the line going up and over the weed, giving the impression of clear water when it is anything but. A cast with a light lead will help identify such weed growth.
If the lead locks up momentarily yet there’s no sign of weed, you could be covering rocky ground, or coming up against a steep change in depth. Shelves, steep-sided bars or plateaus can all cause the lead to lock, and will require some degree of force to dislodge it. There is also the possibility of finding an underwater obstruction such as an old tree trunk, tyre, sunken boat, etc.
Adjust Clips
Don’t just automatically use the same distance marks on your fishing rods and spod rod. Depending on the depth, your casting style and the way you feel the lead down, you might need to make small adjustments to ensure your rig and free bait are all landing in the same place.