
Getting Slippy With It
Want to know how to get the best from a Slip D? Well, in Lewis Read, we have just the person…
It is not often that the history and development of a carp rig is as clear cut and as well documented as Clarkey’s infamous and hugely effective Slip D-Rig. Developed in the carp angling hotbed that is Bedfordshire during the late ’80s, Martin has stated that he was trying to develop a bottom-bait rig that was as effective as the pop-up rig he was using at the time.
In its original form, it’s a relatively simple rig to tie. That doesn’t mean, though, that it’s any less effective than a presentation that requires an honours degree in ‘knotestry’, along with the addition of 27 jangly bits of metal.
Like so many things in carp angling, simplicity equals accessibility, and most importantly, reliability. Realistically, this rig is all about choosing the right combination of hook pattern and getting the dimensions of the ‘D’ perfect.
So why is it so special? After all, when you play with the rig it seems wholly unspectacular, but as they say, the proof of the pudding is in the eating, and the Slip D’s rock-solid reputation for being highly effective in terms of pricking the carp and then staying firmly put, is as enduring as that of any publicised bottom-bait rig out there and in the public eye.
It’s just right, and over 20 years of use has abundantly demonstrated this time and time again. So what makes it special? The very fact that the bait is mounted on a subtle ‘D’ offers two very distinct advantages that aid hooking performance when the hookbait and rig have been inhaled.
The first is related to the hookbait and hook’s orientation and proximity. It’s quite striking that the hookbait and hook actually draw closer together as they are sucked into old cavernous cakehole. This in itself, virtually guarantees that the hook goes into the fish’s mouth in the correct orientation, so the hook point is positioned with the hook point perfectly located to take hold in the fish’s bottom lip.
Then, secondly, at the instant the hook point pricks and the suction on the hookbait stops—or even better, when the fish tries to puff the rig out—the supple ‘D’ immediately relaxes—or pushes backwards on an ejection—allowing completely unrestricted rotational movement of the hook, and it drops freely.
Obviously, the faster any rig reacts like this, the greater the chance that the point will sneak a hold… and bingo! The line pulls tight, pops out of the line clip and the buzzer chirps into life.
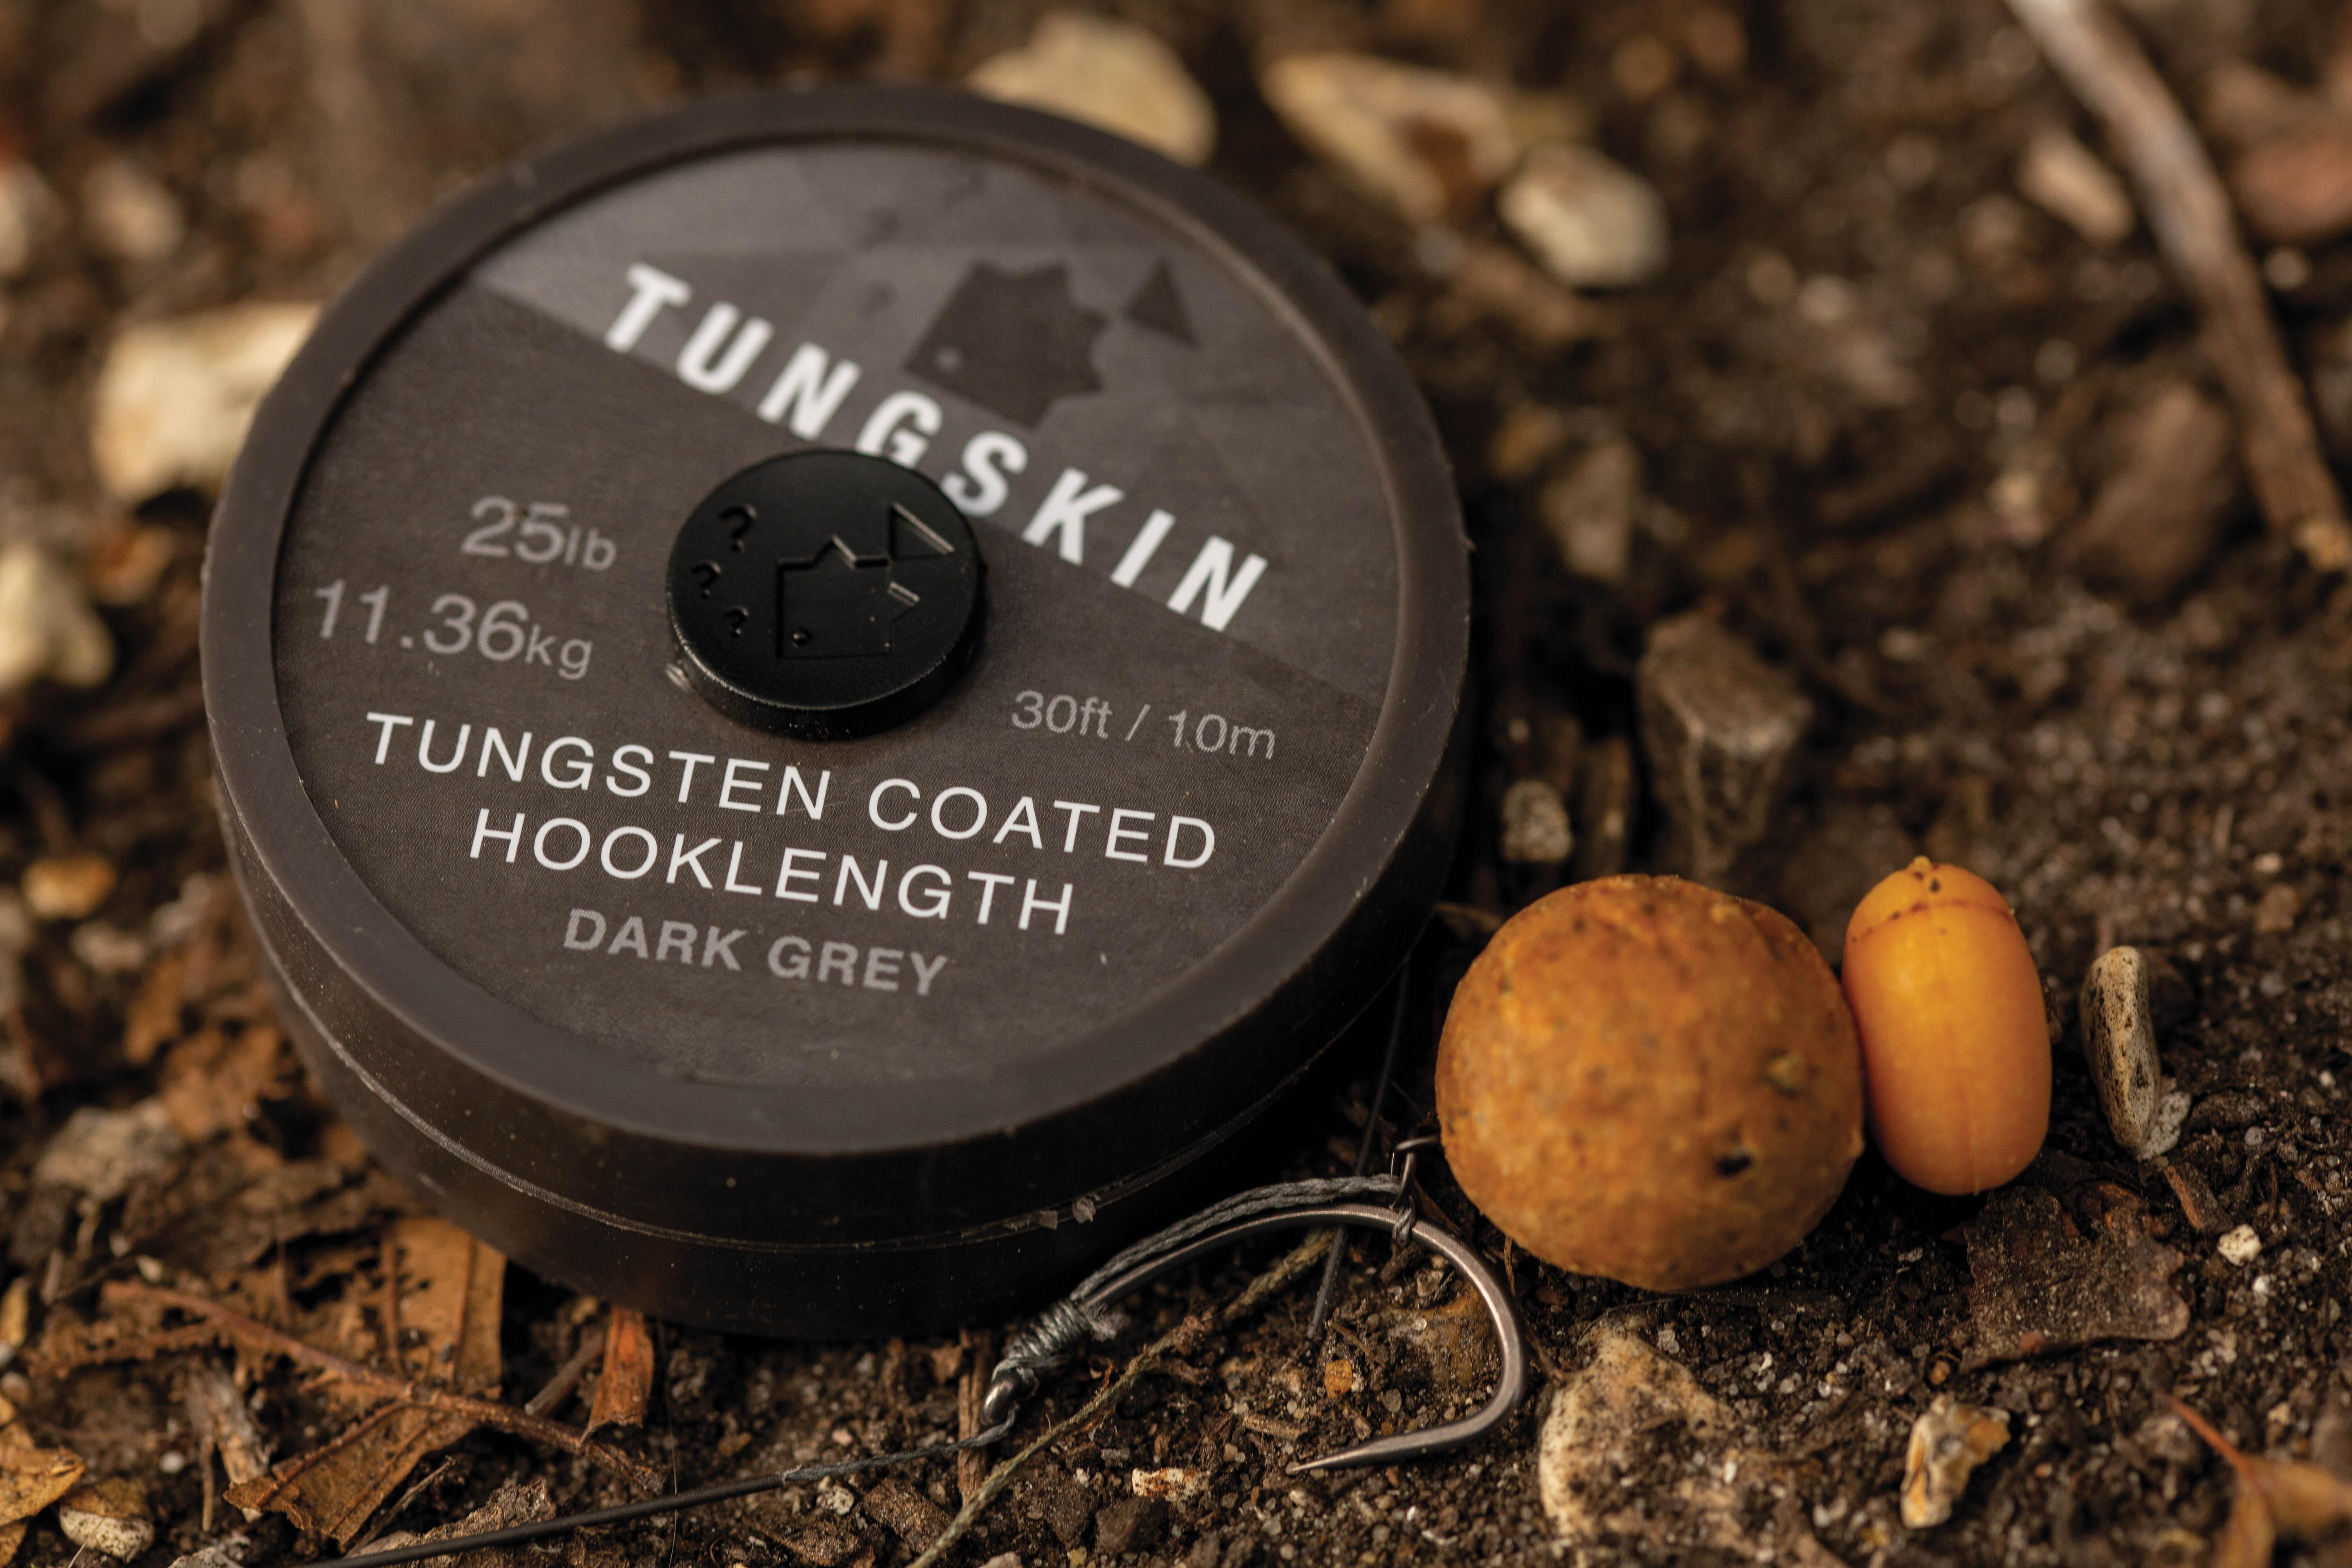
The perfect hooklink material for this rig is a good-quality skinned hooklink—or a steamed stiff-skinned one with a stripped section at the end for use on helis. Alternatively, you can use a softer-skinned hooklink on a lead-clip arrangement.
Of course, you can always create a true Combi Rig using braid and fluorocarbon, but skinned materials really are so good now, that it hardly seems worth bothering with. Fishing for big carp inevitably puts your gear through the wringer, and one less knot equals one less potential weak spot.
Martin himself says that the rig can also be used with pop-ups, and as the originator, he should know! I haven’t used the rig in this form, so I will refrain from commenting on that specifically.
One of the things I love most about the rig is the lack of components, and this makes for a lovely subtle-looking trap. As such, it’s a rig that can be adapted for fishing on clear spots in the edge, adjusting its length to suit the baiting scenario.
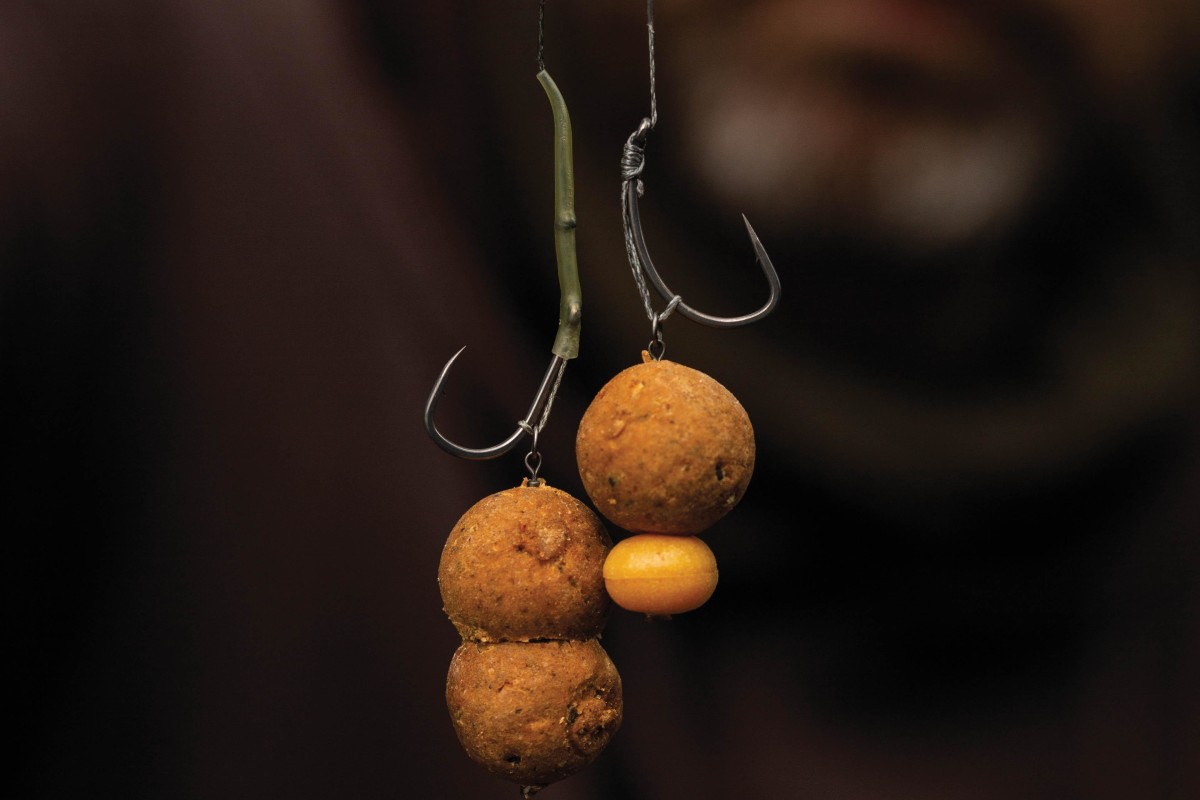
In terms of bottom baits and balanced hookbaits, let’s consider the viable hookbait options and how best to mount them. Essentially, the world is your oyster. The simplest combination is as was used originally, utilising a rig ring, and with the hookbait mounted with a bit of bait floss. Of course, with the wide variety of ringed bait screws, very small swivels or hook ring swivels available nowadays, most of which offer unrestricted rotational movement, there are a lot of options available.
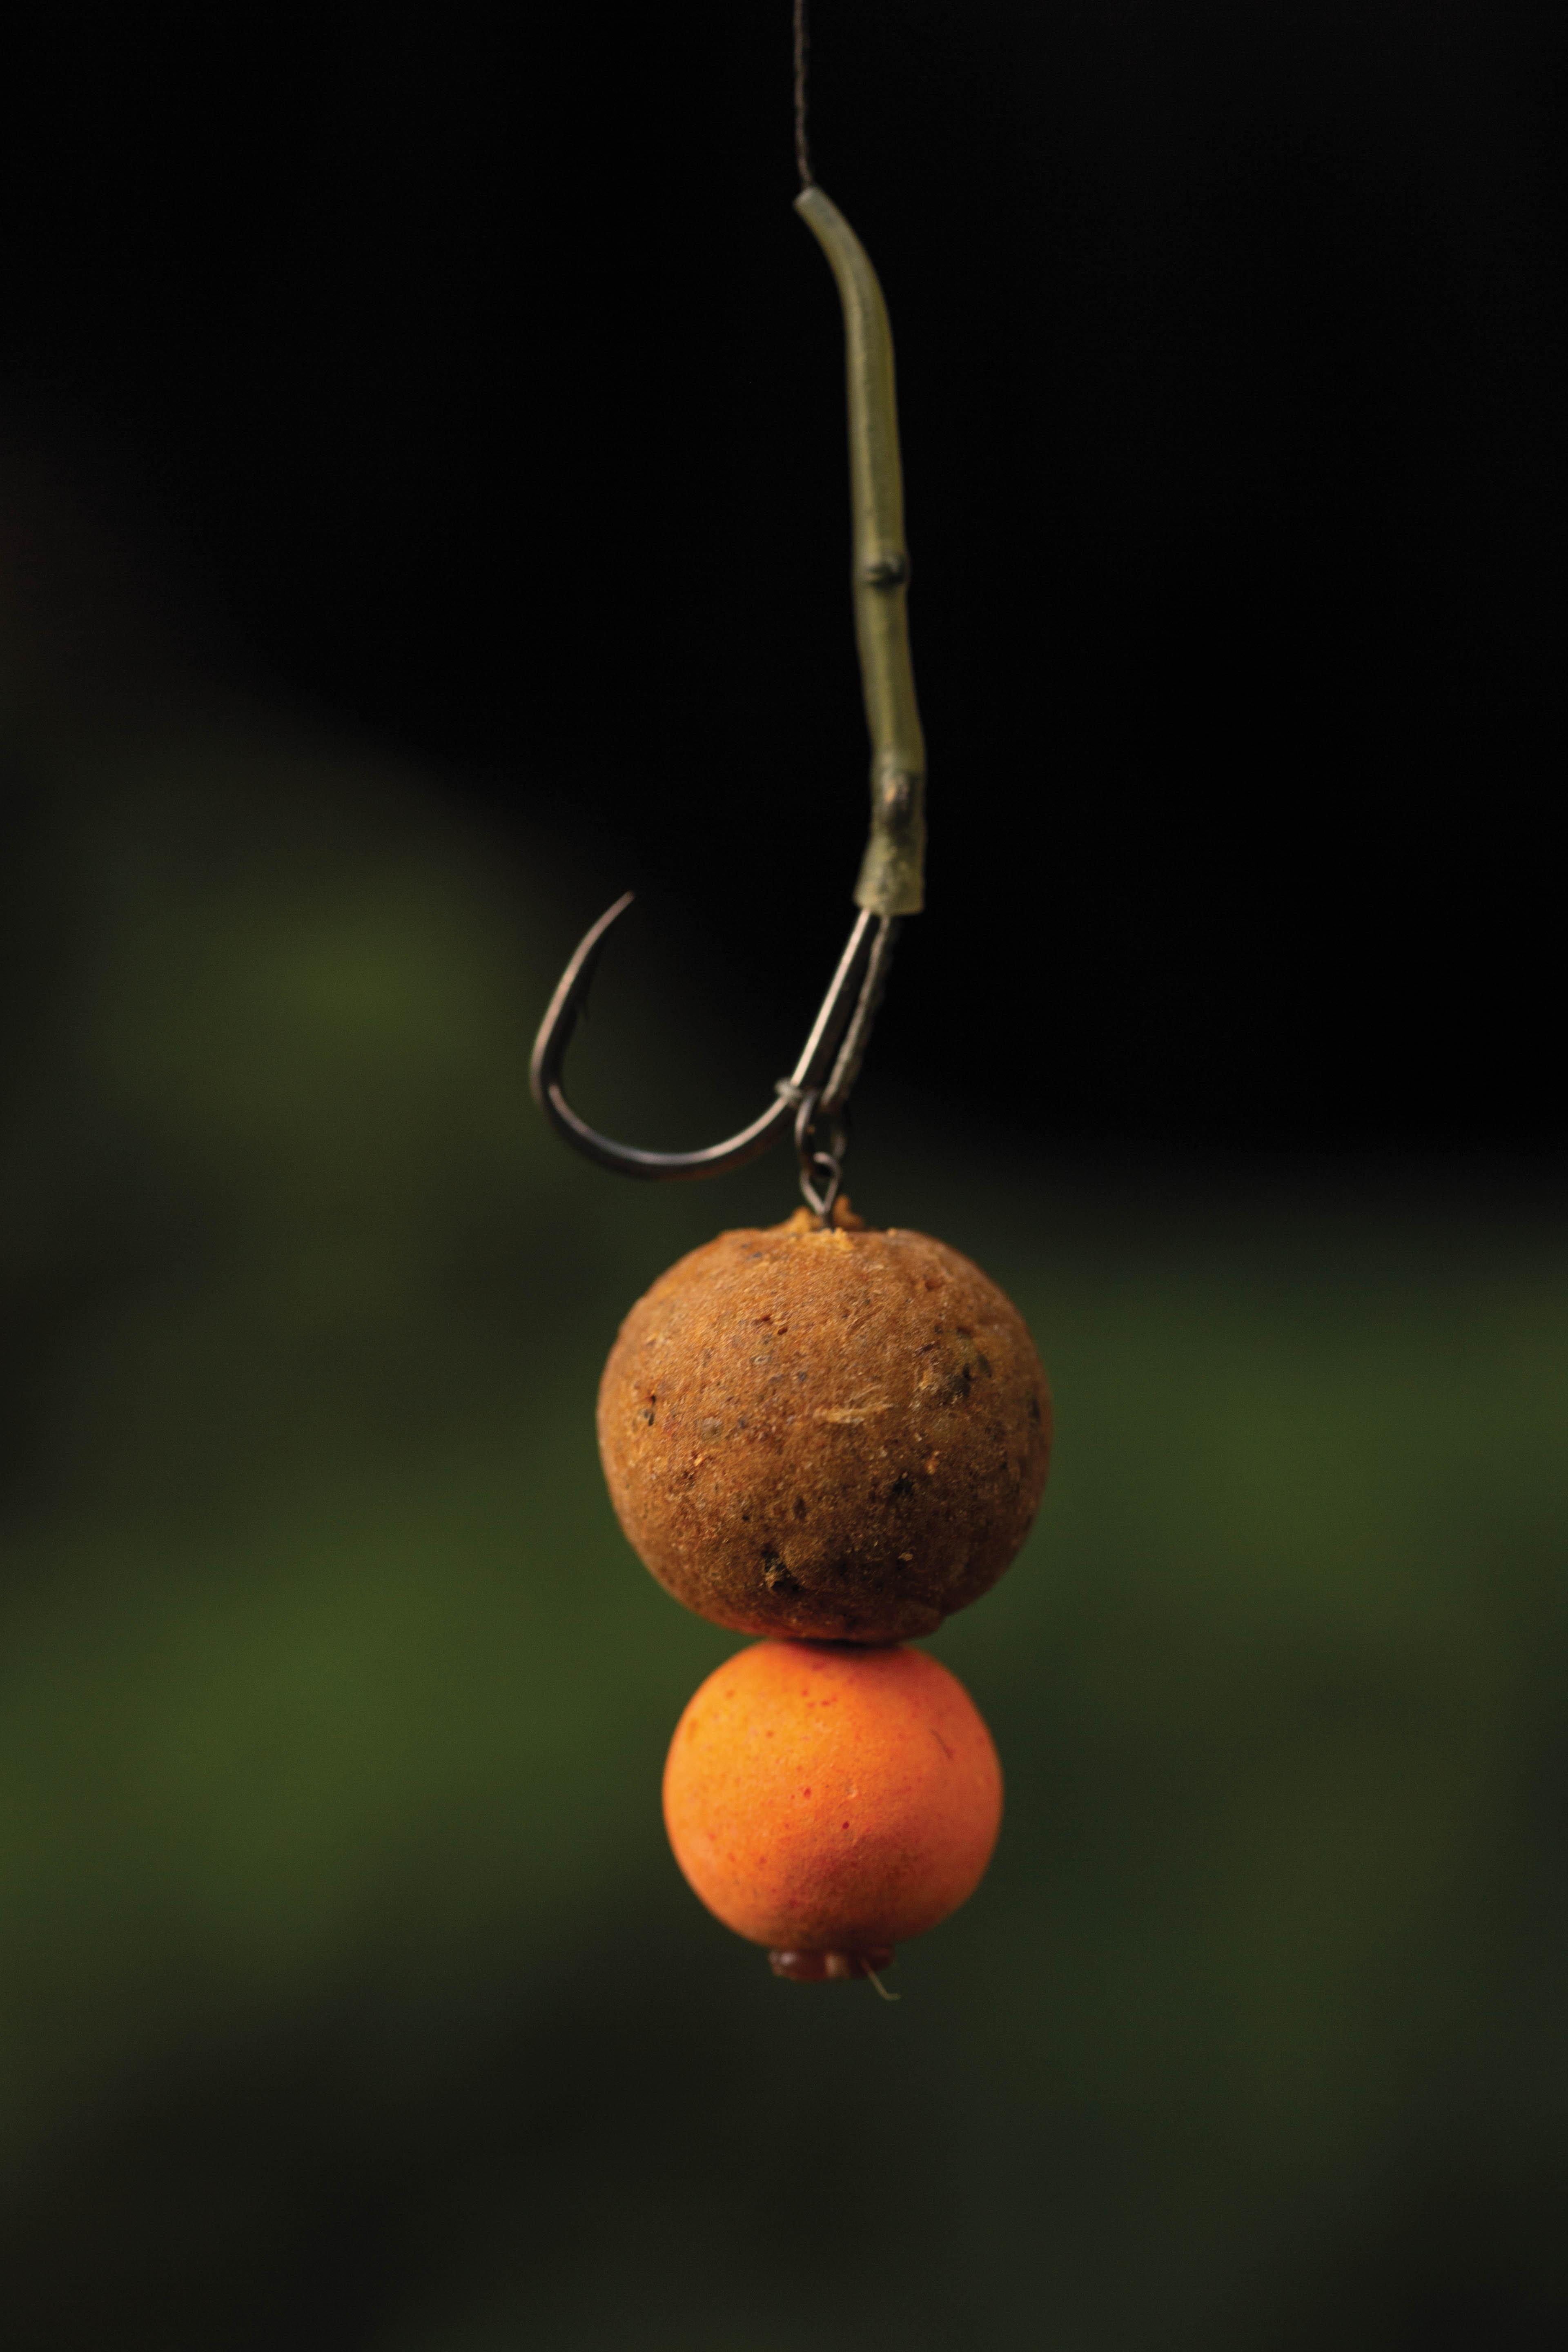
For those poor unfortunate wretches who regularly read my rig articles, I hope you will recall how double hookbaits offer distinct advantages in terms of consistency of how the rig—the hook and hookbait—lay down untangled and with the bait and hook laying neatly. Essentially, it helps to eradicate the chance of the hookbait laying at such an angle that the hook is held awkwardly off the lakebed.
Semi-buoyant wafters and hookbaits—such as Snowman Rig arrangements—are the perfect partner. However, I suggest an important tip is that it is well worth avoiding overly buoyant combinations, as they can easily lift the eye of the hook from the lakebed and cause the loop to contract—like a Snake Rig. Some rigs are made for super-balanced hookbaits, but this most certainly isn’t one of those. Balance the rig so that the hook lays on its side, flat on the lakebed. It’s the prefect presentation for fishing over a nice bed of freebies, and is ideal for corked tigers, ‘plastic fantastic’ or a myriad of other tasty morsels.
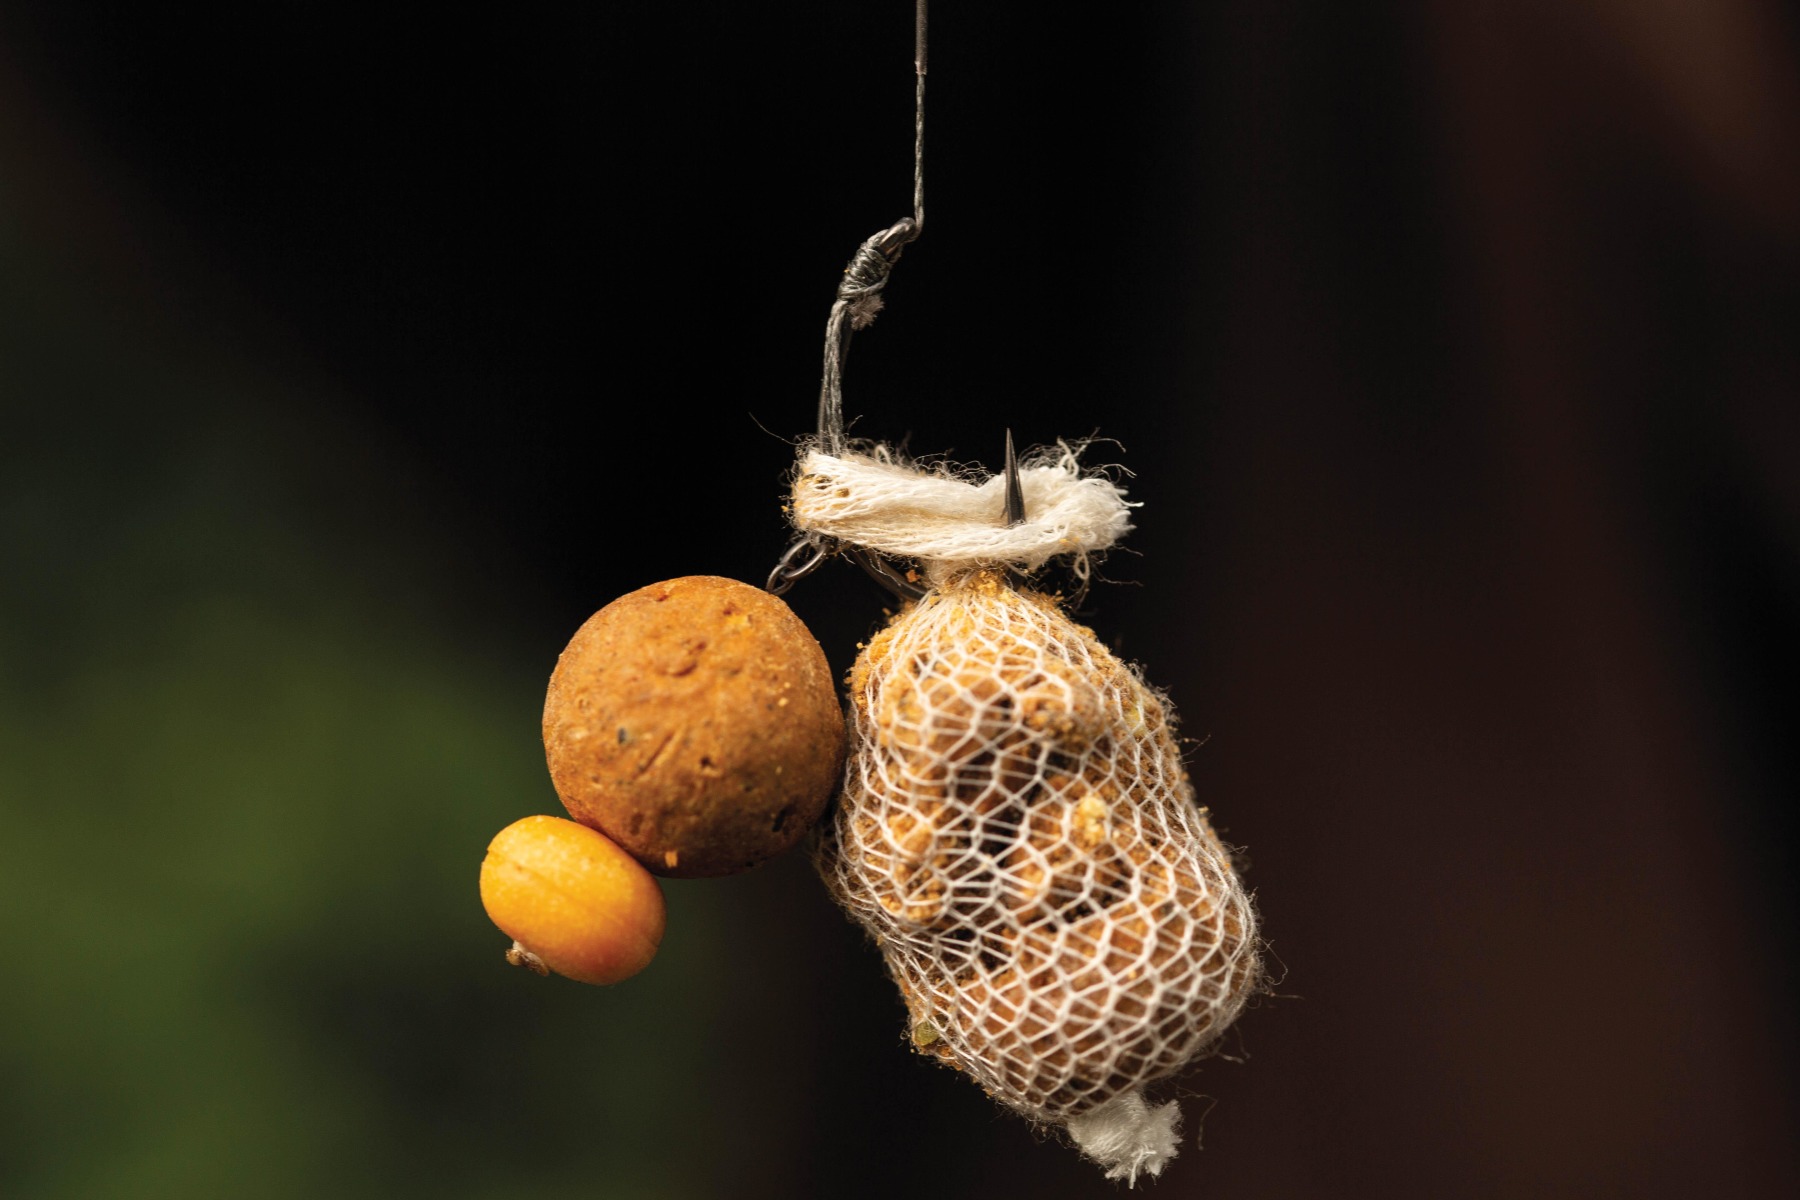
If there was one very small matter to address with the Slip D, it was the need to manage the chance of the soft ‘D’ wrapping around the shank, the hookbait then impairing the hook point and rendering the rig ineffectual. Double hookbaits help, but not as much as a wrap of PVA tape to trap the hookbait tight to the shank of the hook.*
*Please note that I don’t recommend dissolving nuggets for this purpose. In my honest opinion, these horrid things have just two uses: packaging… oh, that’s only one isn’t it! I suppose after the apocalypse we could eat them, as they are made from starch. So that’s another one, at a push.
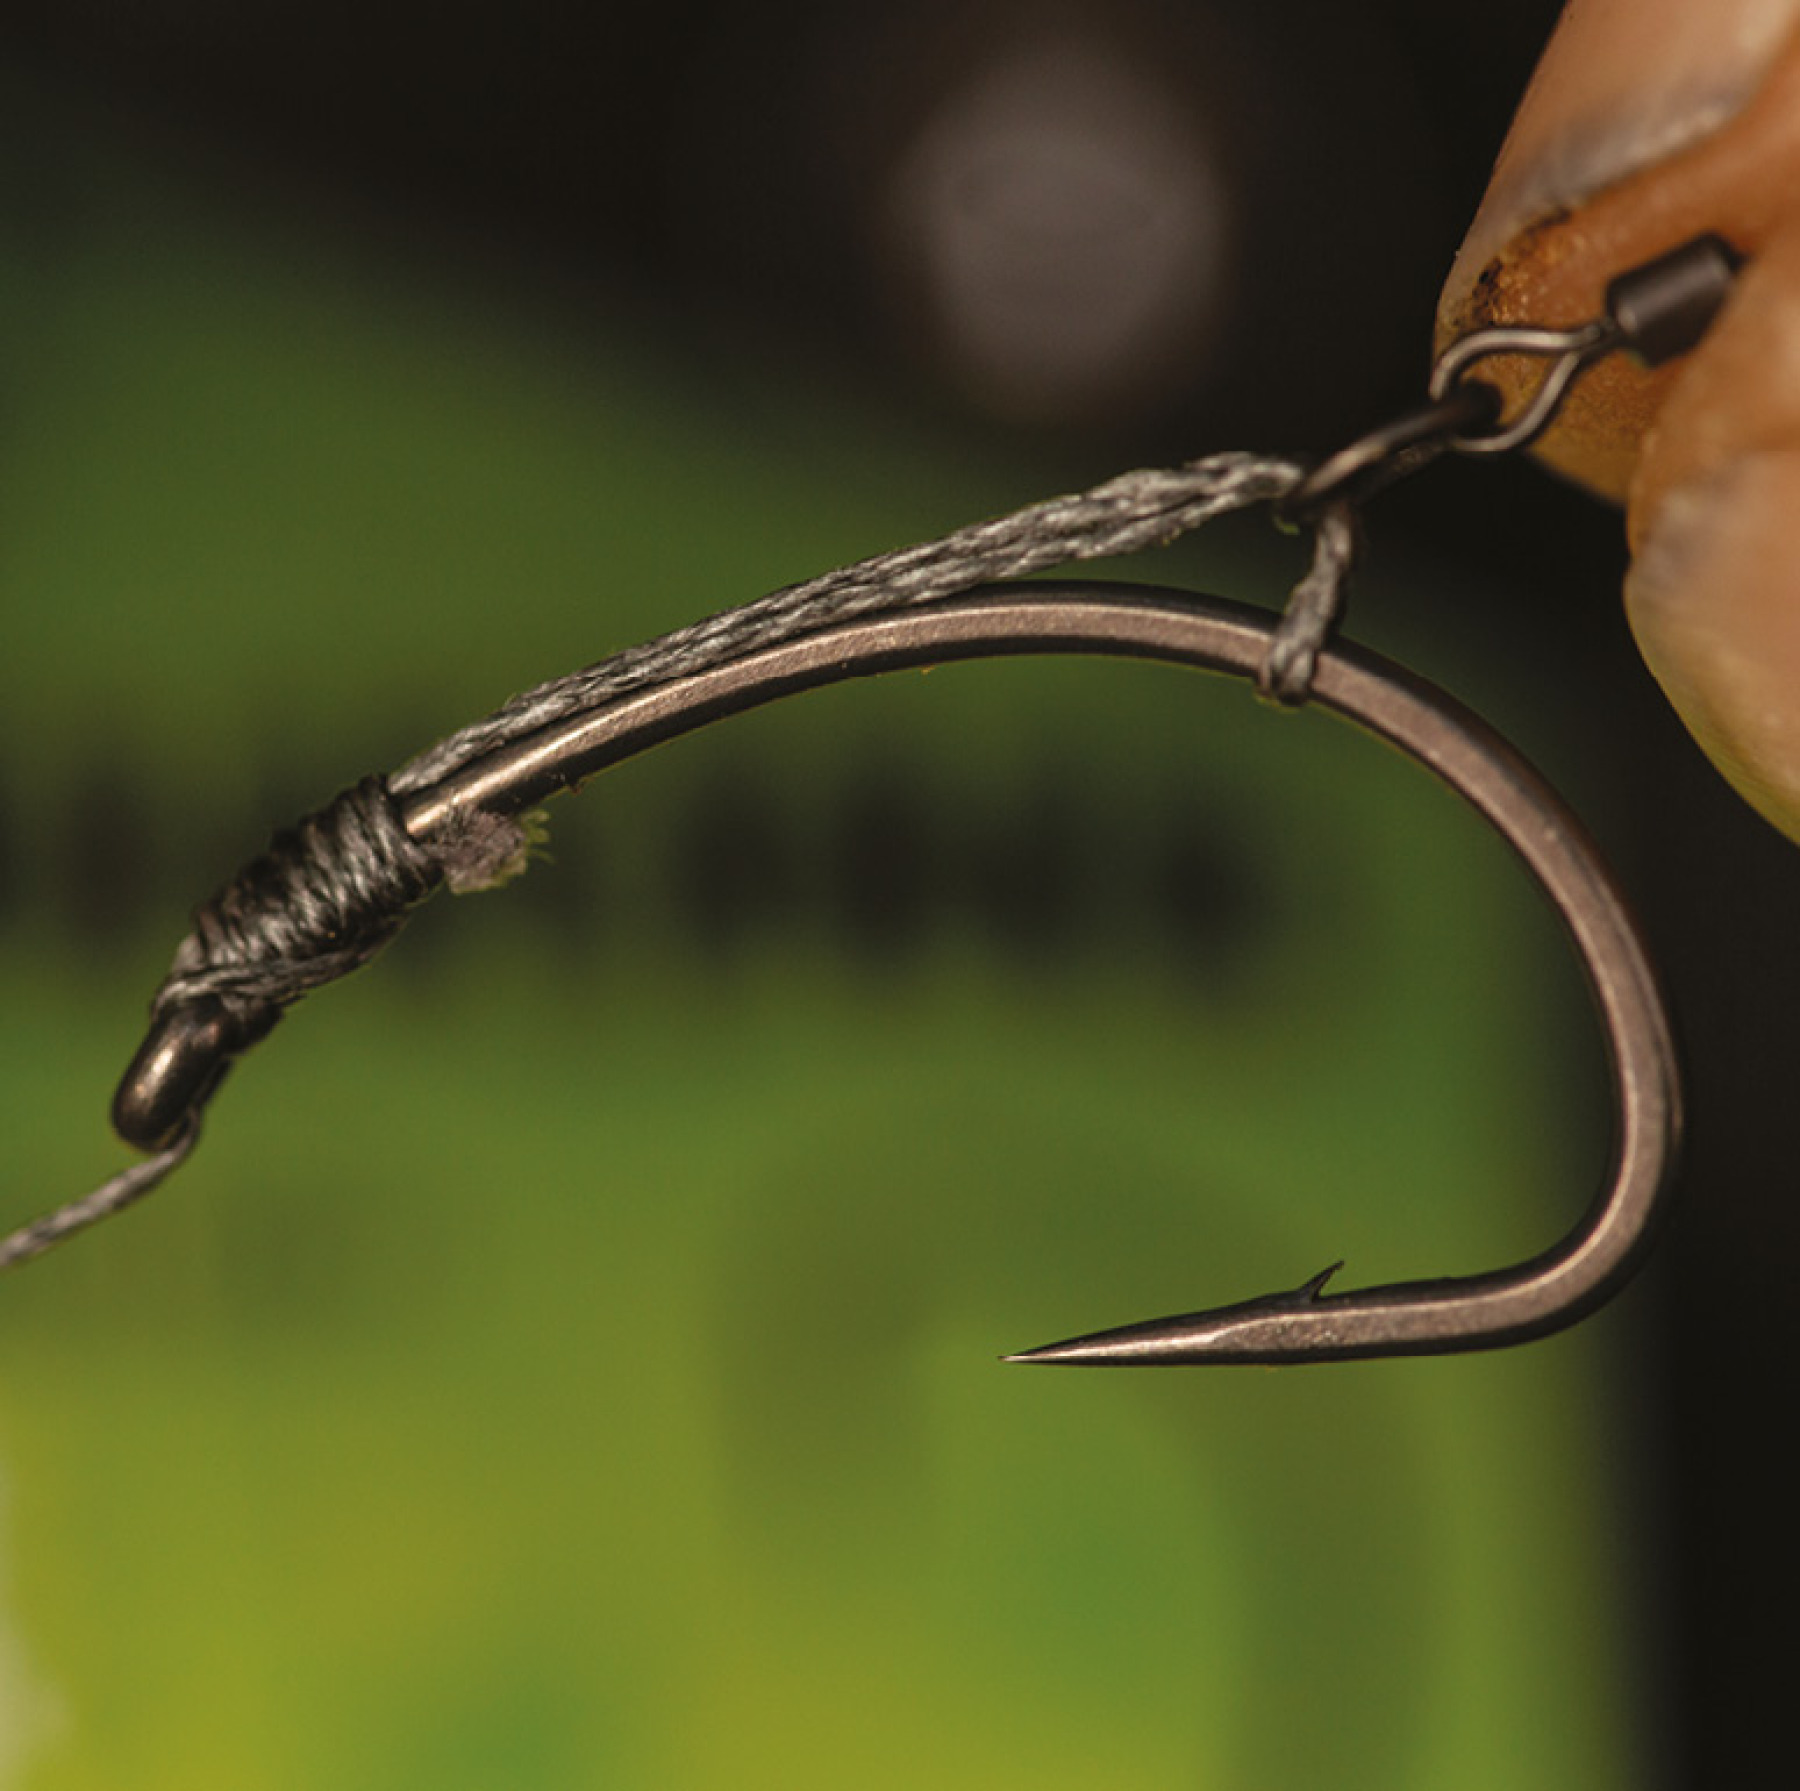
Whilst on the broad topic of ’ooks, patterns like TA’s Curve Shank are simply perfect for the classic Slip D. The combination of a medium curve and inturned eye means that no additional tubing is necessary, as the orientation of the straight point and the hook’s eye encourages the hook to penetrate deeply, with it bedding down to the bend nice and quickly. That means fewer hook-pulls.
One of the natural evolutions from the original concept has been the use of a soft, Multi Rig-style looped arrangement for attaching hooks. We’re all pretty much up to speed on how to set-up and use Multi Rigs, the knots to use and the benefit of looping hooks on for convenience, and it’s pretty easy to see that that principle can be extended to the Slip D. All you need to do is sheath the hook eye with either a preformed kicker or a short section of shrink tube. This helps to keep the ‘D’ set in position during the cast. The only drawback with this version is that you can’t hook on a stringer or small PVA mesh bag, because as the rig impacts the water, inevitably the ‘D’ is dragged out through the eye with the presentation pretty much then ruined as the movement of the hookbait becomes negligible.
Good old Martin. There’s no doubting that it’s an absolute winner of a rig! He nailed the mechanics perfectly without making the rig overly complex or painstaking to tie. If you fancy something different, but are scared of the classic D or Clone Rigs, then why not give it a go? In the meantime, I will say thank you to Martin for all of us, for you sir, are an absolute legend!
The Finer Details - Key areas to focus on according to Lewis Read
1. Hook Patterns
Though the Slip D offers advantages in terms of its function as an anti-eject rig, in truth, the benefits are largely related to how it reacts as the hooklink tightens. Therefore, it benefits from being tied with hooks that feature an inturned eye. These naturally help the hook to turn, putting the point in a position where it is likely to take hold positively.
2. Hooklink Materials
Whatever hooklink material you prefer to use—plain braid, skin, or even a combination—the single most important factor is to ensure that the Slip D is formed with soft material, to allow the ‘D’ to collapse back unhindered. In fact, truthfully, it’s the perfect rig for getting the most from skinned hooklinks.
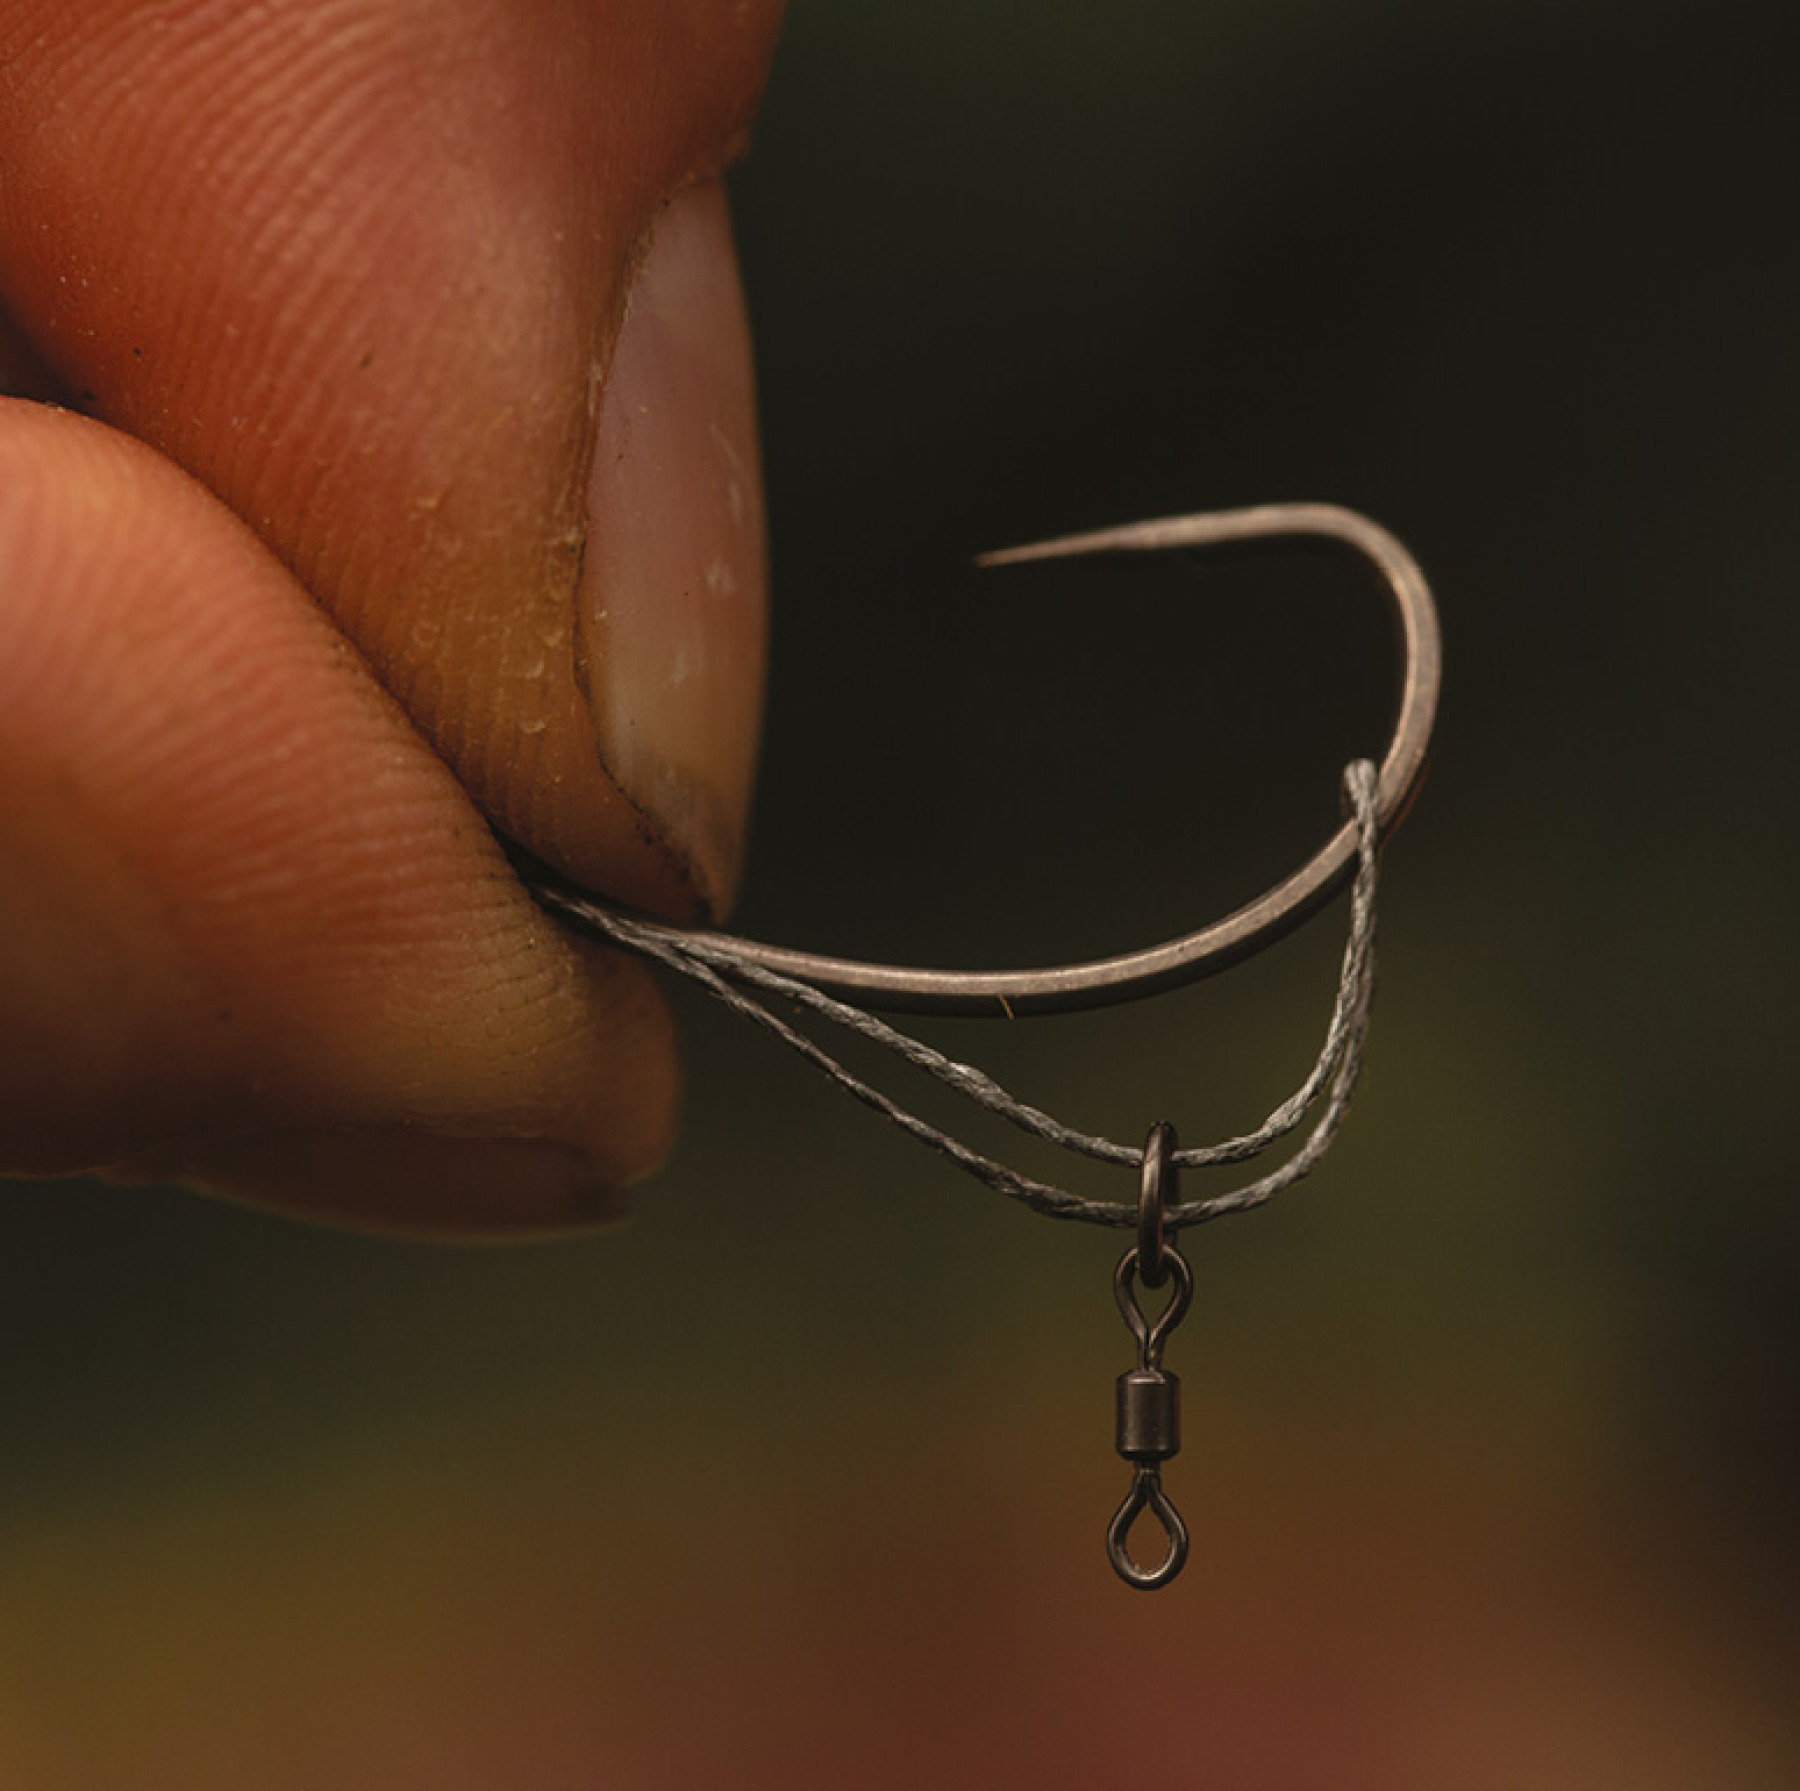
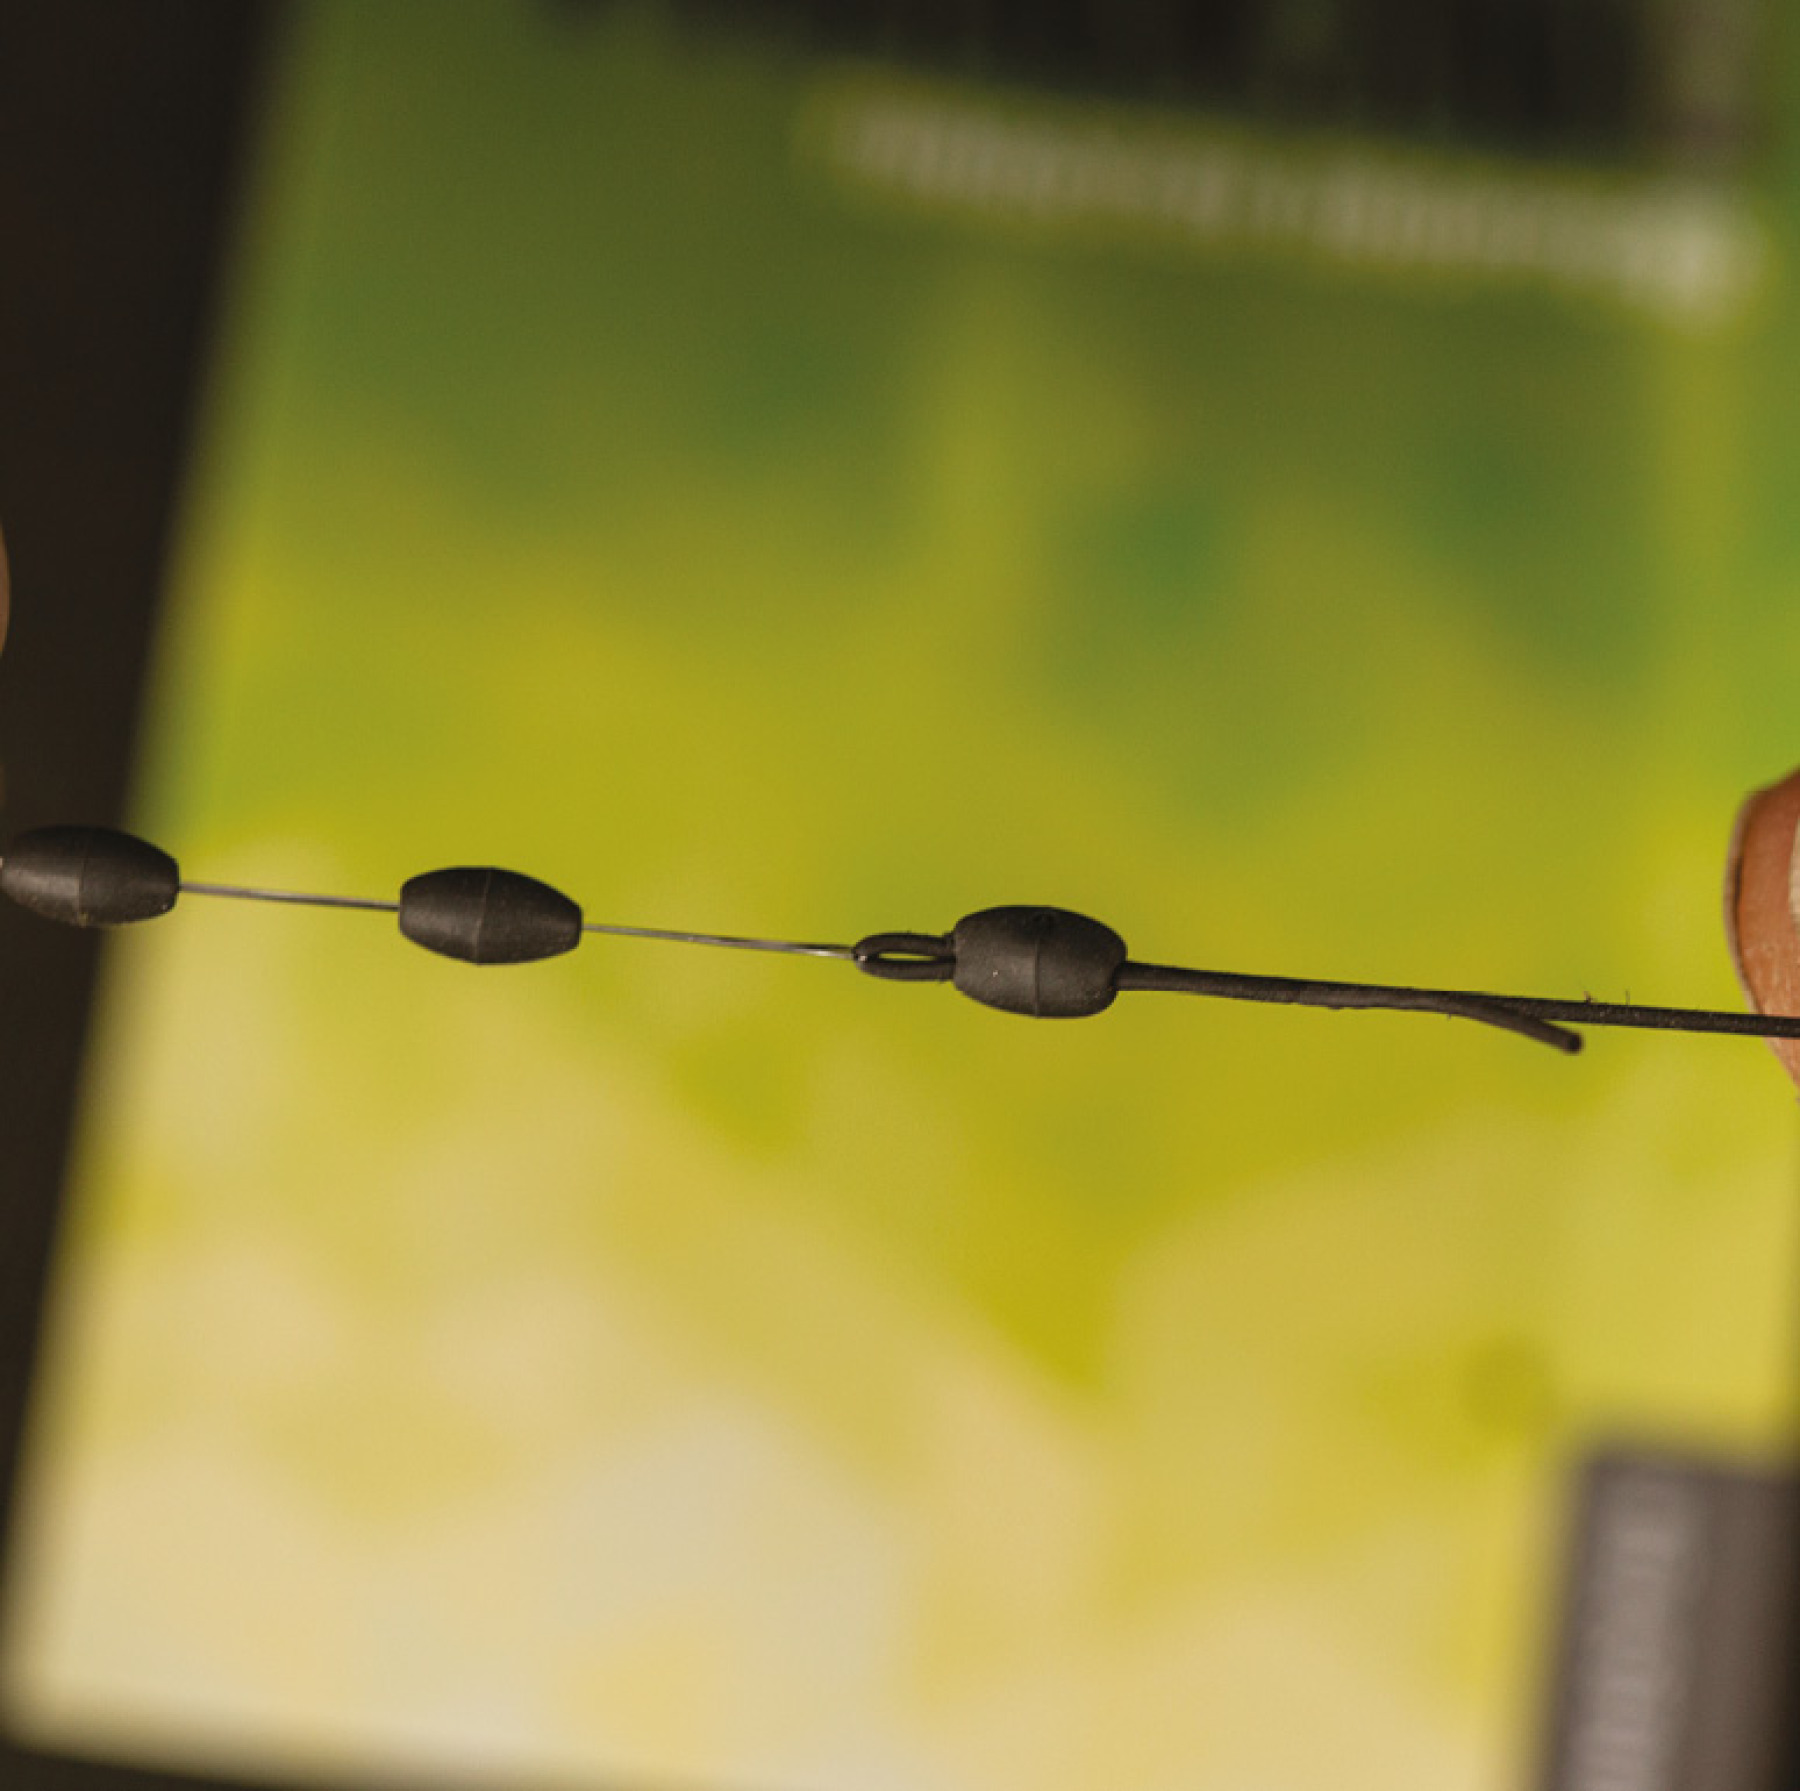
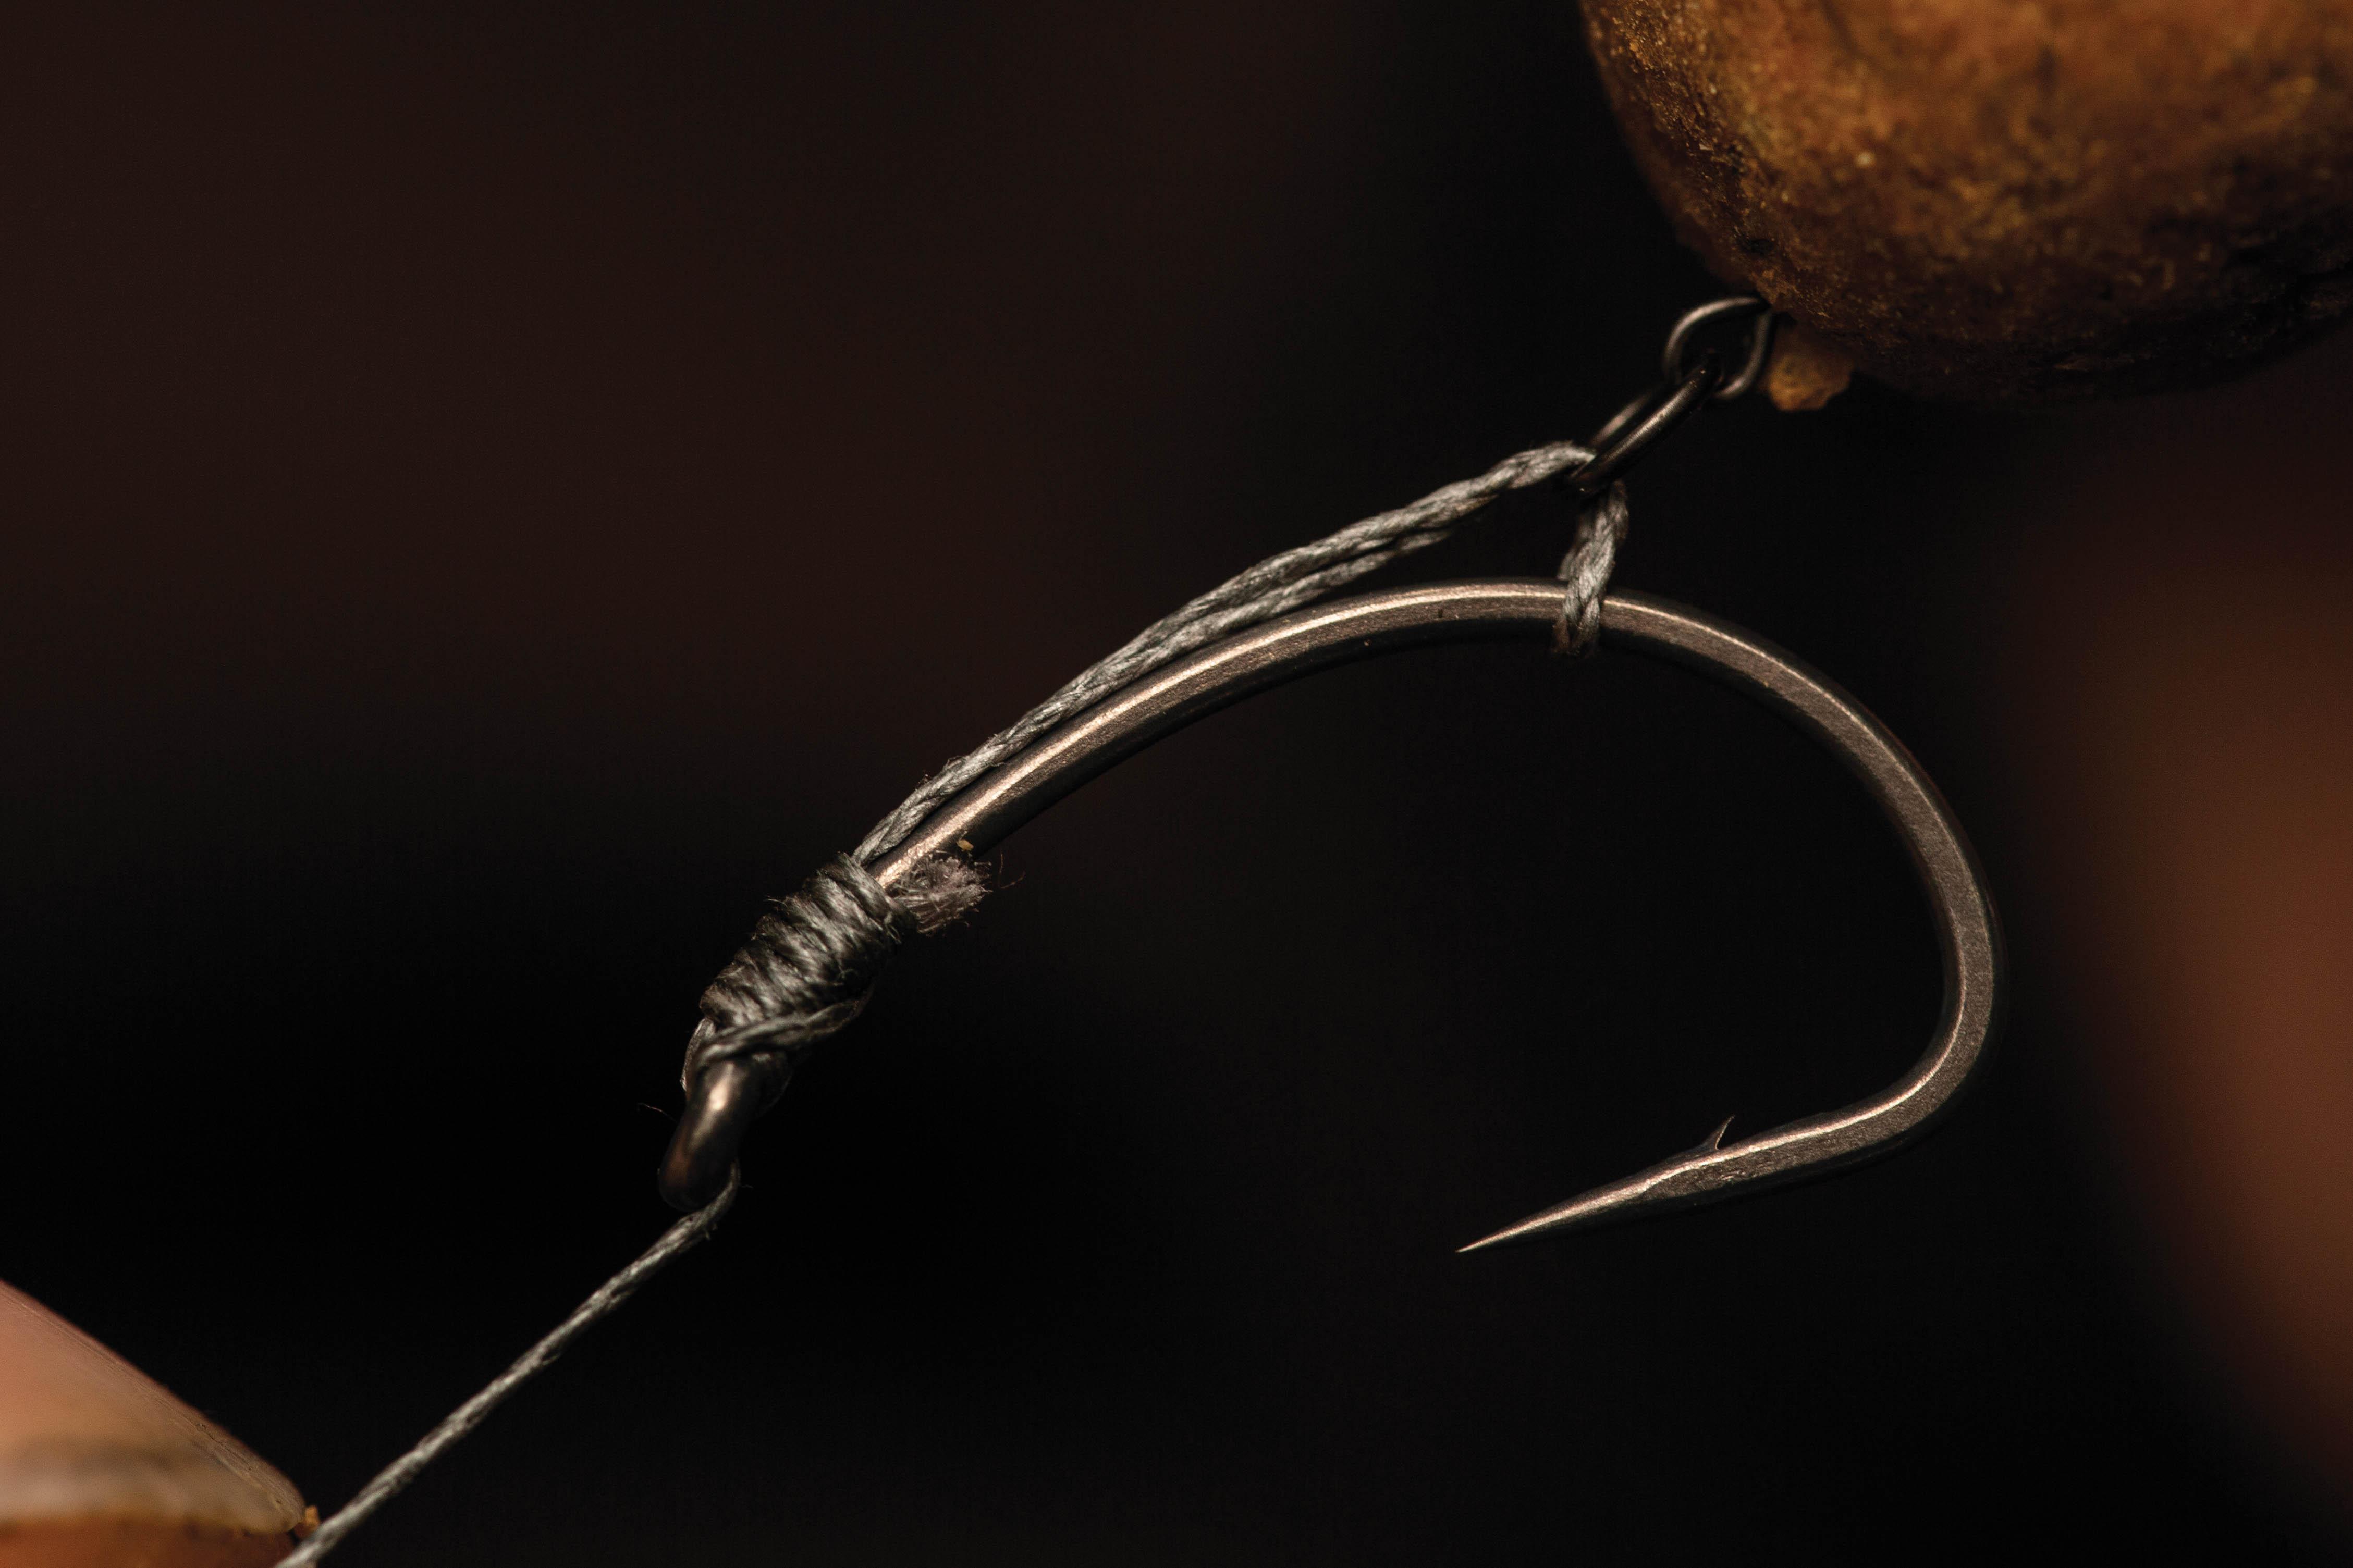
3. ‘D’ Size and Position
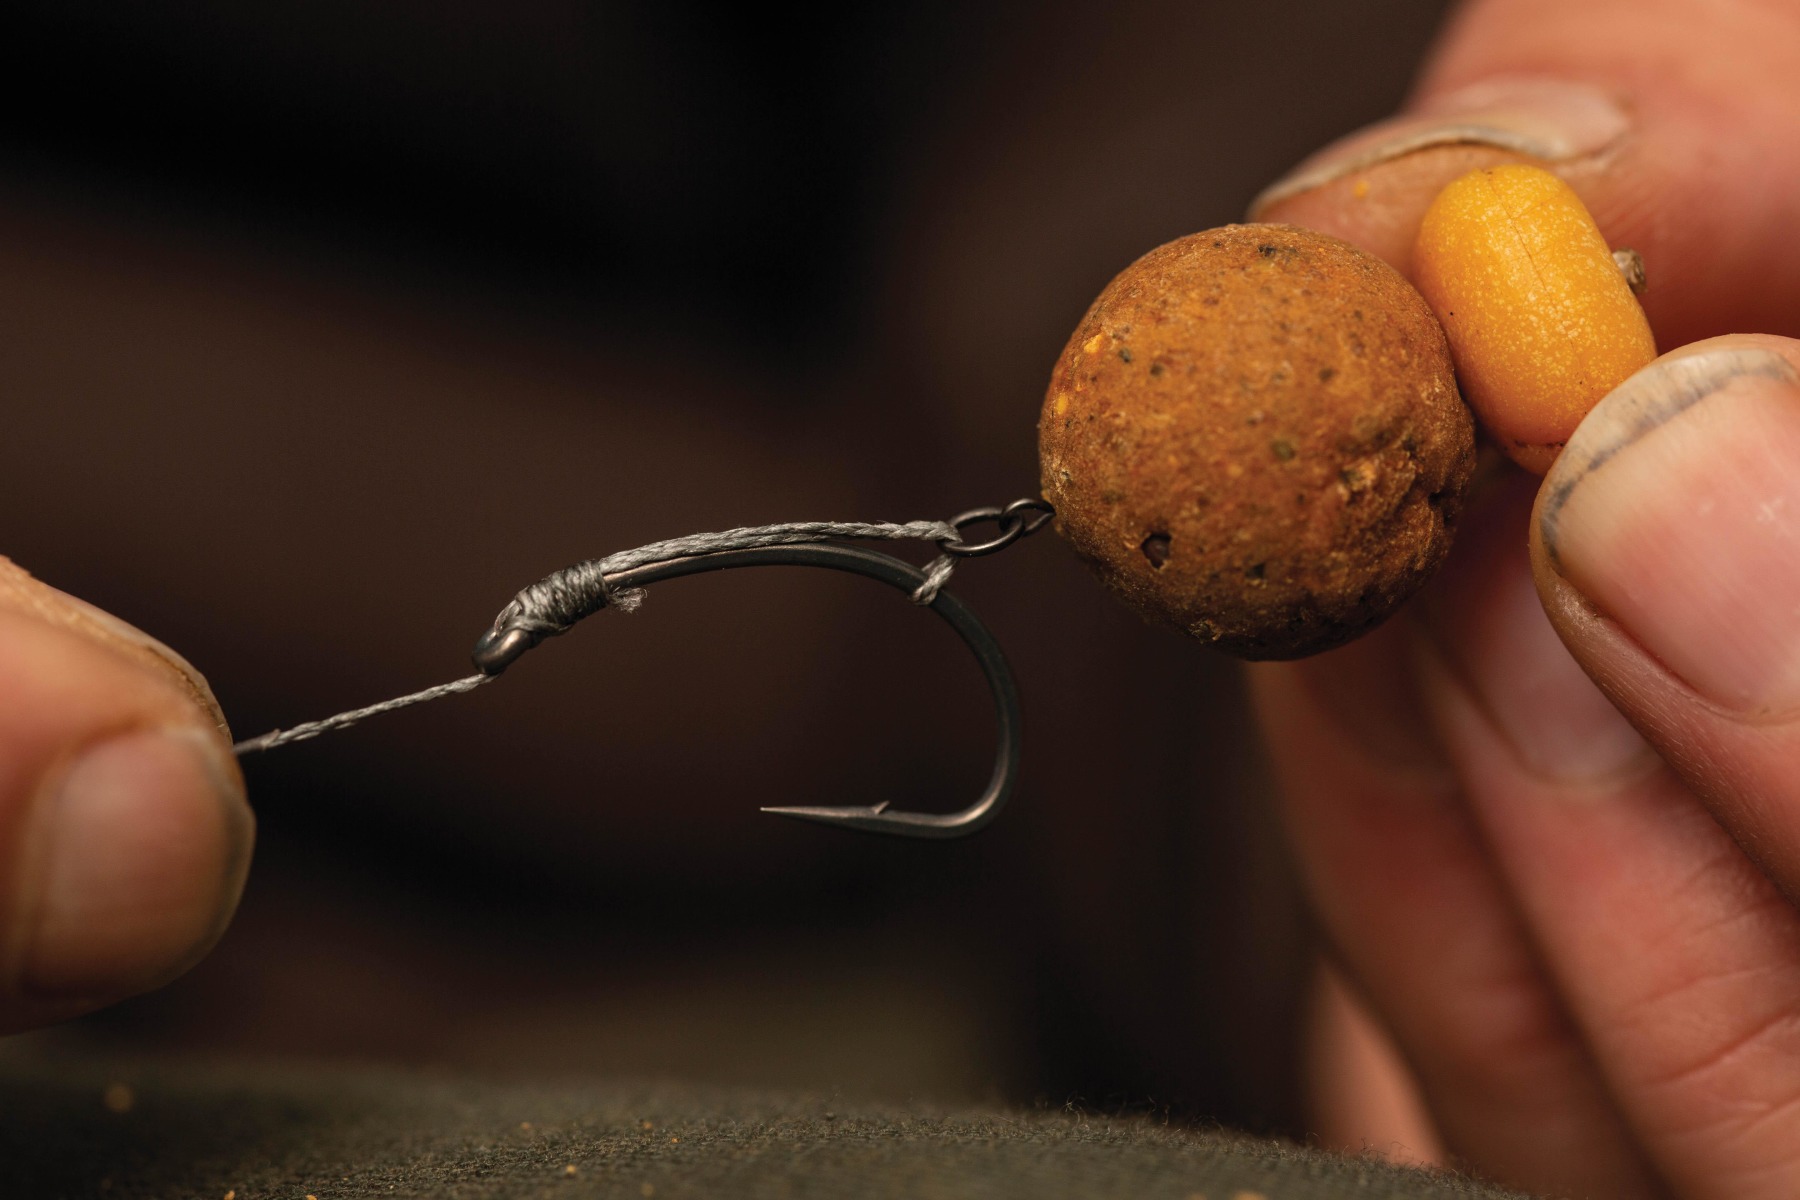
Whether you’re using the classic whipped Slip D, or a Multi Rig-style looped hook attachment, the top of the Slip D should extend up to opposite the hook barb, or approximately the same position if you’re using barbless hooks.
4. Hookbait Attachment
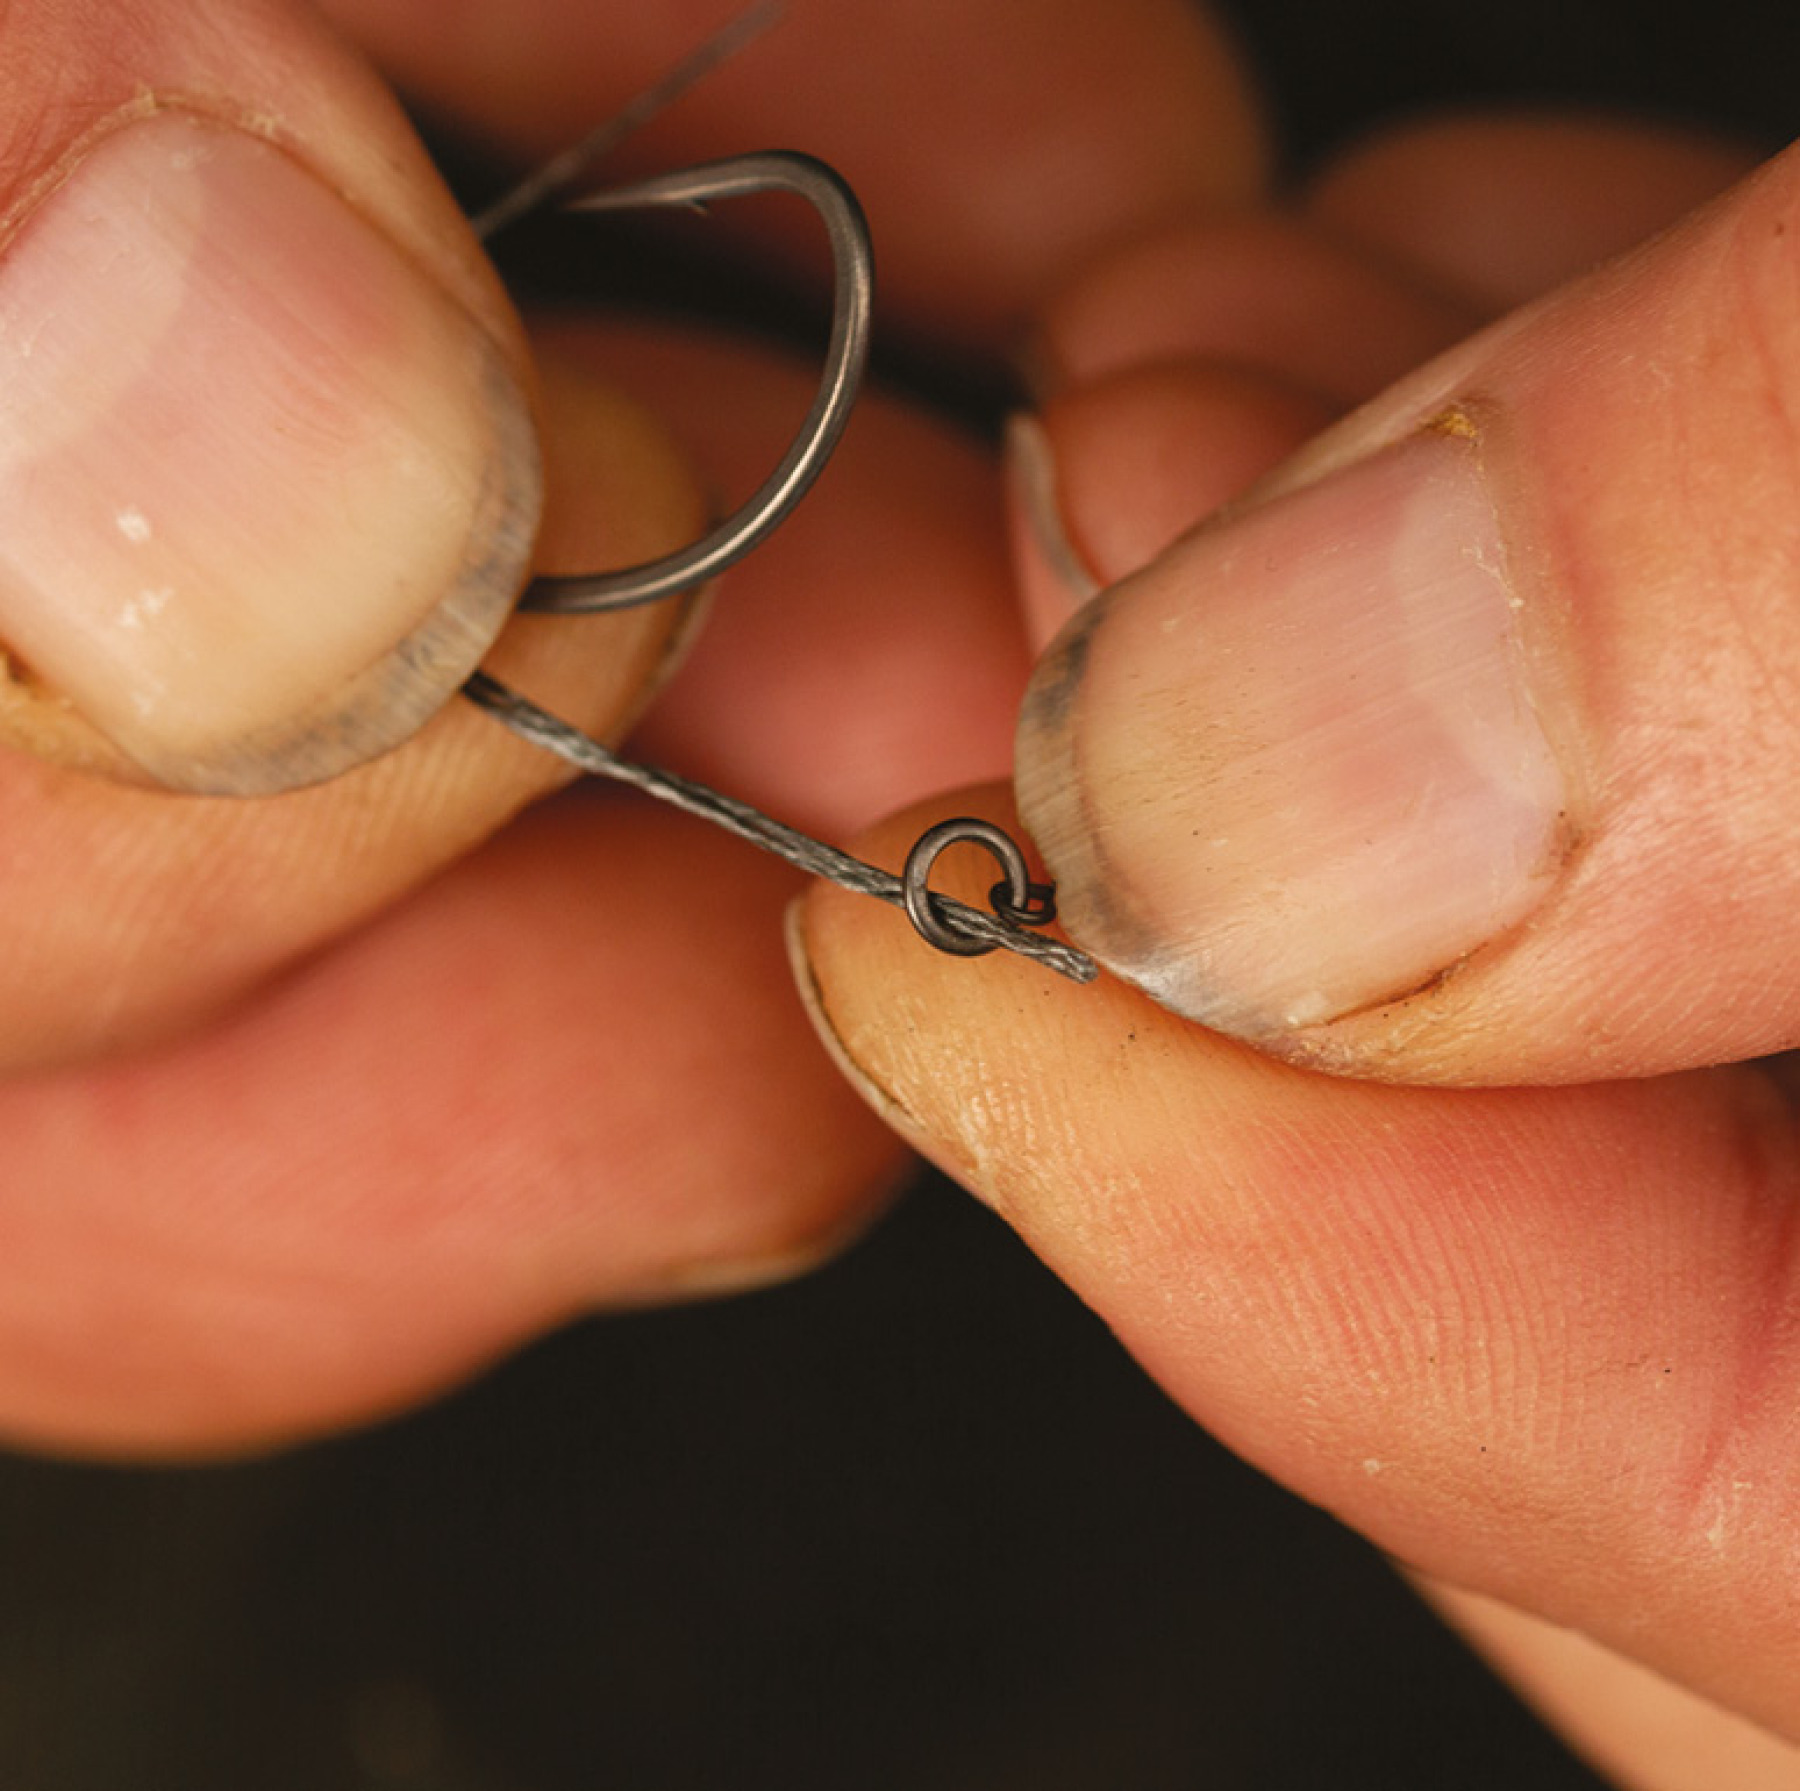
The original Slip D rig incorporated a simple rig ring, but now you have the choice of all sorts of metalwear. Hook ring swivel screws are popular for convenience of mounting hookbaits, but you can also use a bit of bait floss drawn through the hookbait if you prefer doing things in the tried-and-tested ways of old—I do!
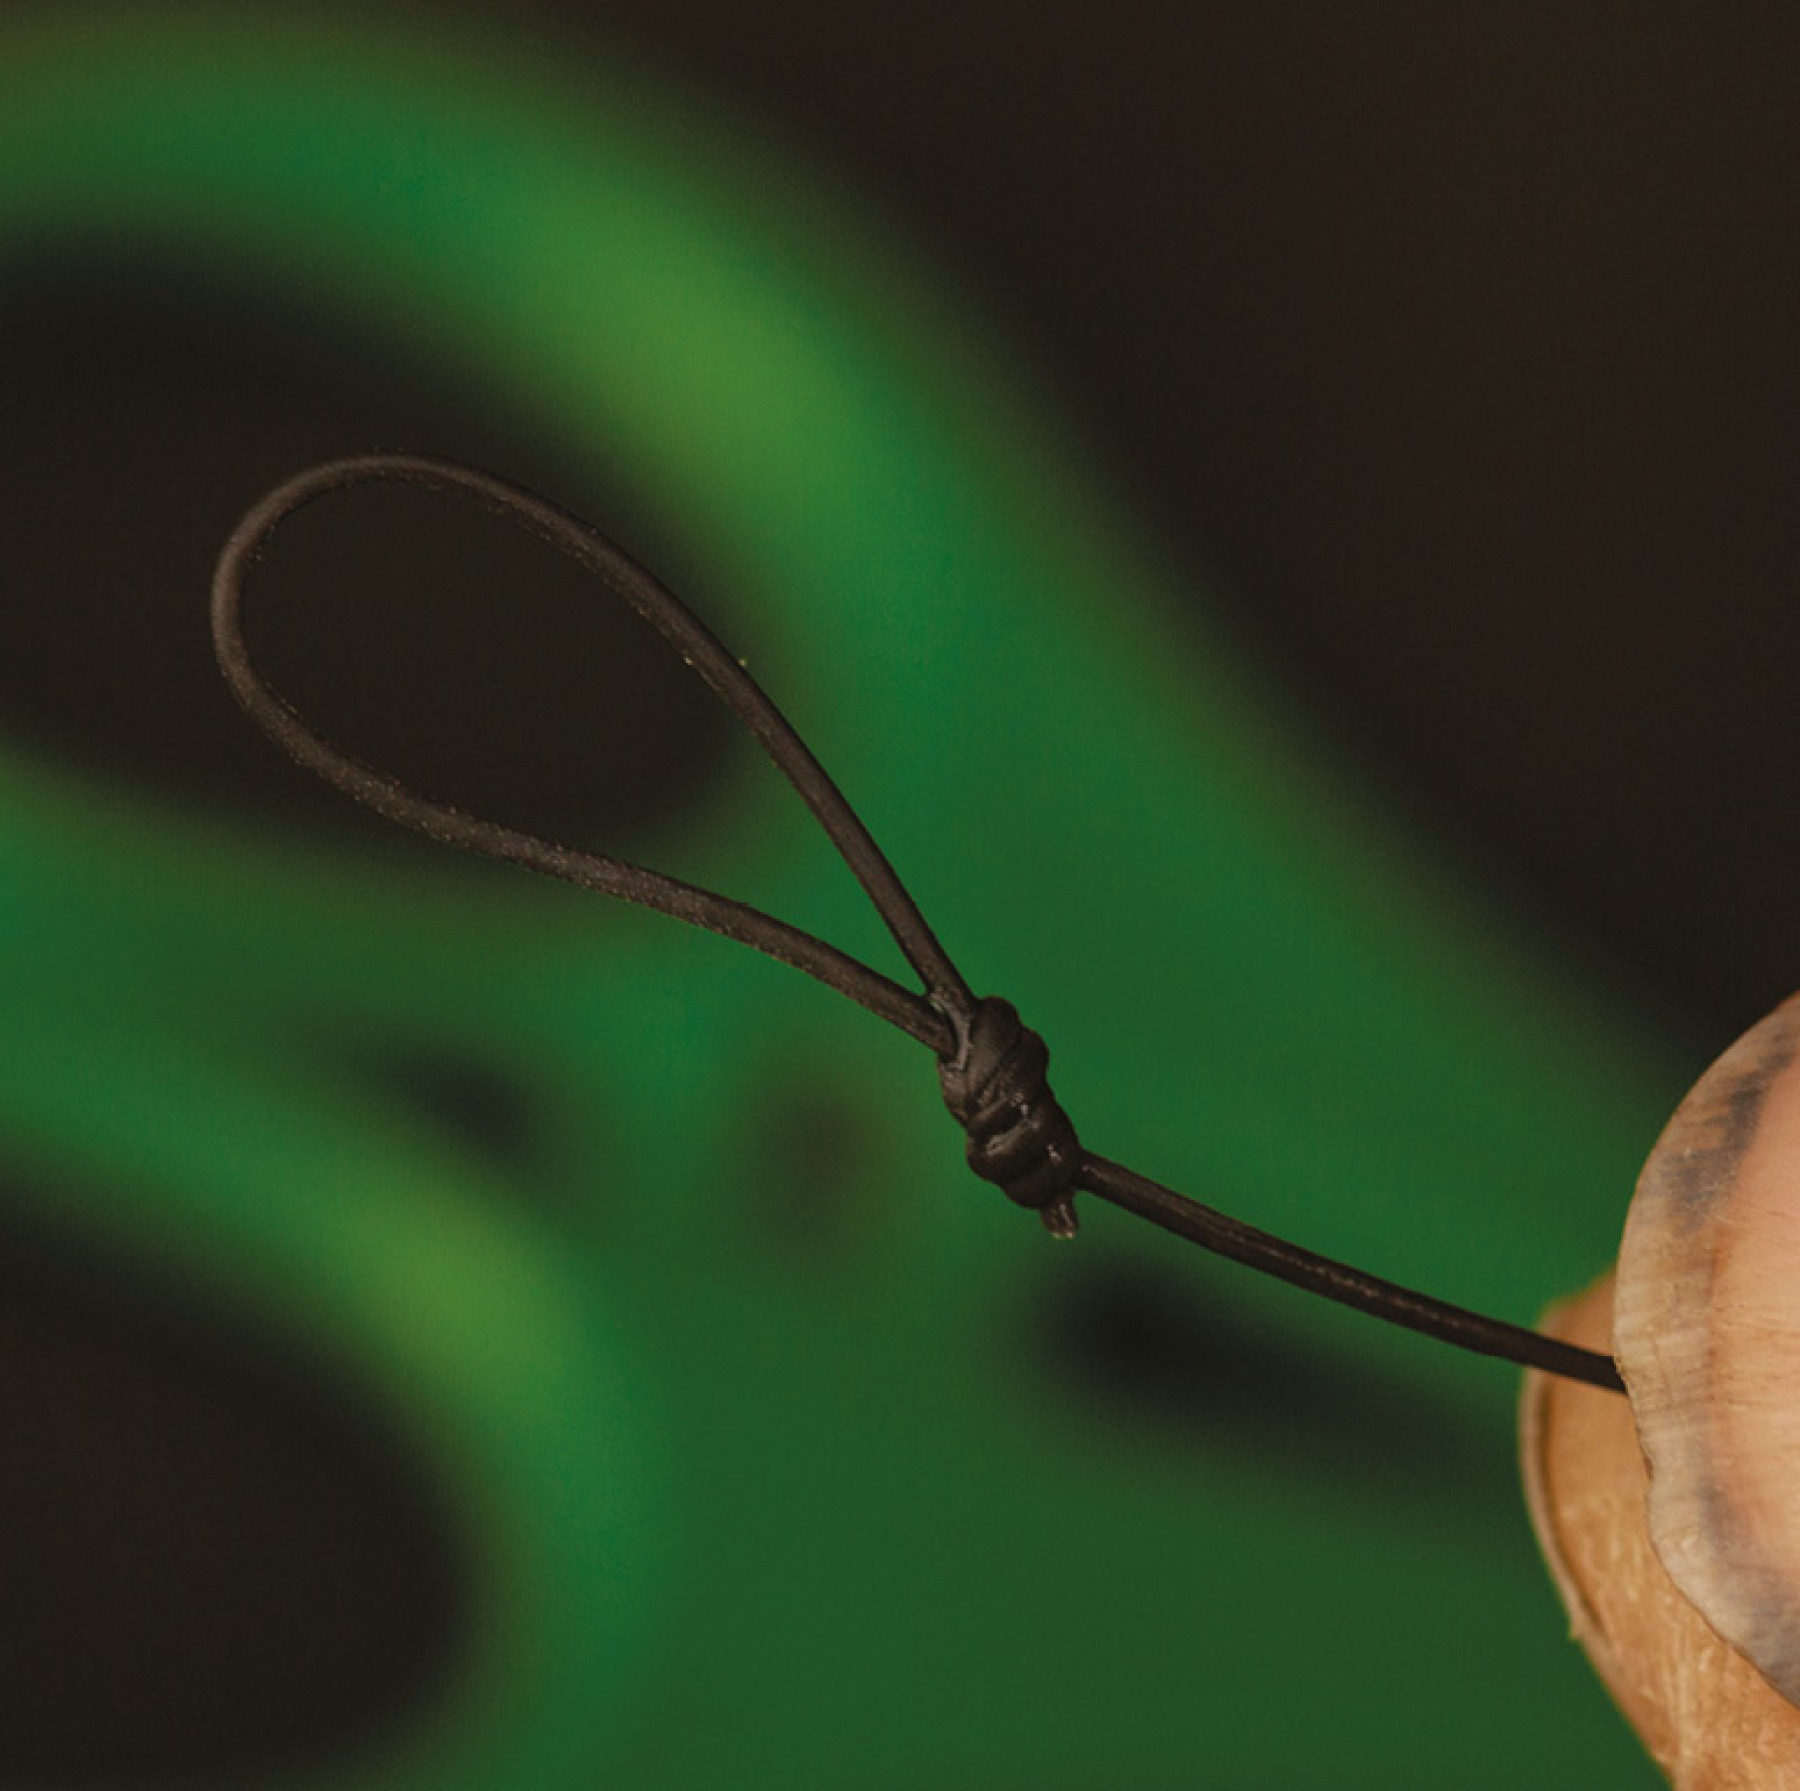
5. Looped Hook Attachment
Stripped, skinned loops allow you to use this presentation in a Multi Rig style. Just add an extra turn to the figure-of-eight loop knot to help maximise its strength and fix the position of the Slip D using a preformed kicker or some snug-fitting silicone. Shrink tube makes it a faff to change, and whilst it is effective, it is a bit naff for this specific application.
6. Hookbaits
This is predominantly a bottom-bait rig, but in terms of suitable hookbaits, you’ll need to consider controlling the orientation between hook and hookbait. Think of the shape of the hookbaits and how they will settle on the lakebed. Scaled-down double baits, or even tubular hookbaits are a great way of adding this exacting control.
7. Balancing
Having tinkered with the presentation a lot over the years, I personally prefer the hook to lay flat on the lakebed. Ideally, the rig should have just enough buoyancy to make it react a little faster, but not so balanced that the hook has a propensity to waft about when a fish displaces water whilst feeding on the baited spot.