


How to get that trophy shot
Photography royalty, Oli Davies, explains...
It’s why we all take a camera fishing in the first place: to record those special captures. So how do you get the best possible results when taking that all-important trophy shot? There are a few things that you can do that will massively improve your own shots, and those that you do for others, as Oli Davies will now explain…
Buy a prime lens!
I am often asked ‘how do you blur the background?’ The answer to that comes with the glass that you use. A fixed focal length lens allows a much shallower DOF than your average kit or zoom lens, giving separation from the subject and the background and will often be sharper too. Both Canon and Nikon produce affordable fixed lenses and this is the most important upgrade you can make in terms of the kit that you use. 50mm is often recommended, and while that is the ideal length for man and fish trophy shots, bear in mind that if you have a camera body with a crop sensor, which is most pro-sumer DSLRs, then 50mm will actually become 85mm. As a result, you are better off looking for a 35mm fixed lens, which on a crop sensor will be close to that 50mm focal length that is desired.
Practise!
A great way to learn your camera and learn what works and doesn’t work in terms of trophy shots is to take every opportunity to practise when someone else catches a fish. It gives you an opportunity to mess about with different apertures and find out what look you like best. Once you know what you want, it is much easier to replicate those settings. It costs nothing, and yours might be that special pic that is treasured by the captor.
Background
This is massively important and is the single biggest mistake I see made. Think about it when you put the mat down. What is behind you? Will it distract you from the fish, or will it add context to the capture? A bush is fine, but sometimes looking out over the lake is better. Is there anything there that shouldn’t be? Rubbish bags, bivvies, car parks and the like detract and distract. Don’t always shove yourself too close to the background too. You need a bit of separation to give that blur. Importantly, consider where the light is coming from. Ensure that the fish is well lit, either in full sun or full shade. Avoid areas of dappled sunlight and as the photographer it is your responsibility to ensure you are not committing the schoolboy error of casting your shadow over the fish when the sun is low, or just as bad, a wonky horizon!
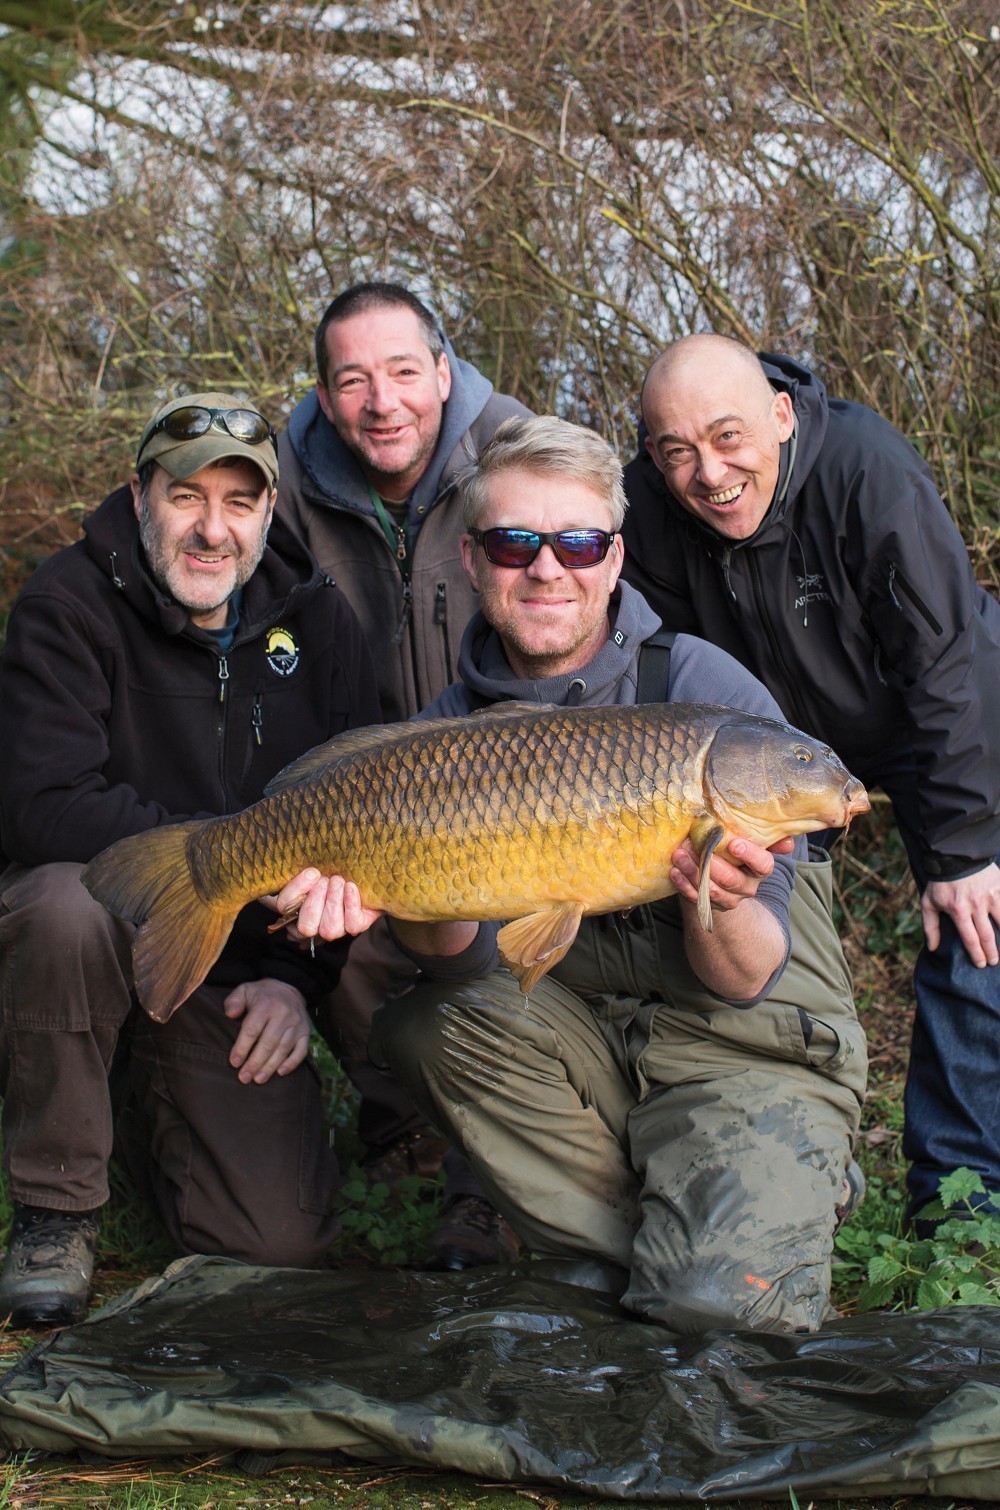 Share the moment
Settings: 50mm, 1/100, f4.5, ISO160
It’s always good to share a capture with friends. This shot has so much more meaning than the one with just Nick and his fish.
Framing and composition
Another oft-overlooked detail is the composition of the shot. This little detail turns a good one into a special one. A picture where the fish is in the middle of the shot, an equal distance from all the edges, with no fins or body parts cut off might seem simple to achieve but surprisingly few people manage it. This is down to the photographer again to CHECK in between shots and recompose if necessary. With modern digital cameras it is possible to crop and recompose in most editing software, but to do this you must leave enough space round the edge of the shot. Too close and it’s not possible so by filling the frame you may actually be compromising the image. Leave a bit of space… Occasionally I hear people say ‘that would make a good cover shot’ talking about pictures shot as landscapes. Wrong! If you want to feature on a cover then there is one important manoeuvre the photographer must make: flip the camera! Surprisingly few people bother to shoot portrait shots. Quite simply landscape shots do not fit on covers!
It is also down to the photographer to instruct the captor how to hold the fish. It is they that can see what the final shot will be, not the person holding the fish. Give instruction, think about what you are looking at and how it could be improved whether it be holding it higher, closer or straighter…
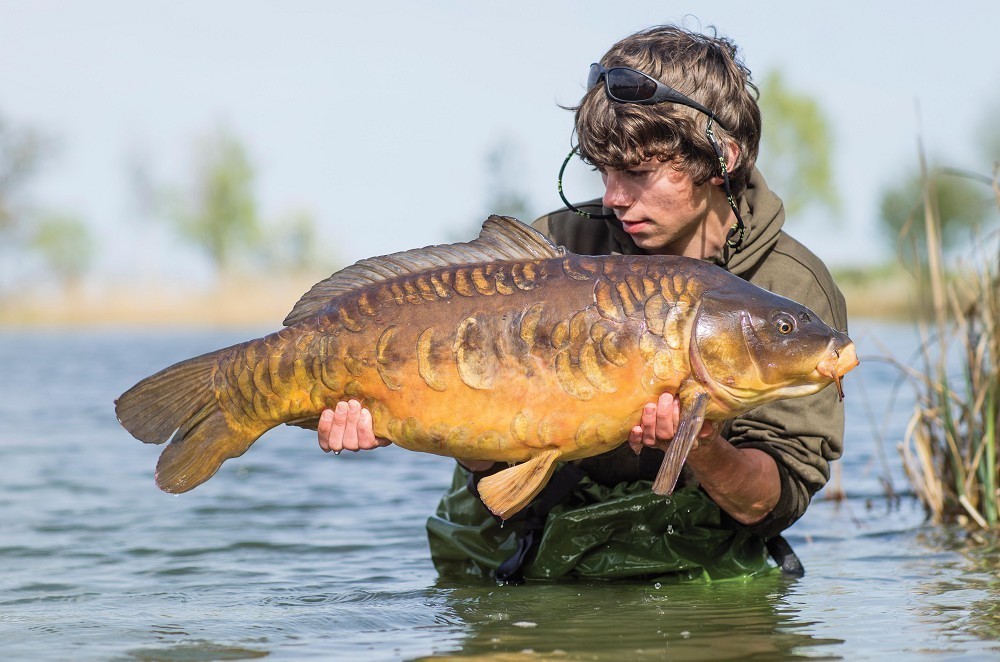 Perfect afternoon light
Settings: 85mm, 1/640, f3.2, ISO50
A nice scaly for Alfie Russell deserved a special trophy shot in perfect afternoon light.
Trusty wingman
Everyone needs someone they can trust to hand the camera to and know the pictures will be good. Be that person…
Night shots
My best bit of advice for perfect night shots… Buy a sack! However, this isn’t always practical or indeed permitted so there are a few things you can do to improve results after dark. The most important upgrade you can make here is to buy an off camera flashgun. The one on your camera won’t be very powerful but more importantly it is positioned directly above the lens and as a result the light produced can reflect off the wet flanks of the fish and ‘burn’ out the details. A flashgun will reduce this significantly and also allow you to direct and diffuse the flash. Simply angling the fish very slightly will also reduce this. The more light the better, so multiple flashes will instantly improve results. Cheaper and much simpler however, is lighting the scene with an LED panel, or moving to an area with more ambient light. LED lights are available very cheaply and a couple of these lighting the scene will make life much easier for your camera. Background is important – dense foliage can be an advantage after dark, as it will reflect back some of the light and stop you looking like a cut out on a black background.
Don't hold it out!
Shoving the fish right into the lens just makes you look like you have a tiny head and sausage fingers! It looks silly. Don’t do it!
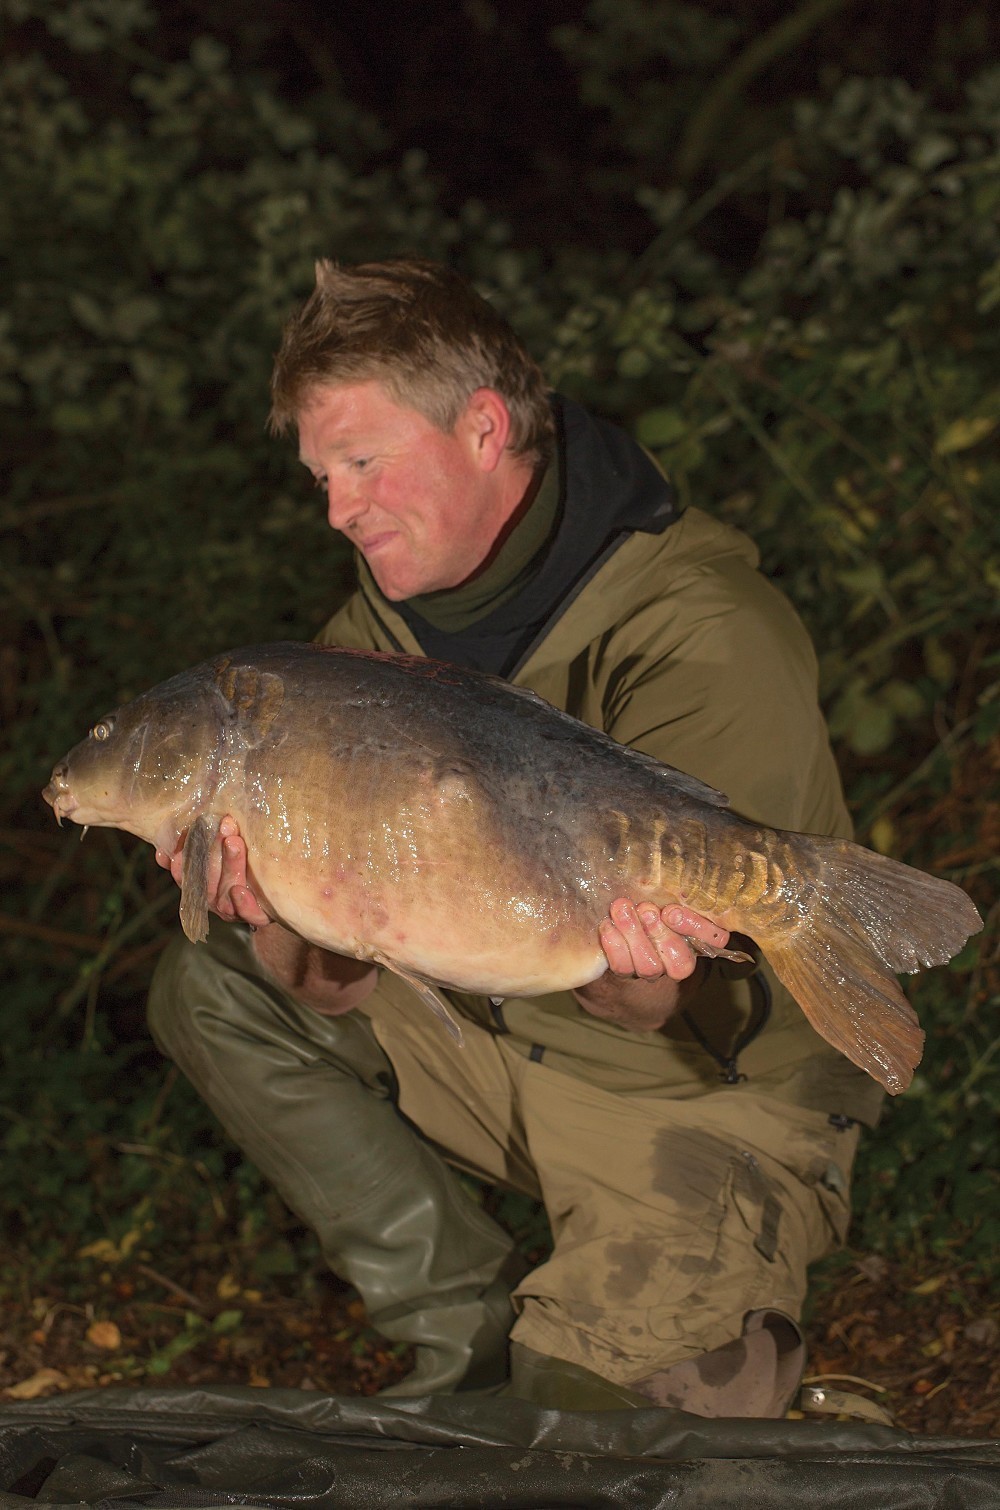 Lighting up the night
Settings: 100mm, 1/160, f4, ISO320
Nick Helleur with the Craypool’s Lumpy. This shot is lit with one flash on camera and two slaves, along with car headlights. The more light the better!
Try something a bit different
Once you have the standard side-on shots in the bag, then try something a bit different. Candid shots in between posing can end up being better so keep snapping. Challenge yourself to take at least one from a different angle. They don’t always work, but sometimes you end up with something really special…
Don't go too low
I usually shoot catch pics at between f4 and f5.6, even on my very fast primes. The reason for this is that the slice of focus becomes too thin otherwise and not enough of the picture will be in focus. Many people make the mistake of opening the aperture too wide and end up with soft pictures which don’t look as good as they had hoped.
Don't forget to smile!
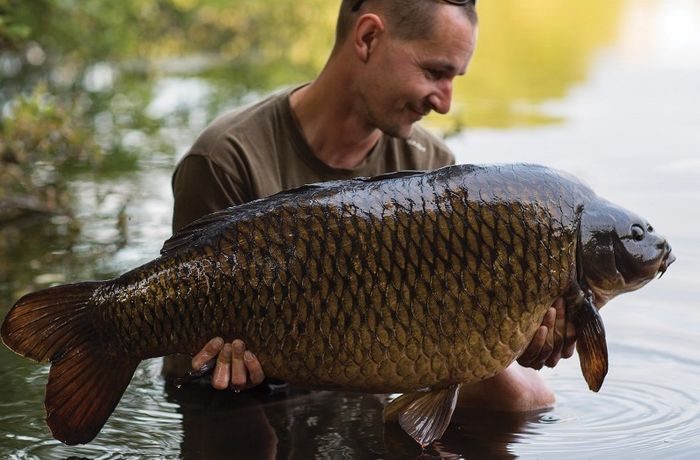
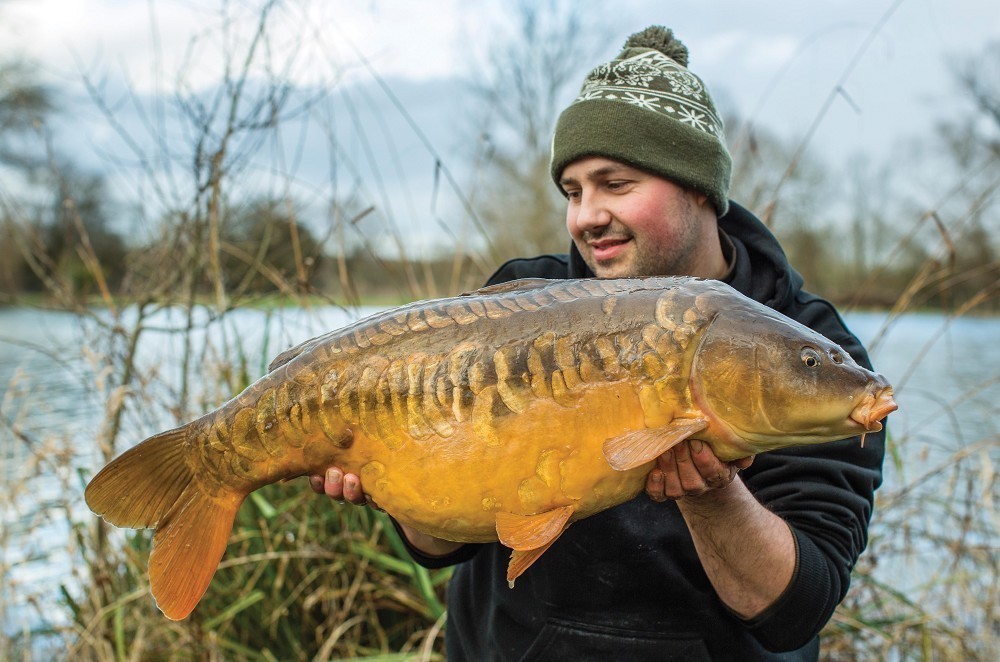
 A better backdrop
Settings: 50mm, 1/400, f5.6, ISO50
The lake itself was a much more interesting background than a random bush, and puts the capture in context.
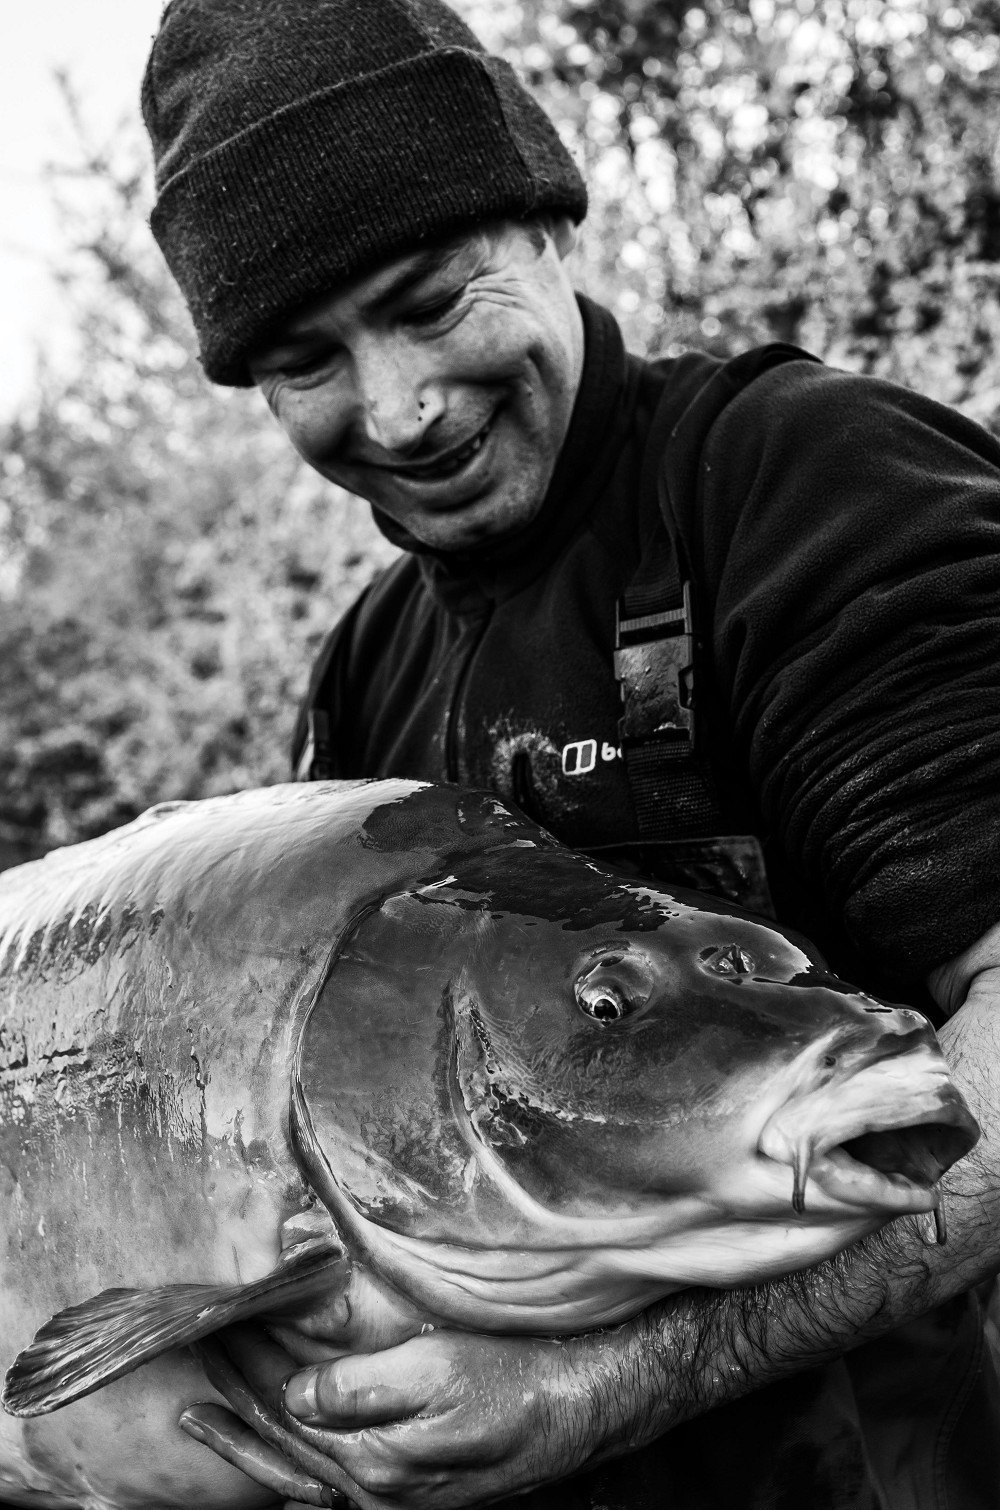
 Getting some candid shots
Settings: 85mm, 1/160, f1.8, ISO50
Horton legend Del Smith cradles an upper-thirty mirror. I was second camera so I concentrated on getting some candid shots, shooting a lower f-stop than I normally would to really blur out the background.
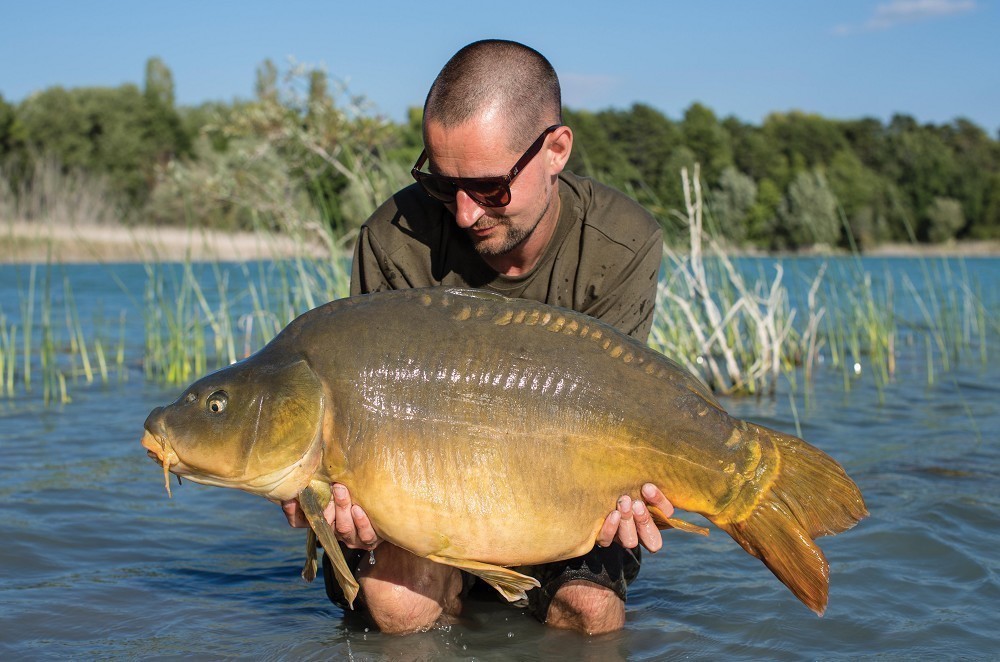
 Increase the distance
Settings: 50mm, 1/160, f4, ISO100
I rarely go lower than f4 for captures at 50mm in order to get both angler and fish in focus. If you want more background blur, increase the distance to the background.
 A trusty wingman
Settings: 85mm, 1/100, f2.8, ISO100
Luckily I had a trusty wingman on the buttons that day, although I chose the settings before handing over the camera
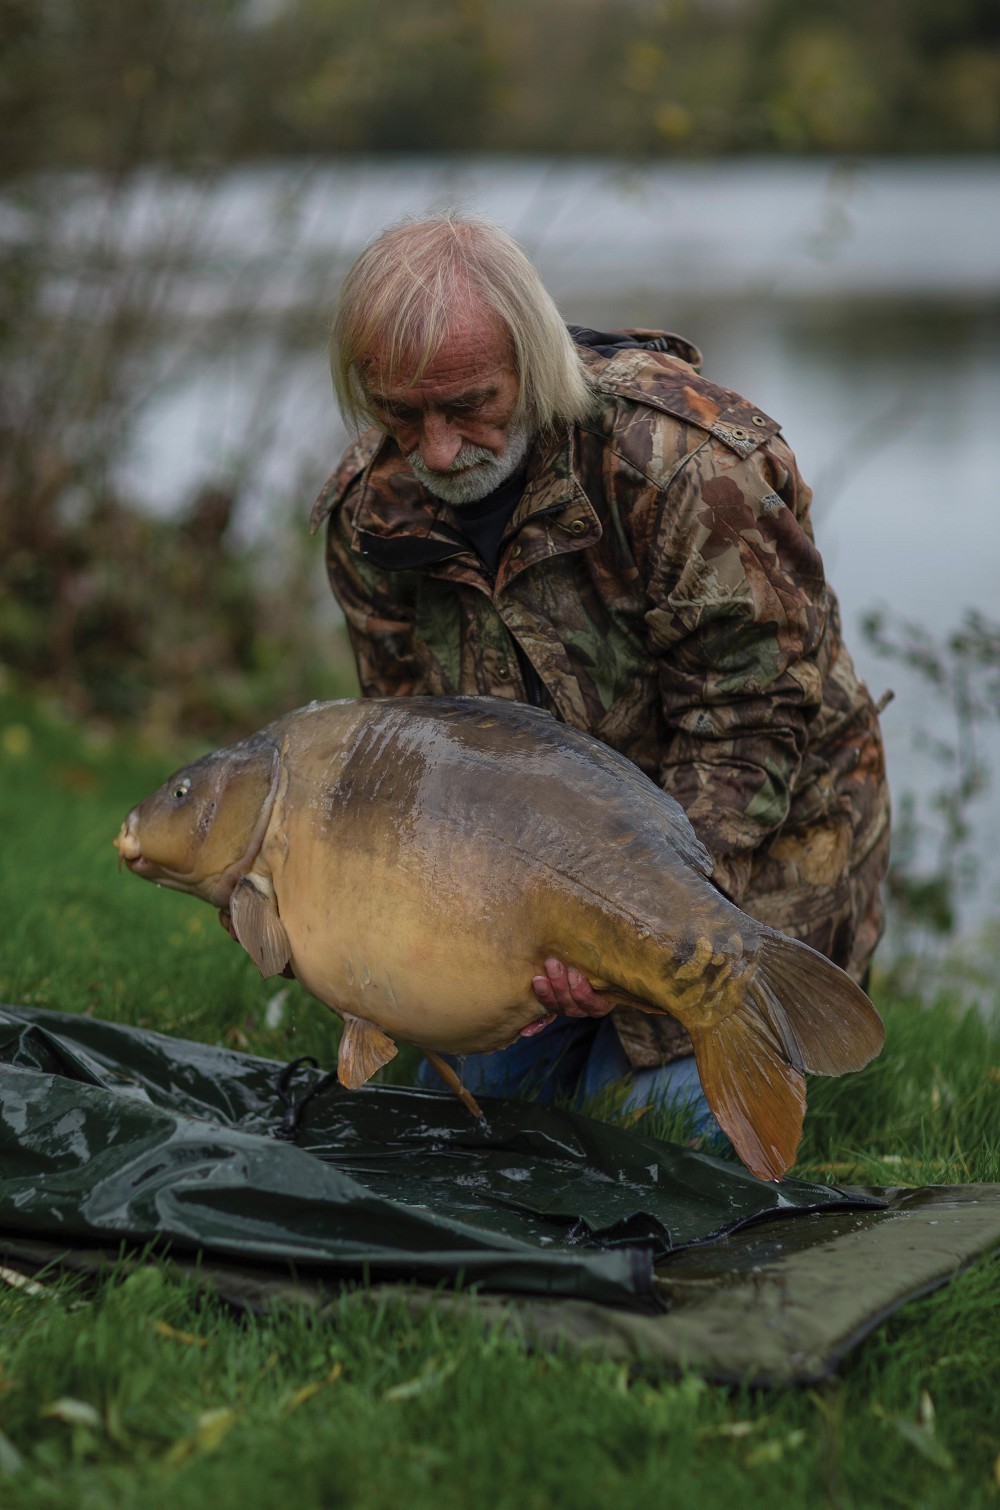
 Try something different
Settings: 35mm, 1/80, f5, ISO100
Once I had the standard shots done of this upper-forty mirror for my good friend John, I tried to get something just a little different…