
Photography Lesson 1: Mastering The Light
Photography enthusiast, Martin Lawrence, breaks down the fundamentals to operating a camera in super easy-to-understand instructions.
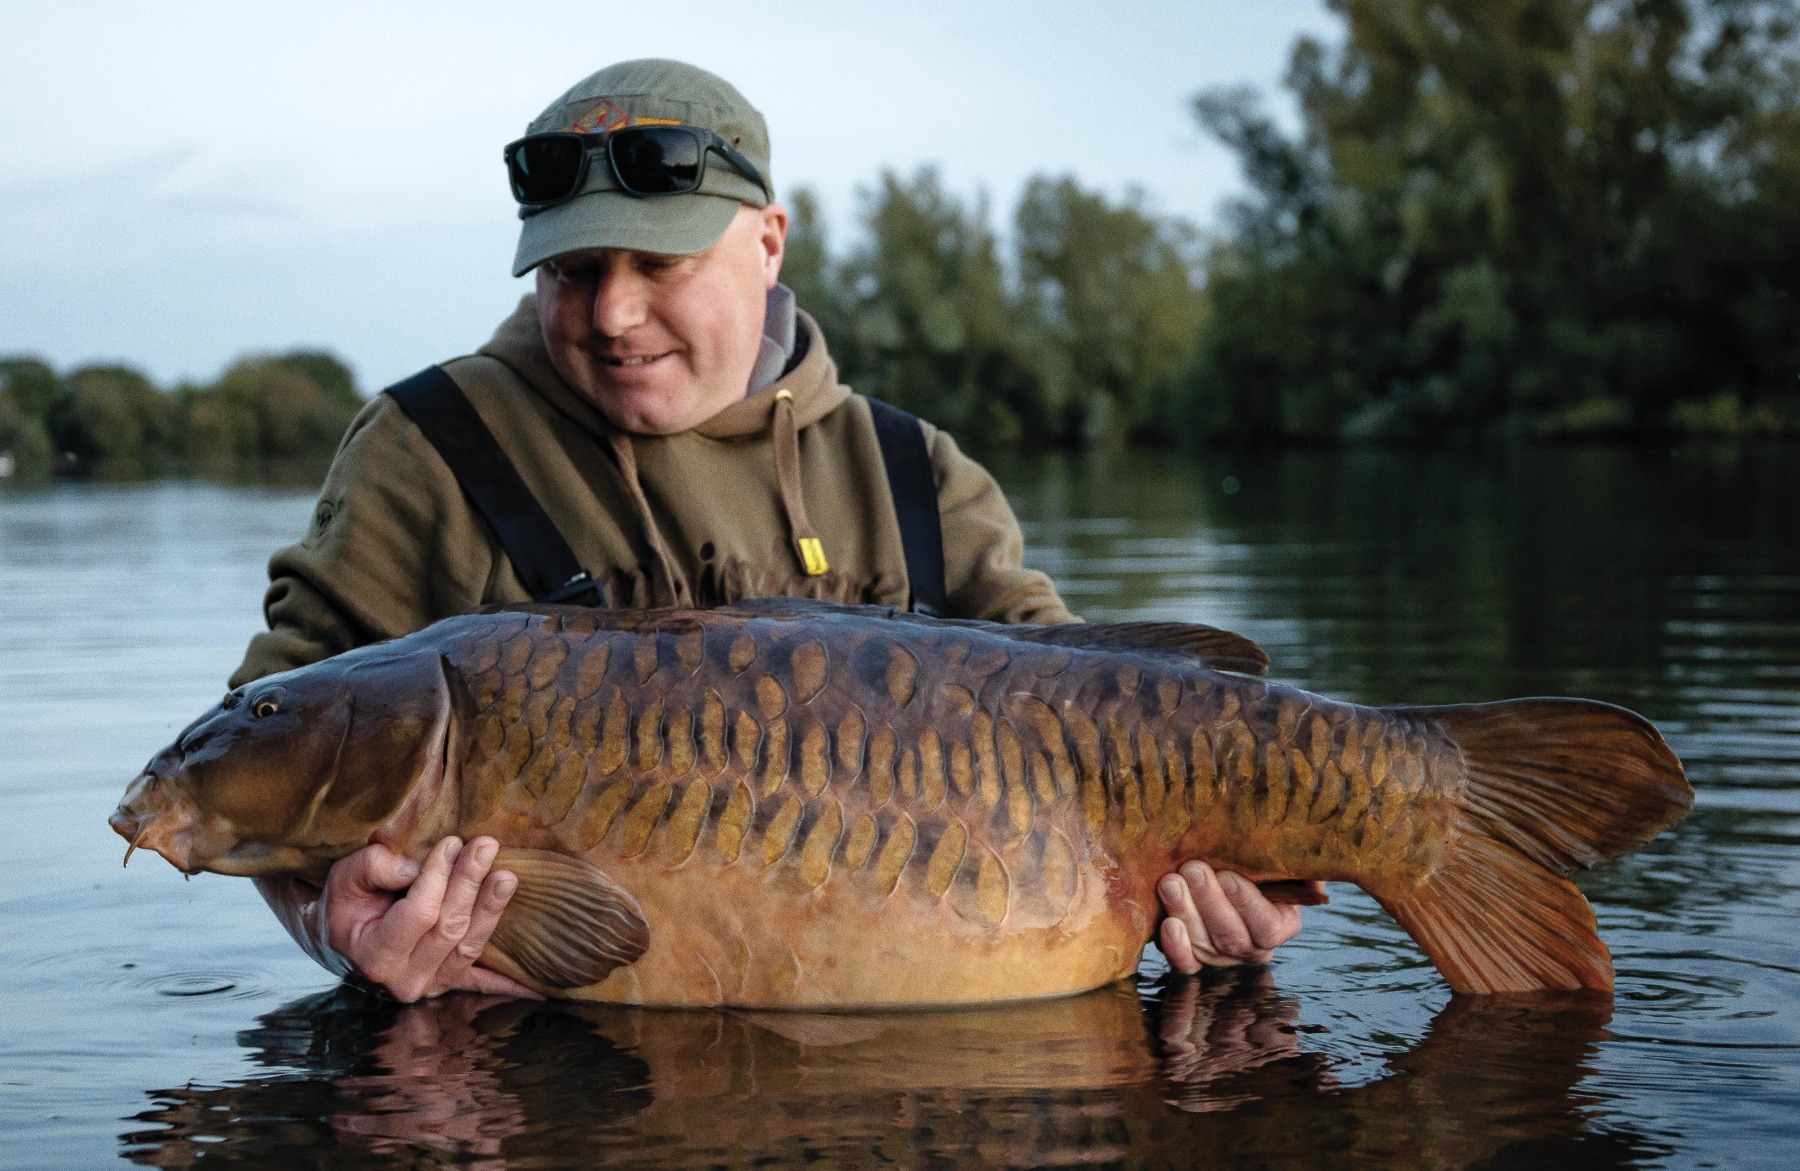
Taking great catch photos is within your grasp. Today we all have a camera in our pocket. Everyone is taking photos, but that doesn’t make everyone a photographer. The process of taking photos in the digital era may be easy and accessible, but all too often catch photos don’t do justice to the subject or the occasion. A little time and effort spent learning basic photography concepts, and how to use your camera effectively in all lighting conditions, will transform your photos from hopeful snaps that occasionally hit the mark, to consistently well composed, exposed and focused images.
Nailing Exposure
Photography is all about controlling and capturing light. The amount of light hitting your camera’s sensor when you press the shutter button is, in simple terms, called exposure. You can adjust exposure in three main ways:
Shutter speed
Faster = less light; slower = more light
Lens aperture
Larger = more light; smaller = less light
ISO
Controls how much your camera boosts the signal from each pixel on your sensor.
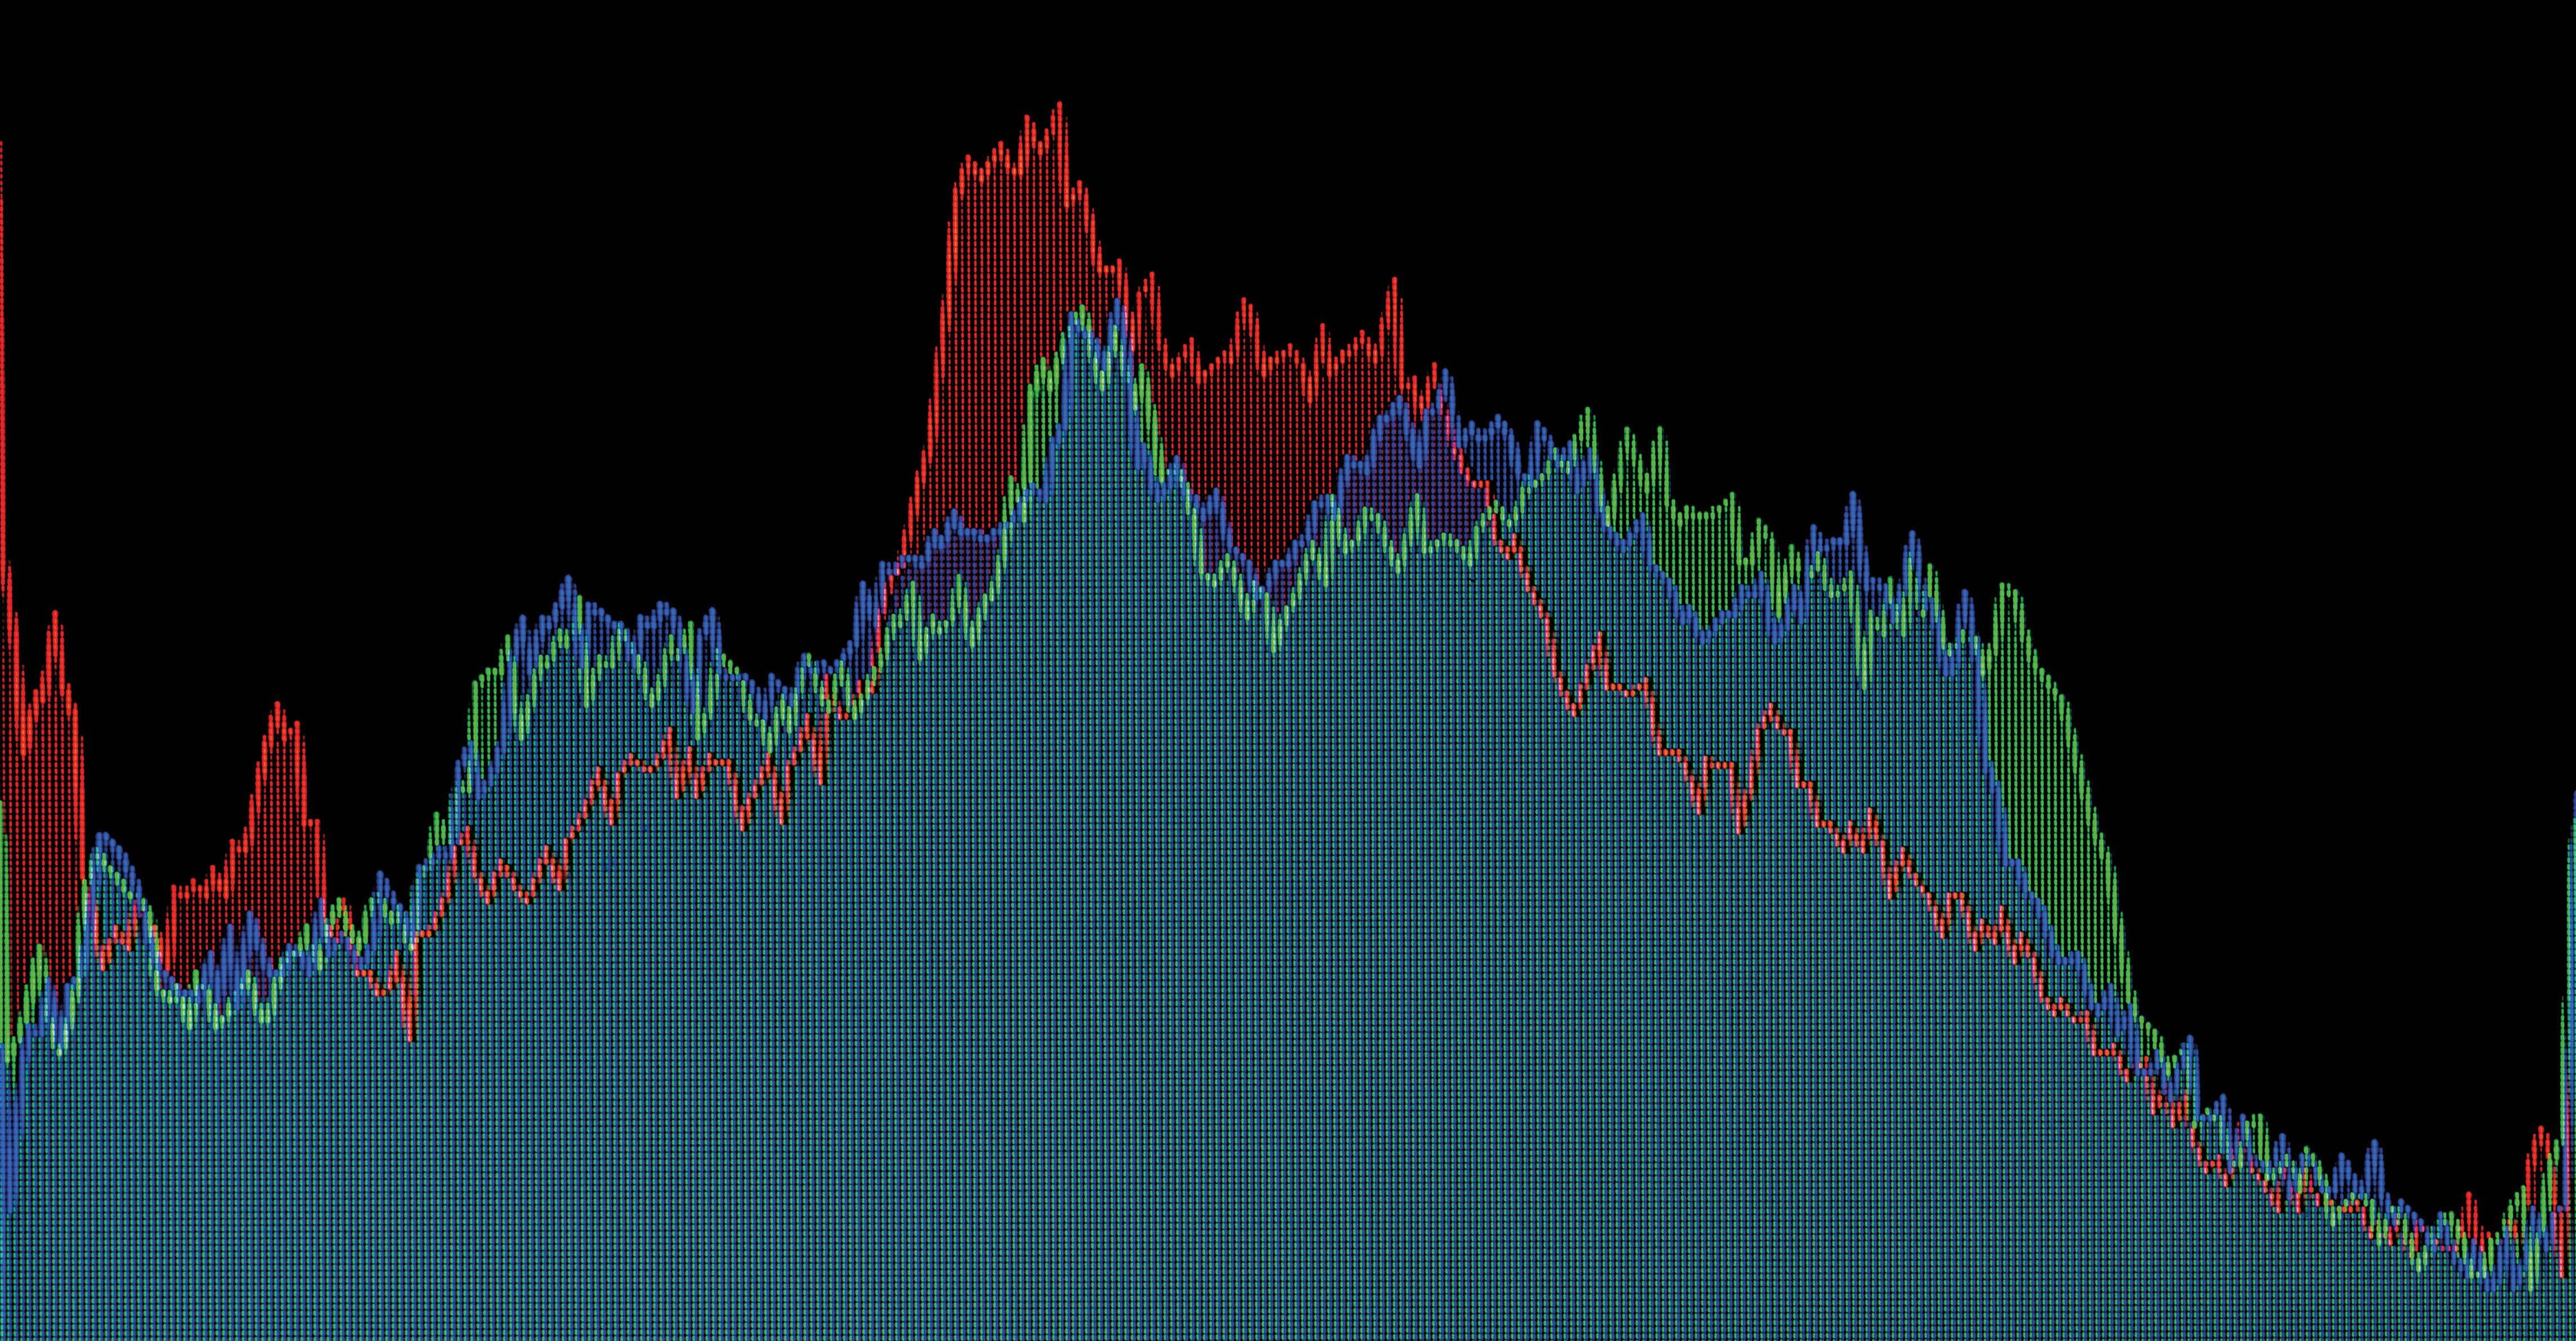
Histograms
Digital cameras usually allow you to view a histogram of any photo taken. This shows how much light of different wavelengths (RGB: Red, Green and Blue) was captured. The term overexposed indicates there is too much white light in your photo, and the histogram will peak to the right. This is called clipping or blowing out the highlights.
The term underexposed indicates not enough light in your photo, and the histogram will peak to the left. This may be inevitable at night, and nothing to worry about if the subject is well lit.
In general, if the histogram is hitting either edge, it may be difficult to recover detail while editing.
Most cameras have a built-in light meter. When you look through the viewfinder to compose your image, you can also check your current exposure by looking at the digital light meter reading which usually appears as a scale below the image you see. The scale will indicate if the image is under or overexposed. Aim for a desired exposure of the highlights on your subject and correct the lowlights in post-processing (editing).
Shutter speed
You control how long your shutter opens by changing the shutter speed. Fast shutter speeds (e.g. 1/640 of a second) allow you to capture fast action without motion blur—obviously this isn’t that critical in carp catch photography. However, aim for a shutter speed of around 1/100 second, and try not to go below 1/60 second. Holding the camera still is critical at these slower speeds.
Fast shutter speeds also allow you to take well exposed images in bright light, and slow shutter speeds allow you to take photos in low light.
Aperture
A lens’s aperture is like the pupil in your eye. The wider it is the more light that passes through and vice versa. To achieve good exposure, a large aperture is useful in low light, and a small aperture may be preferable in bright light.
Aperture is graduated in f-stop numbers. It is a bit confusing, as the bigger the aperture, the smaller the f-stop number, which is because it’s the aperture diameter divided by focal length of the lens.
You also need to know that aperture controls the depth of field, or you could call it field of focus. This is the distance from front to back of your subject that is sharply focused. The physics of how this happens is a bit tricky—it’s to do with how light refracts in your lens and the distance to the subject you are photographing.
Don’t worry about it too much, what you really need to know is that with a large aperture–say f/1.4—the field of focus is very small, making it difficult to nail focus on both fish and angler. The benefit of a small field of focus is that you get a blurred background which separates and highlights the subject. A small aperture (say f/8+) gives a much larger field of focus, so almost everything in your shot will be in focus.

ISO
ISO controls your camera’s response to light. In film cameras, ISO refers to the sensitivity of a particular film to light. In digital cameras, ISO refers to the signal sent to the processor from the light capturing pixels on your sensor.
As you increase the ISO, the signal is boosted. At high ISO’s the boosted signal from the sensor pixels enables you to shoot in low light conditions. The downside to this is that a high signal boost creates ‘noise’ which can appear as ‘grain’ in your images. It is advisable to keep your ISO as low as possible to avoid noise in your images.
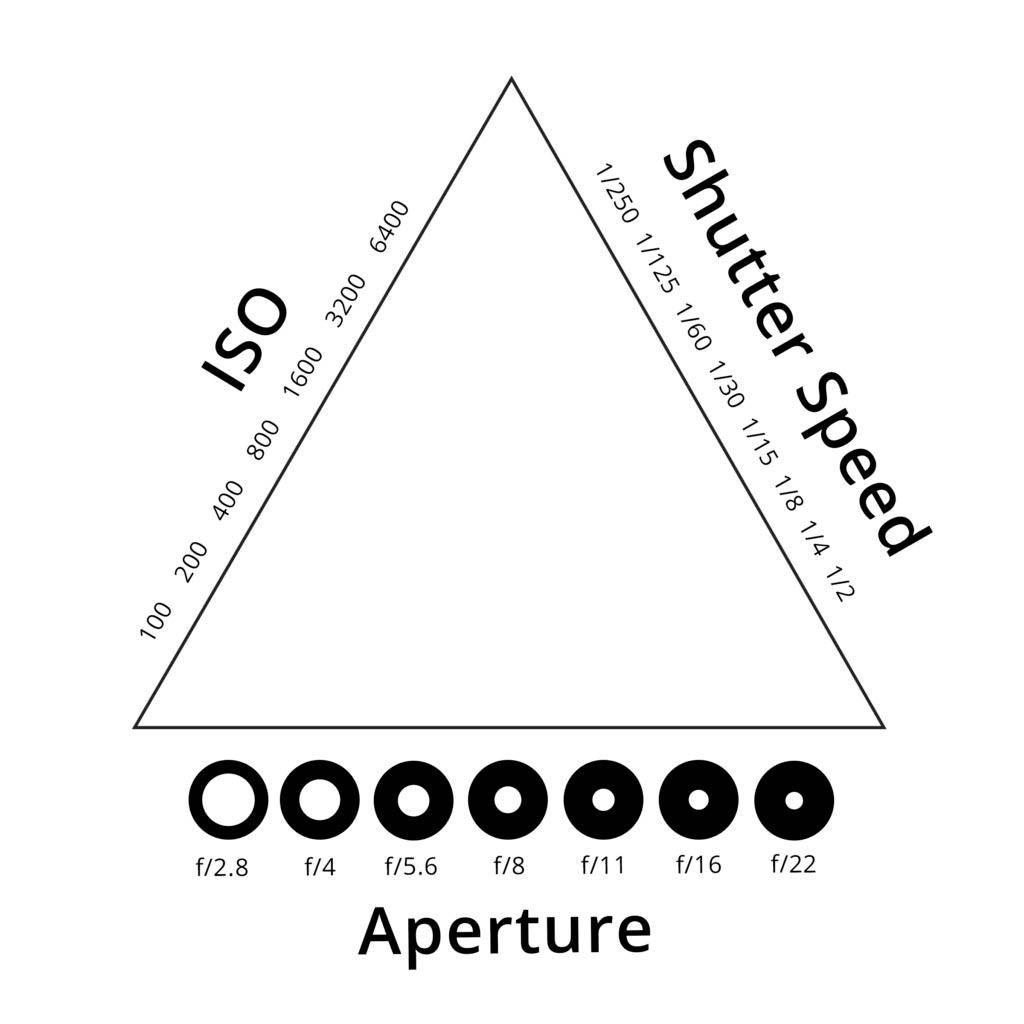
Using the Exposure Triangle
As previously mentioned, you can manipulate shutter speed, aperture and ISO to achieve your desired exposure. For example, when taking a photo in low light, you may find the camera’s light meter indicates underexposure with a shutter speed of 1/100 second or faster. To correct this, you could:
Decrease shutter speed (but risk motion blur)
Increase aperture size (which also creates a narrower field of focus)
Increase ISO (risking noise/grain in the photo)
Making these decisions is a critical skill in photography. Mastering the Exposure Triangle enables you to control the amount of light hitting your sensor and create well exposed images. Think aperture, then shutter speed and finally ISO.
Always remember, if you need/want to use a large aperture—f/1.4-f/2.8—ask the angler to hold the fish close to their body. Experiment with your camera in low light conditions. Find out how high you can push the ISO before the photos become too noisy/grainy to be usable. Anything below ISO 1000 should be fine.

Night Shots
Taking shots at night can be challenging, but with a bit of knowledge, some good lights and practise, it becomes just another opportunity to master the light.
Modern mirrorless cameras are fantastic in low light and make our job much easier, but every camera needs some light to focus and then capture an image on its sensor. A solid approach to lighting at night is to use LED lights and an attachable flash on your camera. I use two LED lights on banksticks, placed either side of myself (around 3m apart) angled onto the angler and fish.
You don’t need expensive lights, but they should have:
A translucent front filter to soften the light.
A control for the colour ‘temperature’ in the range 3,600k (orange/yellow light) to 5,600k (daylight)
A brightness dial
I set the colour on my lights to 5,000k and the brightness at three-quarters power. This will vary depending on the exact lighting system you have. The key is to experiment in the dark before you catch a fish or get called by a mate, checking your exposure at different settings.
I also use an attachable flash on my camera, directed up into the sky above the angler and set it to its lowest power (1/128). I use the zoom function on the flash at 24mm to give a wide dispersion of light.
If it has one, use the built-in reflector which is a white card that pops up and reflects the light towards the subject. This softens the light, again minimising the glare created on the shiny slimy reflective flank of the fish.
A little edge that I rarely see other people using is that I keep my polarising filter on the camera when doing night shots. The polarising filter cuts down glare on slimy wet fish, a useful addition to your kit day and night.
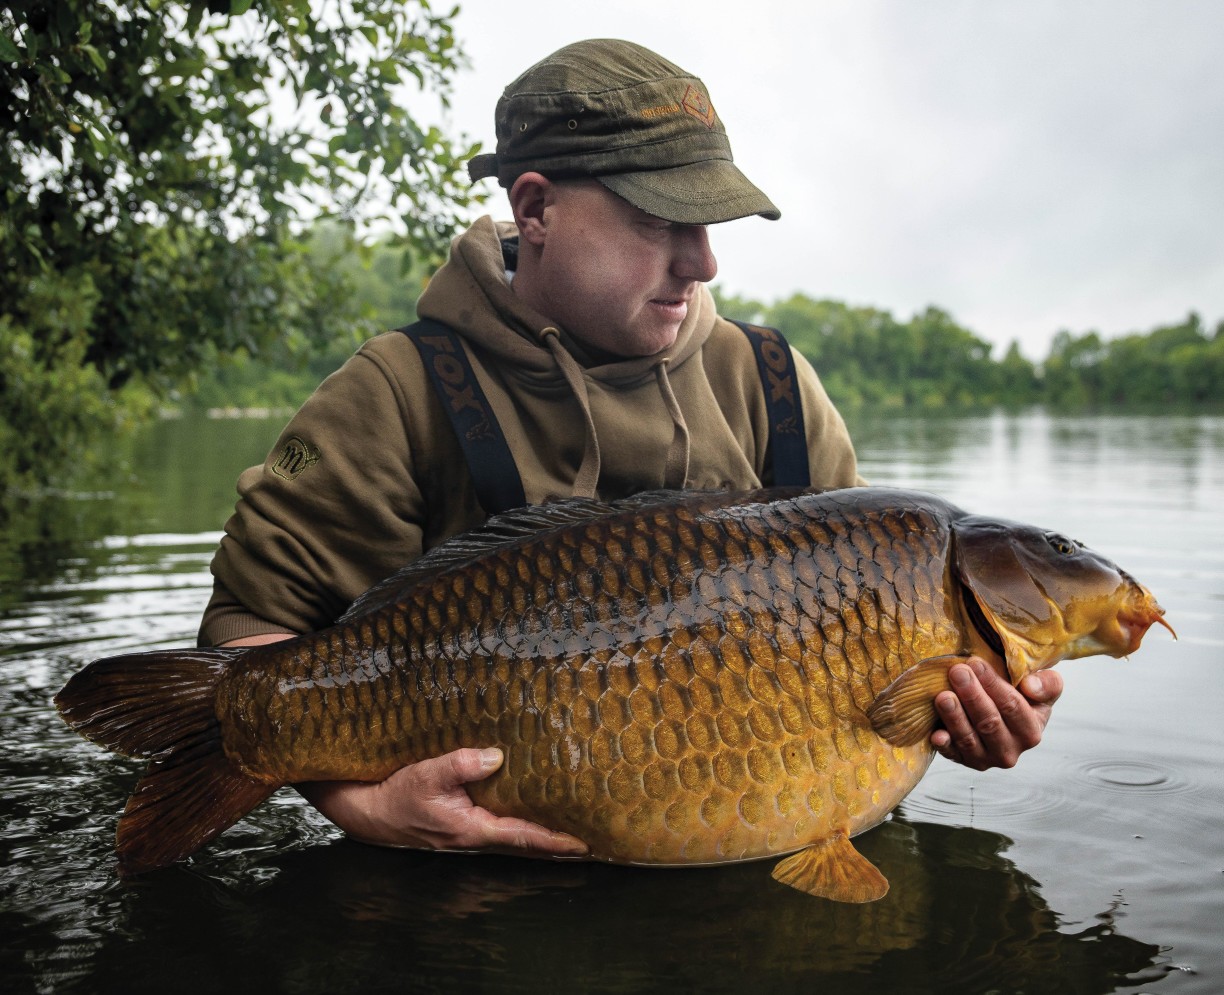
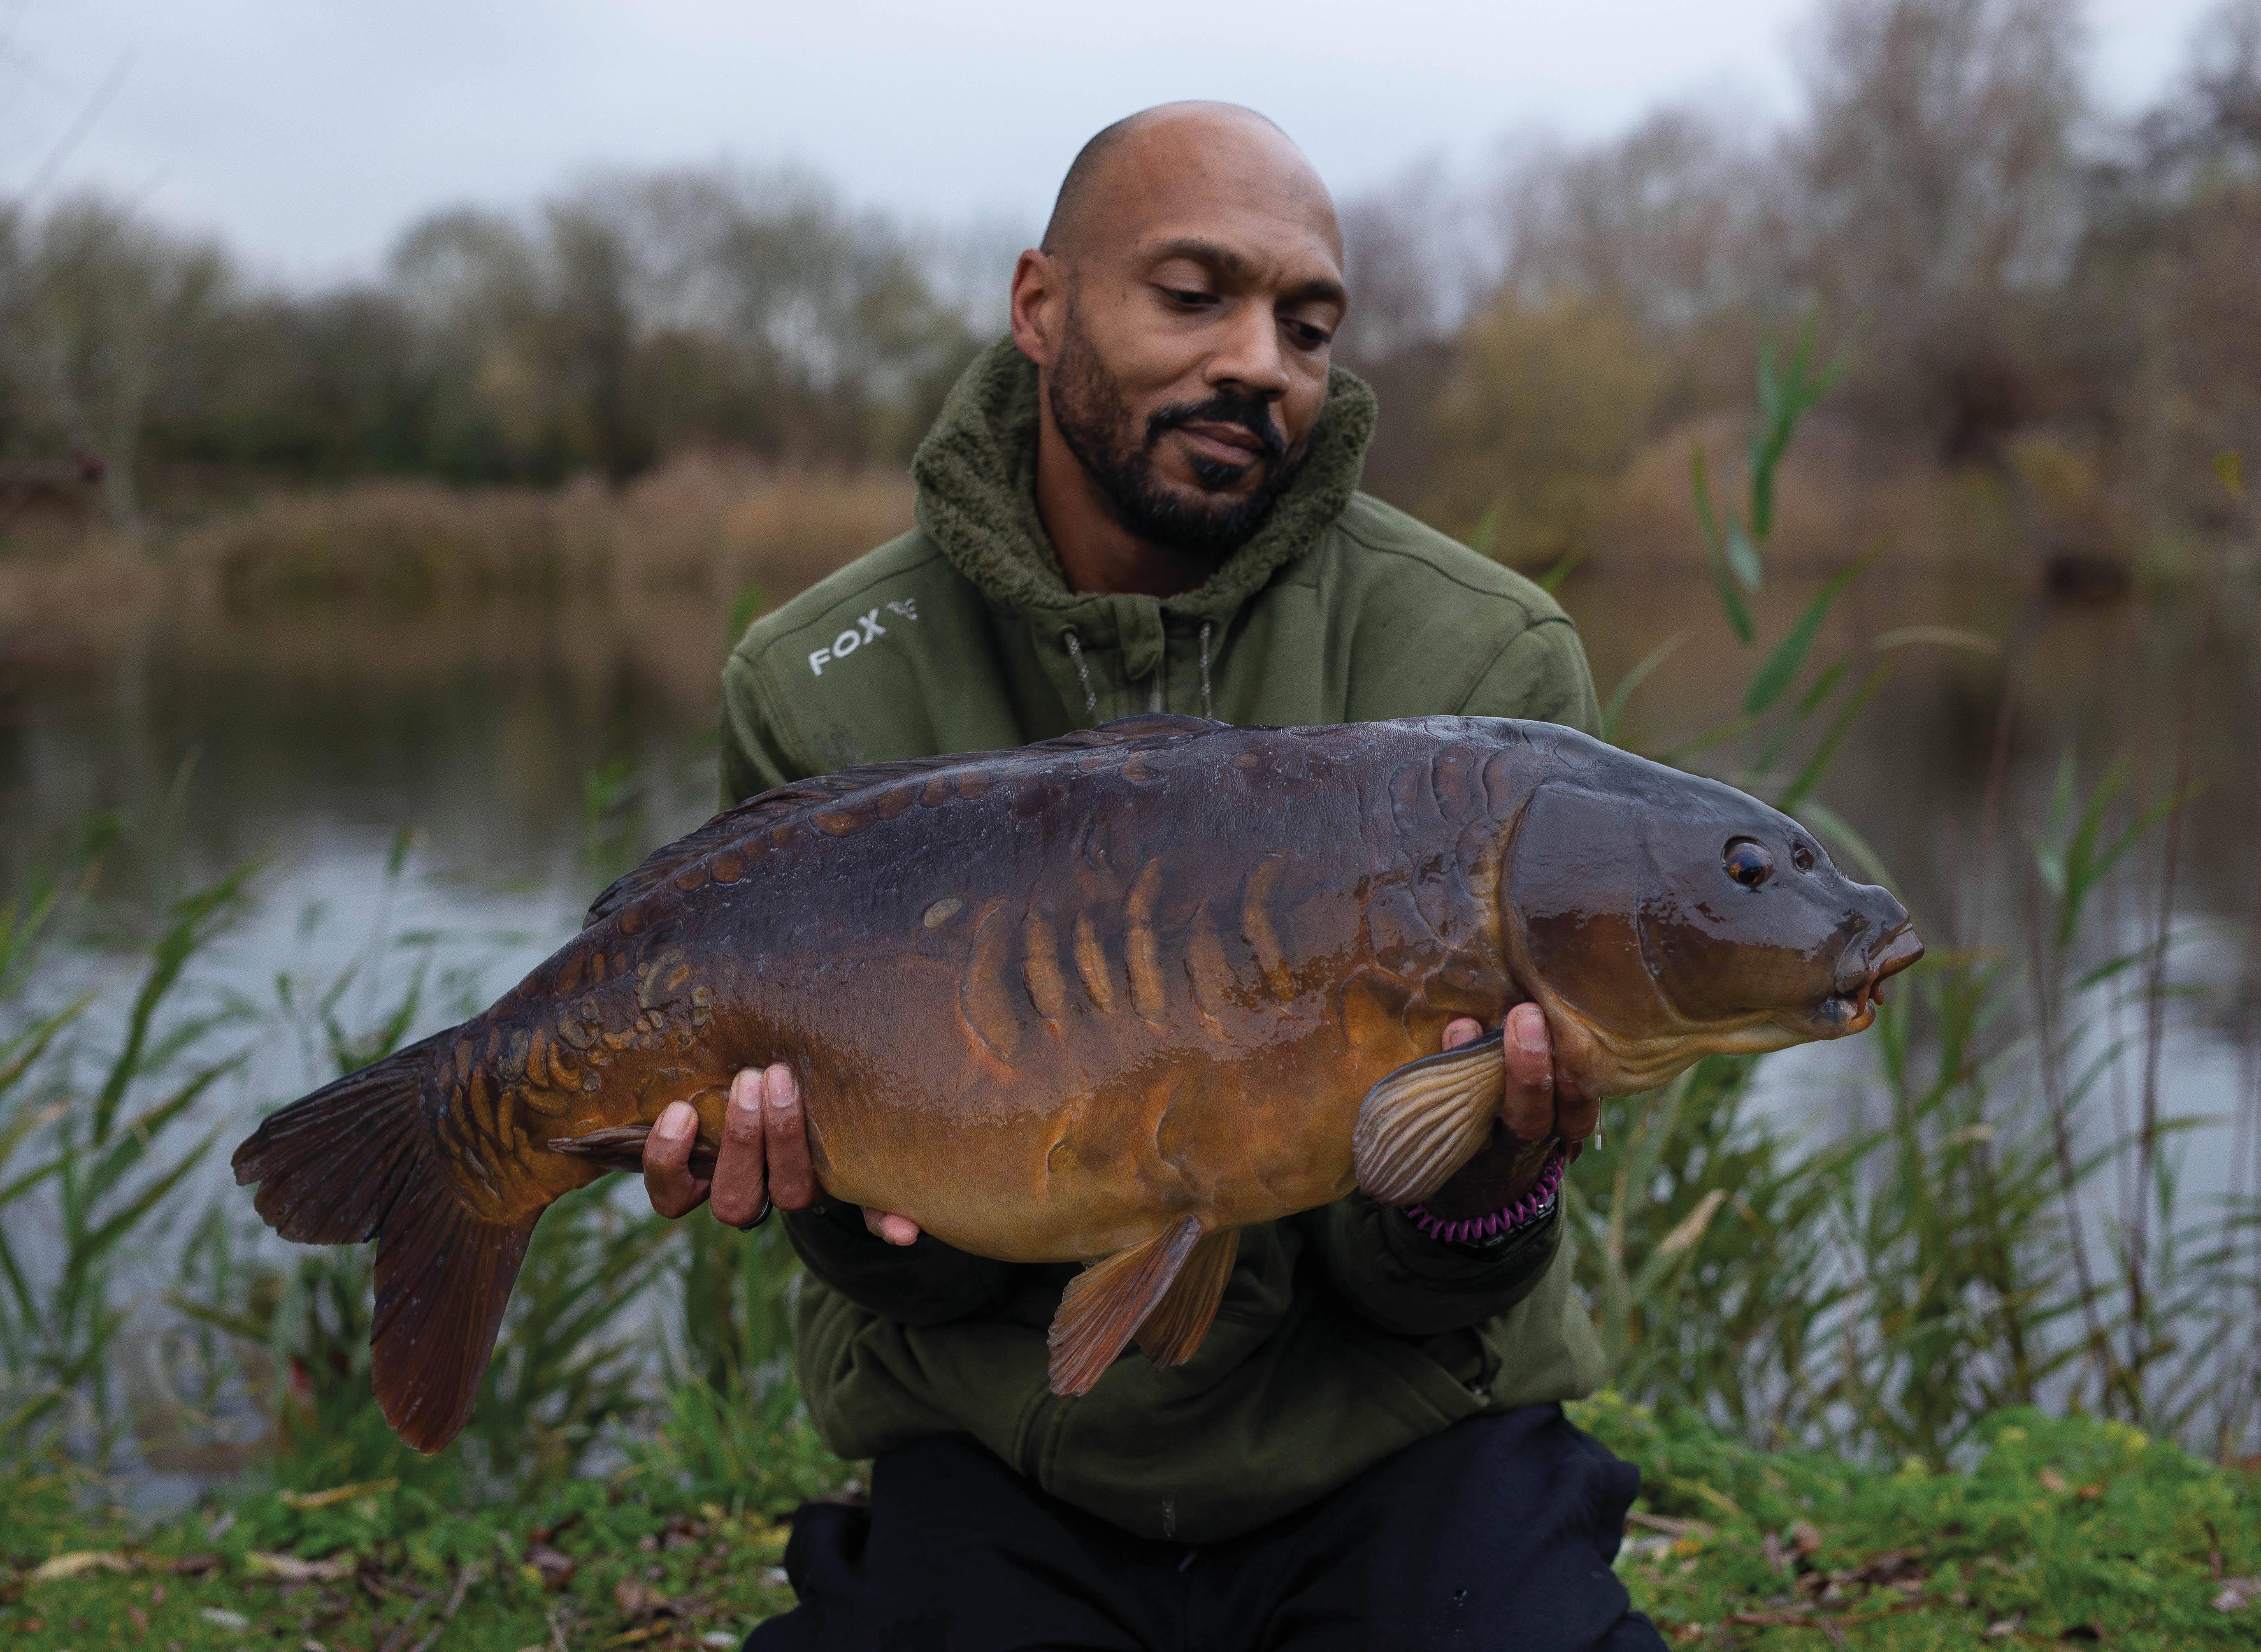
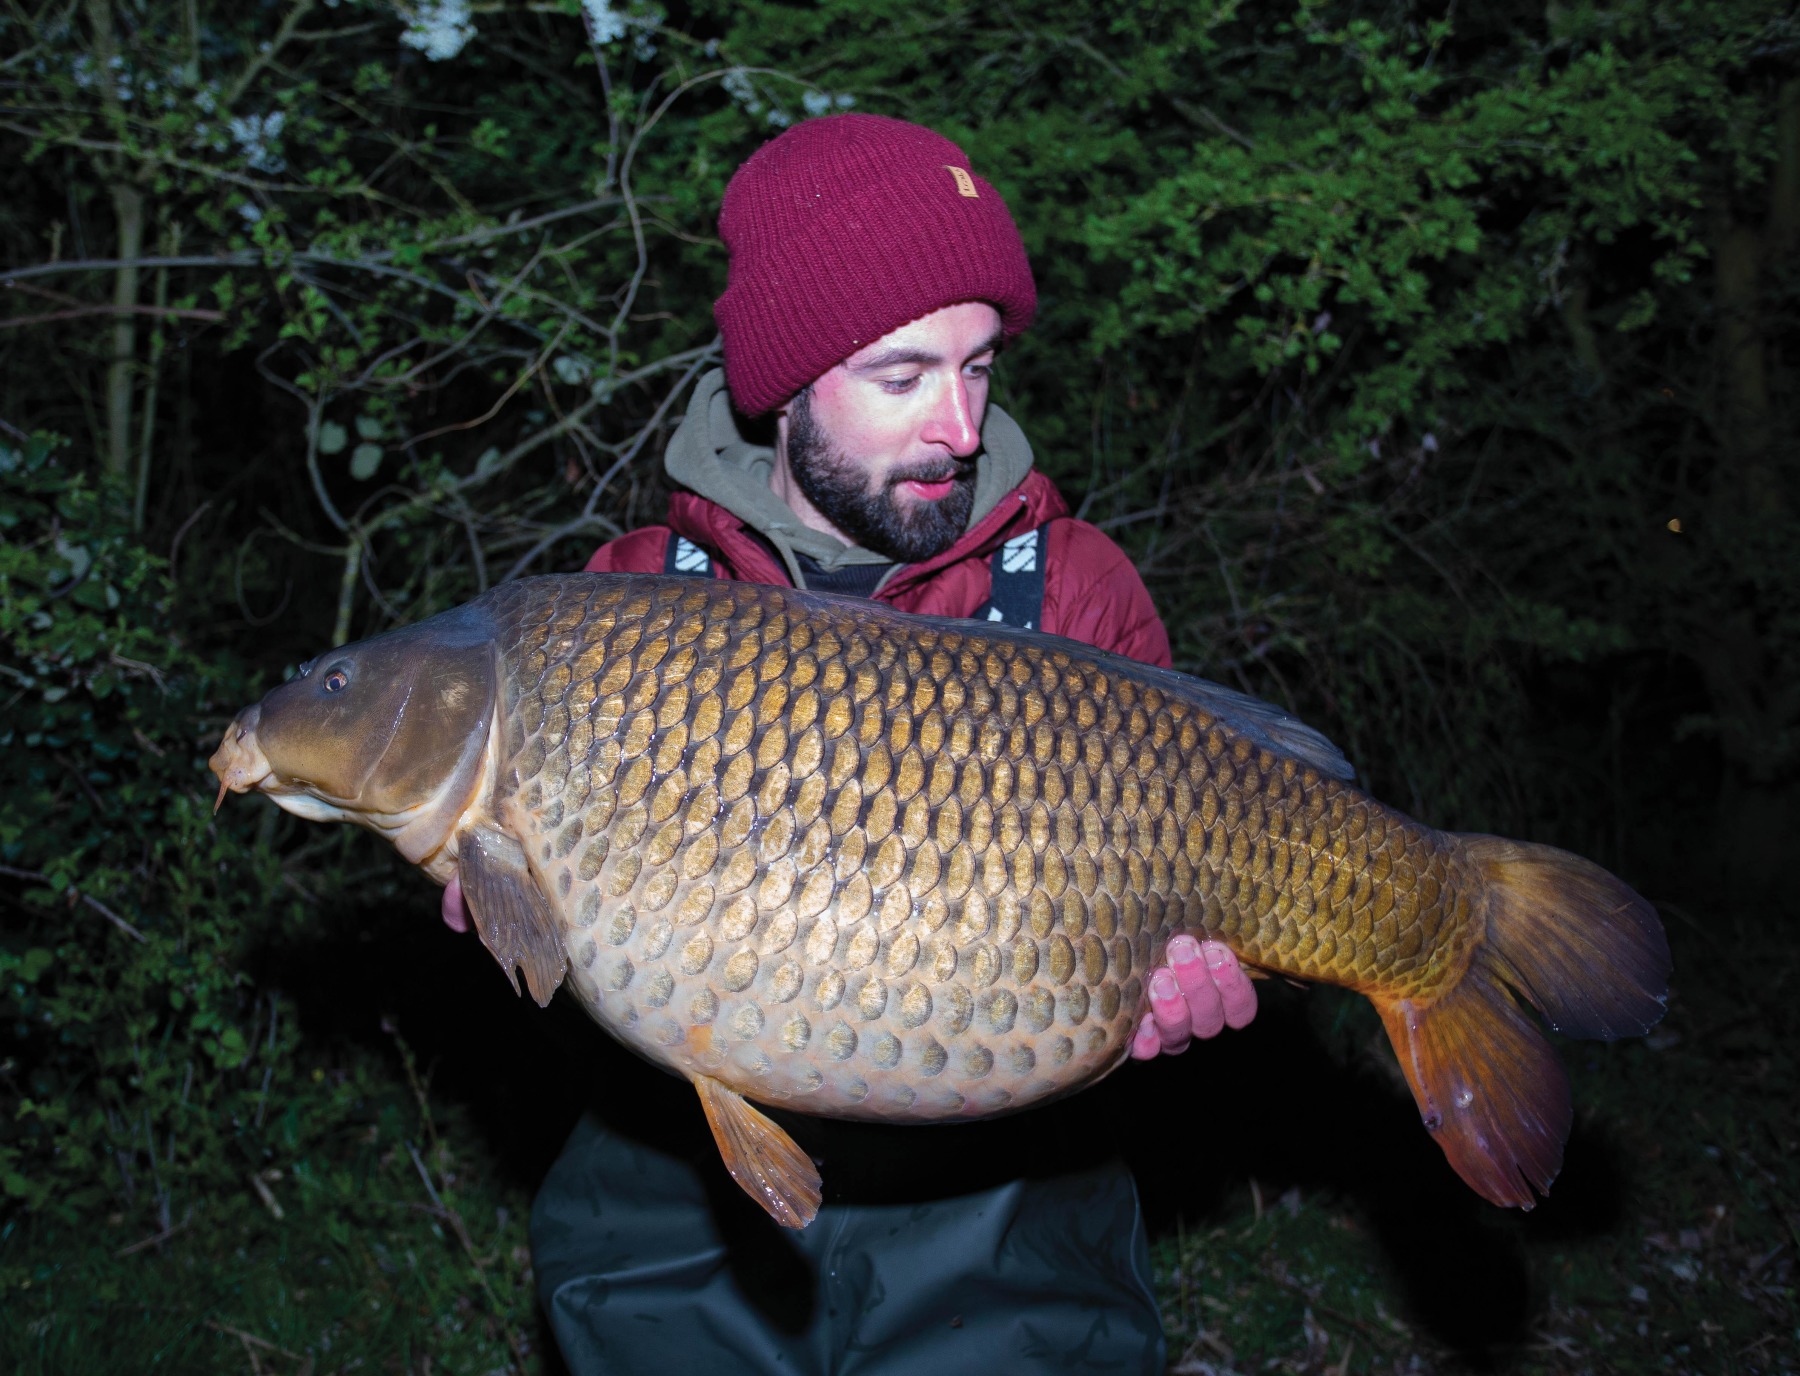
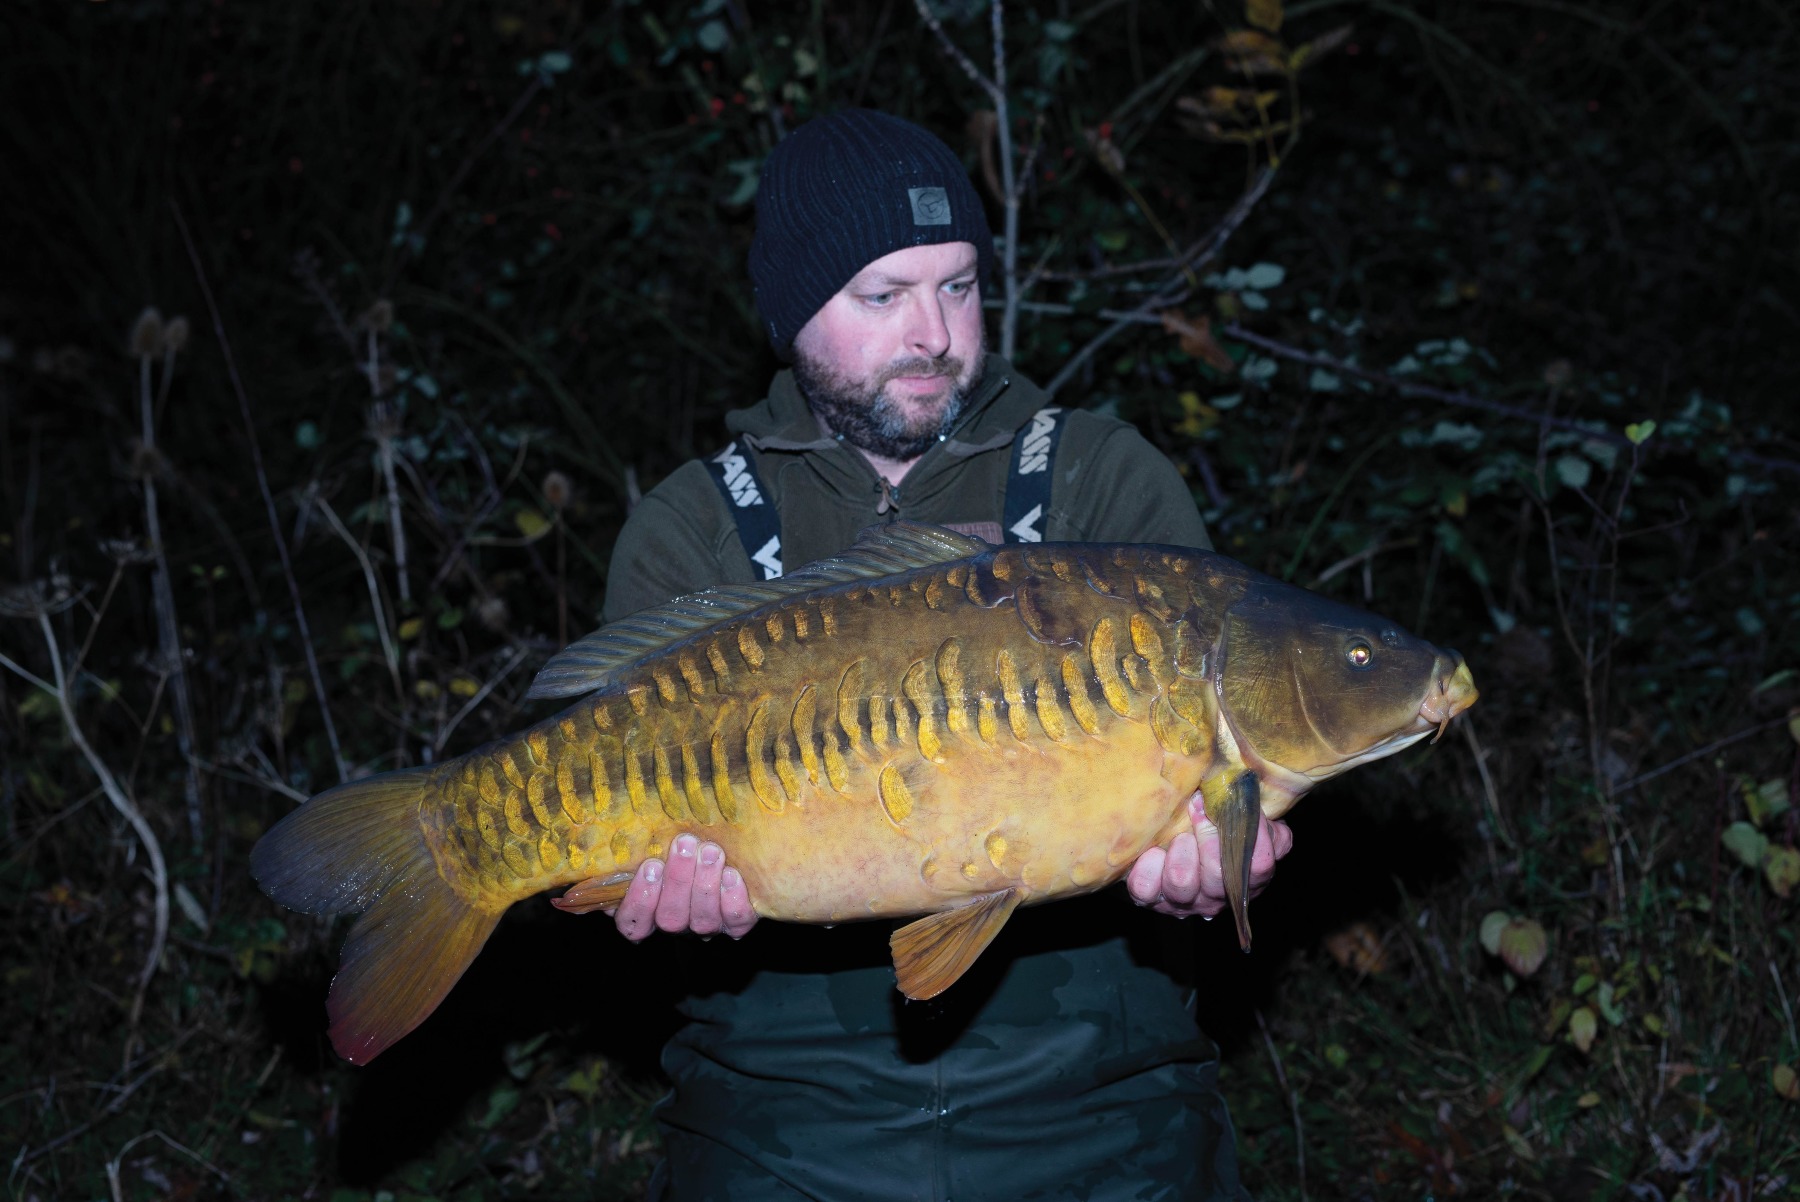
With the lights set-up and your polarising filter attached, you are ready to start practising for the real event. Here are a couple of shots taken with this lighting system:
So, in conclusion, my top tips for mastering the light while doing carp catch photos are:
Use your built-in light meter (through viewfinder) to check exposure.
Learn to use the Exposure Triangle Think: aperture, then shutter speed and finally ISO.
If you need/want to use a large aperture, to create a blurred background, ask the angler to hold the fish close to their body.
Use a shutter speed of no less than 1/60 second and preferably 1/100 or faster, to avoid motion blur.
Learn how high you can push the ISO on your camera before images get too noisy/grainy.
Check you have your LED lights, flash and spare batteries.Use a circular polarising filter, for both day and night photos.