
Photography Lesson 3: Mastering Your Camera
Mesmerised by those incredible catch shots you see on Martin Lawrence’s (@martinlaw1) Insta feed? Here’s how you can shoot similar shots…
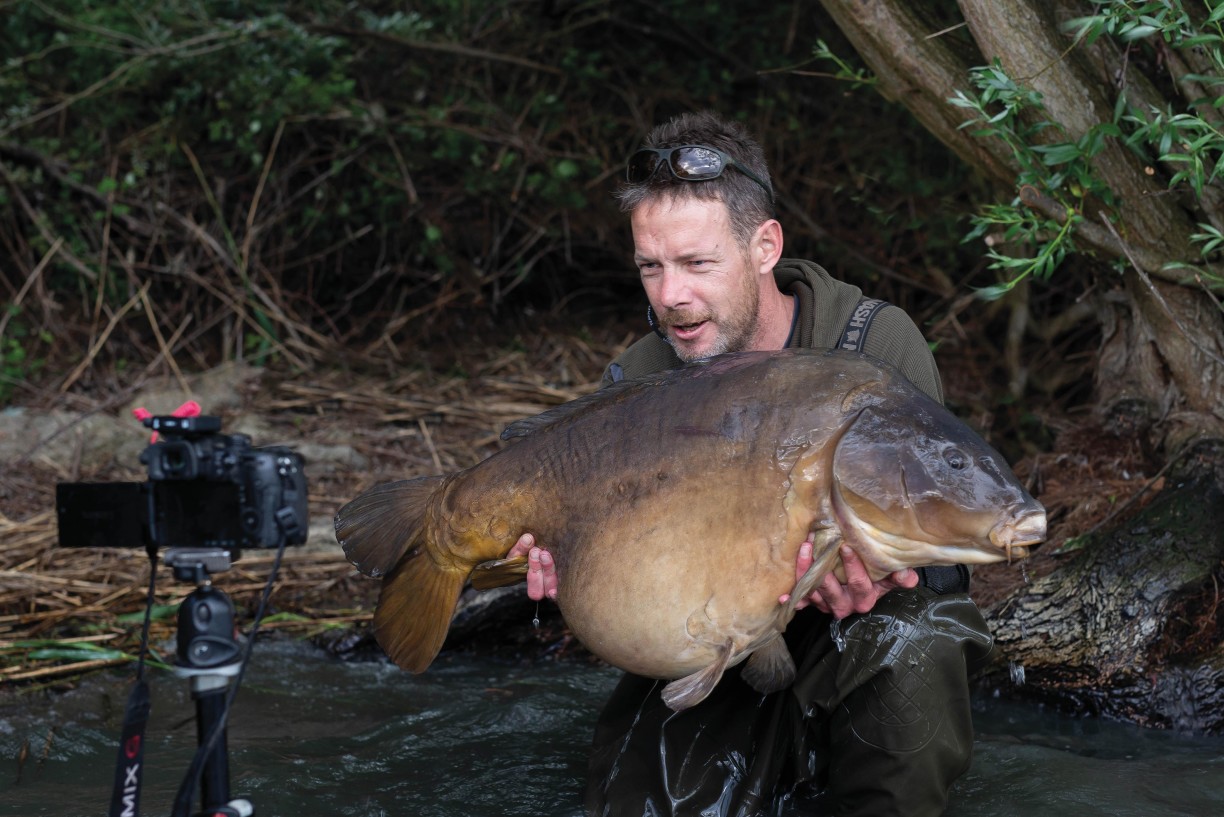
Knowing how to operate your camera quickly and efficiently during a carp catch shoot is critical to taking great photos—to capturing the decisive moments. A modern digital camera set to Auto Mode will do a decent job of working out the settings required to produce a sharply focused, well-exposed image on most subjects. The same goes for camera phones, which are getting better year on year. However, try using Auto Mode to capture killer images of a wet slimy carp in harsh sunlight or using flash light and you will struggle to get the results you want. This is where having the knowledge and skills to whizz around your camera settings makes all the difference.
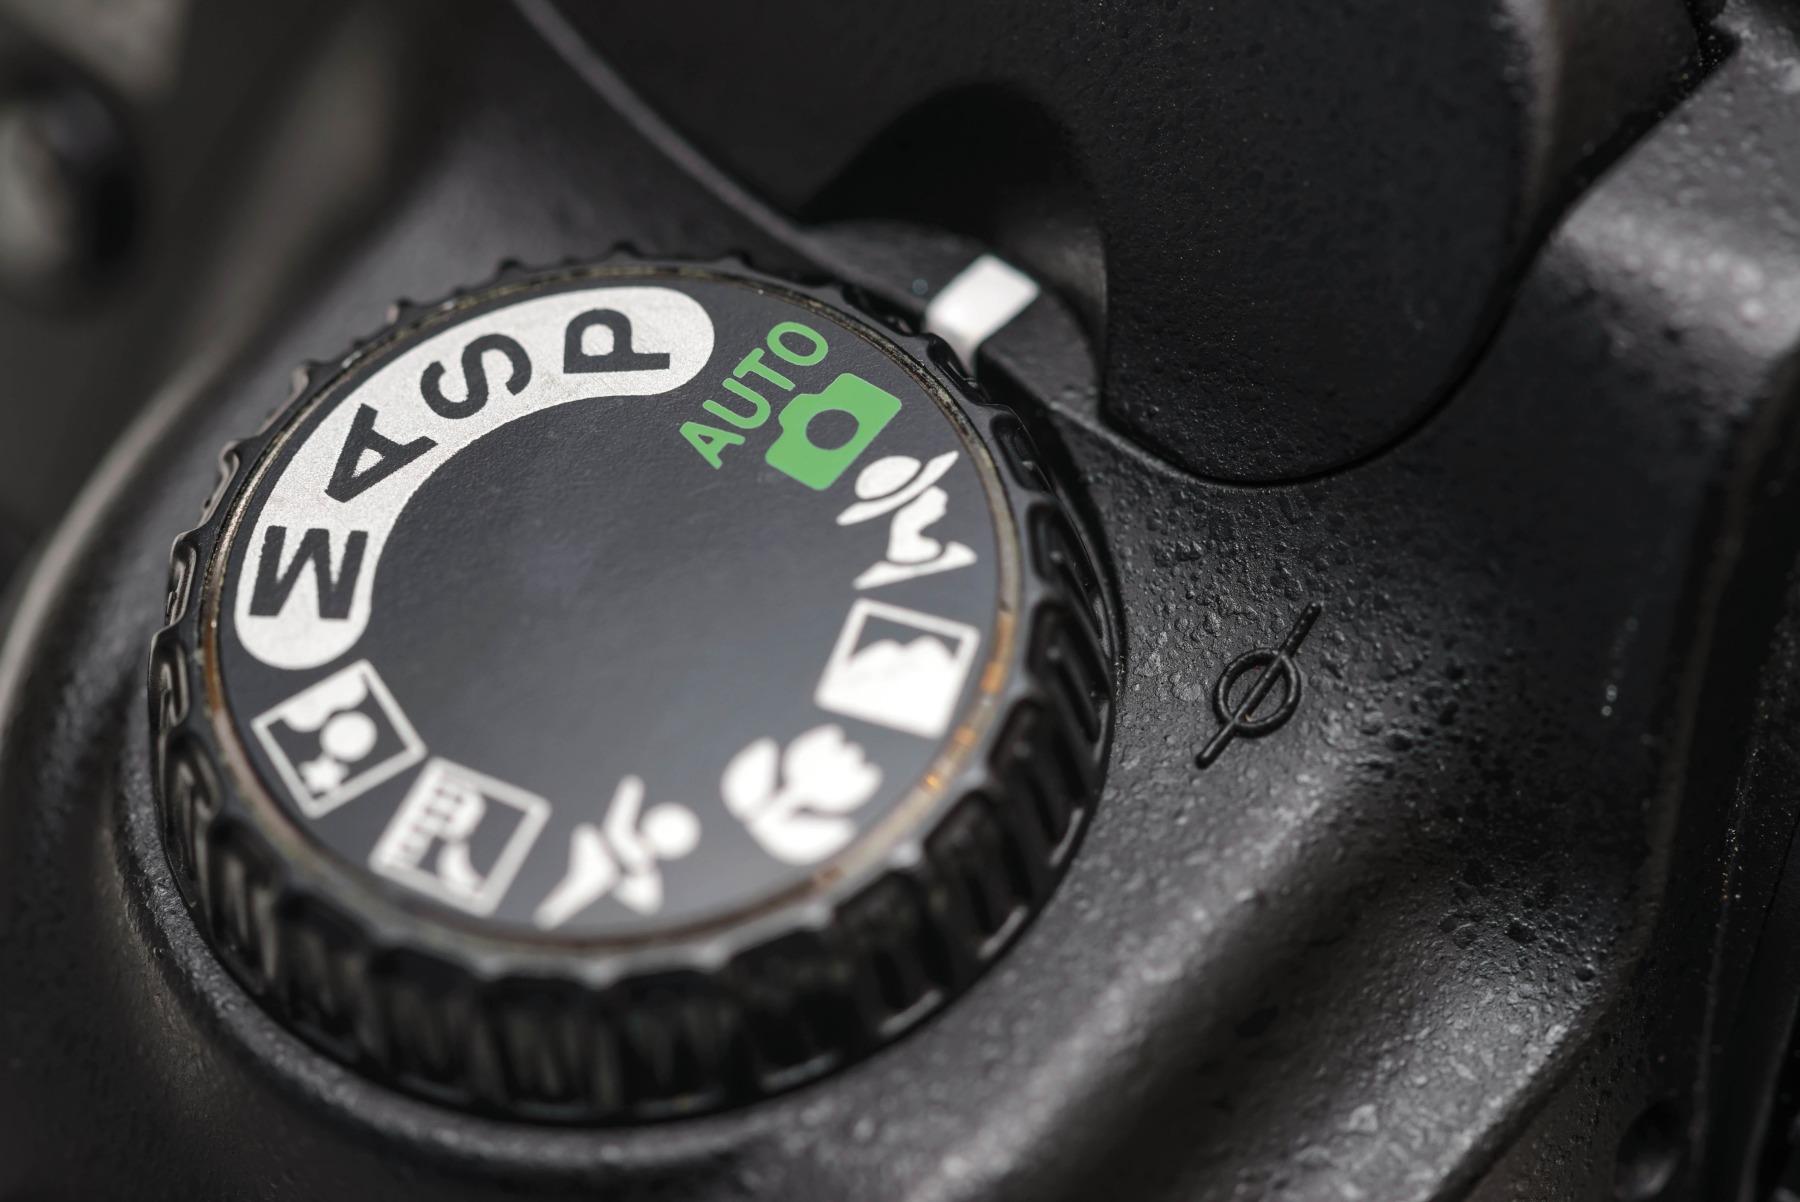
CAMERA MODES
On most cameras there is a dial on top allowing you to set the camera mode. We have already mentioned Auto Mode (Auto), and there is something similar called Program Mode (P). These are both modes where the camera chooses the settings.
Aperture Priority (A or Av) mode allows you to control the aperture while the camera determines the shutter speed needed for good exposure. Shutter Priority (S or Tv) is the opposite. You set the shutter speed, and your camera selects an aperture. The problem is, if the light levels are low, in aperture priority the camera may choose to use a very slow shutter speed creating motion blur, and in Shutter Priority it might choose a large aperture that creates a depth of focus too shallow to get both angler and fish in sharp focus.
The aim of this series of articles is to help you to learn enough to feel confident using Manual Mode (M)—to get you setting the aperture, shutter speed, ISO and other technical dimensions of your camera. You then have maximum ability to adjust the exposure and depth of focus, and to avoid motion blur in your images.
METERING
Digital cameras have a built-in light meter and different metering modes to assess the exposure of a scene. This can be challenging when the scene is high in contrast, with objects reflecting light at very different intensities. For us, this is often the contrast between our subjects and a bright sky, or the light reflecting off the lake. The two most common modes are:
EVALUATIVE/MATRIX METERING
This mode assesses the exposure by averaging the brightness of the entire picture, and then assesses the exposure in the area where you focused. This is the simplest metering mode to use when doing carp catch photography.
SPOT METERING
In this mode your camera assesses the exposure only on the area where you have focused. This can be used to ensure that your subject is properly exposed. However, it can also cause the background to be extremely under or over exposed. This is sometimes useful, and can, to a certain extent, be corrected during the editing process using a program such as Adobe Lightroom.
FOCUSING
Focusing sharply on your subjects (fish and angler) is clearly a critical skill in carp catch photography. There are two main focusing modes you can choose:
Single Focus (AF-S), which is suited to still or nearly still subjects. When you press the shutter button halfway, the camera focuses, and you are ready to press the button all the way down to take a photo.
Continuous Focus (AF-C, AI Servo), which is where the camera continuously tracks a moving subject, adjusting its focus accordingly. Modern cameras are good at this, but you may find the camera selects a focus point on either the angler or the fish that leaves the other slightly out of focus.
My preferred option is to use Single focus mode but using back button focusing rather than half pressing the shutter button.
With Back Button Focus, you separate the shutter button from the focusing function by selecting another button on the back of the camera, usually one easily accessible with your right thumb. When taking a photo, you use the back button to focus on the subject and then press the shutter button. Most cameras have this function, but each varies on how you set it up. Like everything else these days, there should be a YouTube video to show you how to do it.
Another aspect of focusing is how many focusing points to choose. My recommendation is to use a small cluster of focus points in the middle of the frame or a single focus point. In older DSLR’s the central point is often the most sensitive, and therefore reliable, focusing point.
When preparing to take a photo, hold the camera very still and focus on the flank of the fish. After the first few shots, check (using the rear screen) that you have both the angler and fish in focus. If not, select a smaller aperture or ask the angler to hold the fish closer to their body.
TROUBLESHOOTING: WHY AREN’T MY PHOTOS SHARPLY FOCUSED?
If you are struggling to get your photos as sharp as you want, there could be several reasons:
λ Your subject could be moving when you hit the shutter button, and you could be using a shutter speed which is too slow to ‘freeze’ the motion.
λ You could be moving when you take the photo. Practise holding the camera very still, with your arms tucked against your body.
λ You may not actually have focused on the subject.
λ You may be using a large aperture that creates a shallow depth of focus, so either the fish or the angler is in focus, but not both.
λ Your lens may be dirty, impairing the image quality.
λ You may have a lens incapable of producing the pin sharp photos you want.
CHOOSING YOUR SHUTTER SPEED
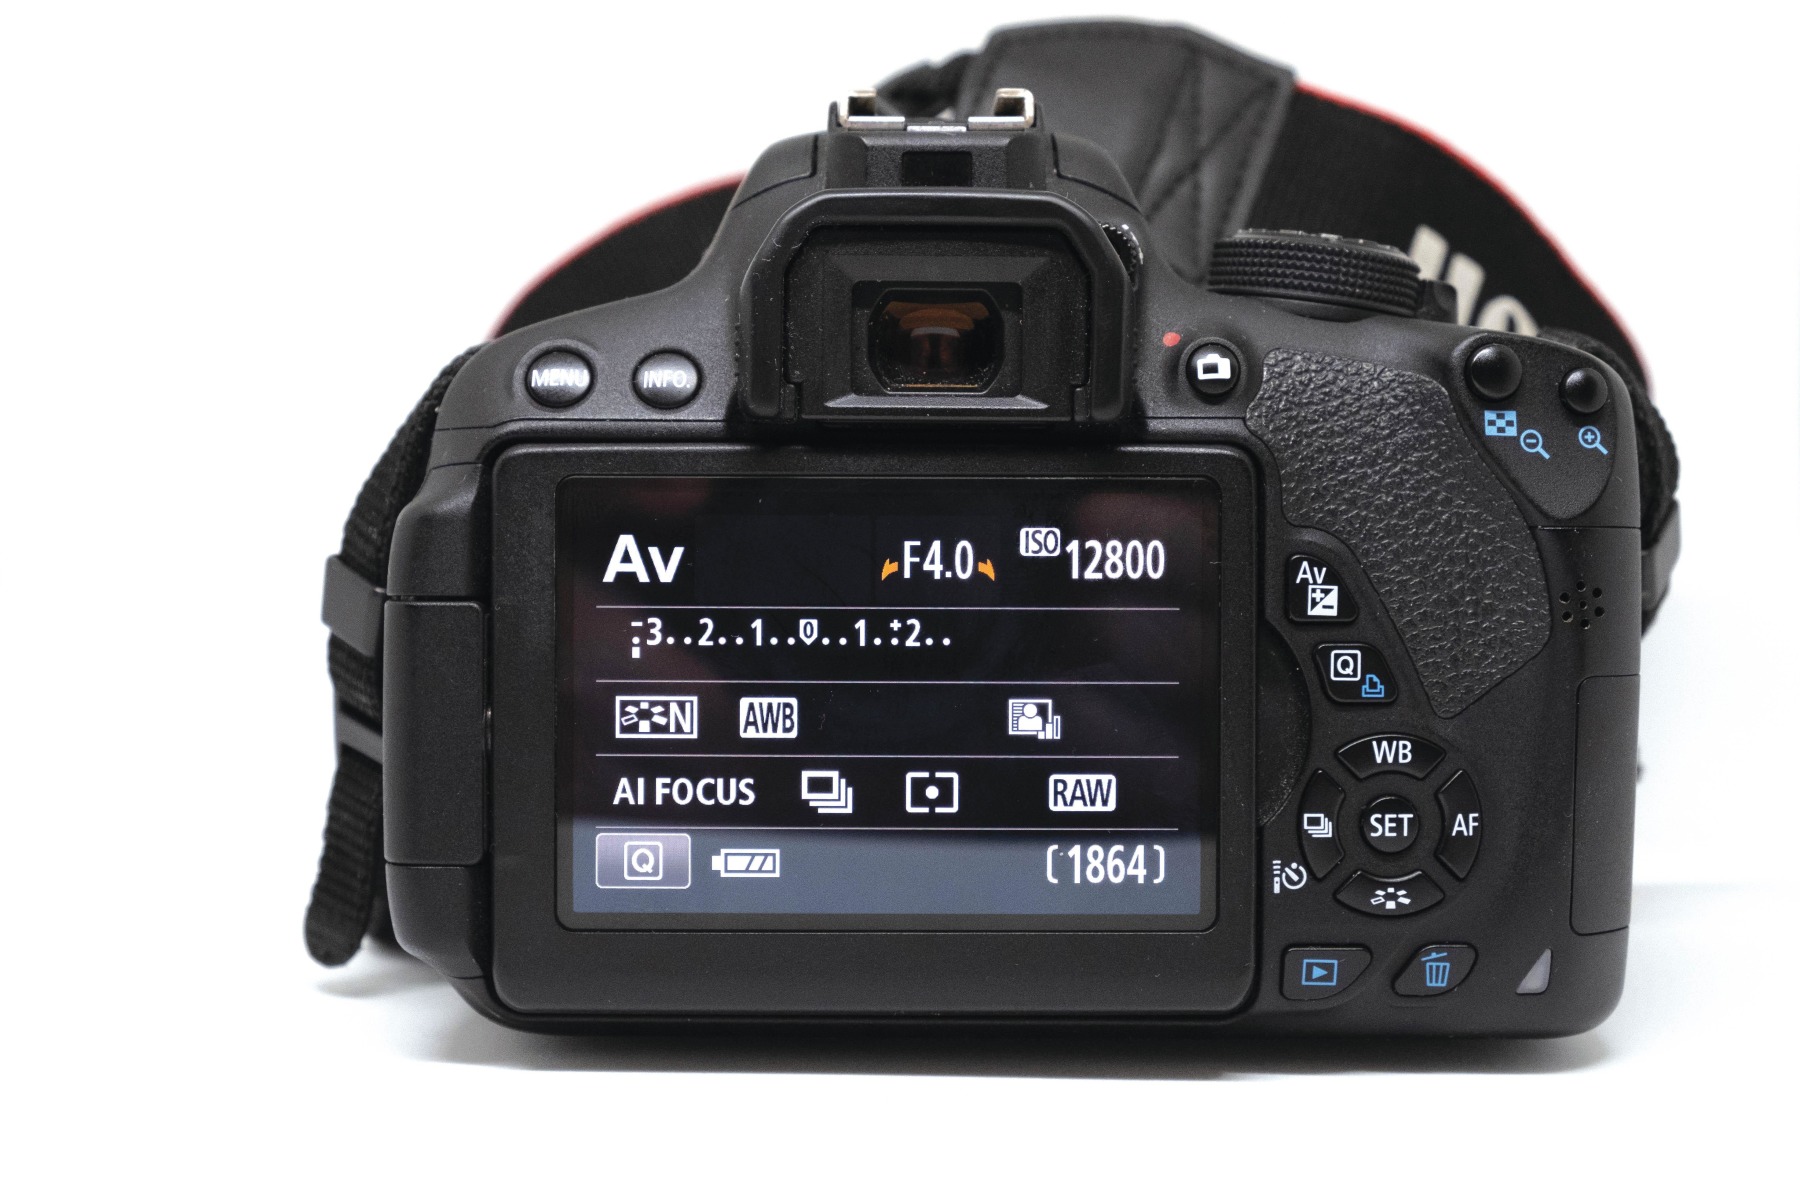
Using a shutter speed below 1/100 of a second for carp capture photography is not generally recommended as it can lead to motion blur. So, if the light is low and it’s a toss-up (to get good exposure) between upping the ISO to say around 600-800 or reducing the shutter speed below 1/100, go with increasing the ISO and keeping the shutter speed at 1/100 or faster. You can reduce noise/grain in the editing process, but you cannot edit out motion blur.
Having said that, if the light is very low and you have already upped the ISO above 1000 and opened the camera aperture to say f/1.8 or f/1.4 (if your lens allows you to go that wide), but the exposure is still poor, then drop the shutter speed to 1/80 sec (possibly 1/60 on a tripod), rather than going for flash lighting. With good technique you can hand hold at 1/60 sec, but it’s a bit hit and miss unless your camera has IBIS (in-body image stabilization).
SHUTTER MODES
Single Shot: When you press the shutter button the camera takes one photo. This is my first choice setting for carp catch photos.
Continuous: When you press the shutter button the camera takes photos as fast as it can until you take your finger off the button, or it hits the buffer. This is also known as Burst Mode, and is particularly useful in sports and wildlife photography. The main downside to this setting is you end up with a ton of photos to sort through. The upside is you have lots of photos to choose from, and one or two may be absolute bangers from a timing and focus perspective.
Delayed or Timed: When you press the shutter button, the camera waits a few seconds before taking the picture. This is used when doing self-takes (which we will cover next month.)
IMAGE FORMAT
Most cameras allow you to choose the format in which your photos are captured. A widely used format is JPEG, which is a compressed image format that can be used on most photo editing software and is accepted by social media platforms. When your camera produces a JPEG file, it uses its software to ‘optimise’ the image.
Another option is to capture your image as a RAW file. A RAW image file contains minimally processed data from the image sensor. Different camera manufacturers produce their own proprietary versions of a RAW file (e.g. Nikon’s NEF files, and Canon’s CR2 files). They are not ready for printing or sharing and need to be manually processed in editing software.
Alternatively, on many models of camera you can capture both a RAW and a JPEG file at the same time. The downside to this is it uses a lot of space on your storage cards. I always use 128GB cards. The advantage is that while on the bank you can share your processed/optimized (by your camera) JPEG files via bluetooth to your phone and onto social media etc., and still have the high-definition RAW files for editing back at home.
CONCLUSION
My top tips for mastering your camera while taking carp catch photos are:
λ Use Evaluative metering.
λ Learn how to shoot in Manual Mode, to give yourself complete control of your camera.
λ Set-up and use back button focus, to separate focusing from the shutter release button.
λ Aim for a shutter speed of 1/100 of a second or faster.
λ Set your camera to shoot in RAW and JPEG.