


Photography Lesson 5: Editing Your Photos
In the concluding part of his masterclass in photograph, Martin Lawrence (@martinlaw1) explains how to make your images really stand out on Insta with some clever editing tips
An important part of photography is editing—processing your photos using techniques and tools that enhance the original image. It has always been an integral part of photography. The great American landscape photographer, Ansel Adams, was a master at dodging and burning his film negatives, decreasing and increasing exposure in his images to maximise their dramatic impact. Obviously, you should aim to get the photo as close to your desired outcome as possible in-camera, but sometimes it’s not possible, or you overlook one or two things. Fortunately, today’s digital photography gives us amazing resources to do almost anything we want with our images using software programs such as Lightroom and Photoshop.
The options for editing can be bewildering, and how much you edit your images is a matter of personal taste. What follows is just one approach: mine…
SELECT
Start by selecting the best photos from a shoot, looking at them on your monitor screen. Scan for any that are particularly sharply focused and capture a moment when the angler and fish were both looking good. Aim to select several shots of each side and a few that capture the overall catch shoot experience.
UPLOAD
Upload the photos to your chosen program. Work on the images one at a time.
CROP
Firstly, consider the composition and decide if it needs to be cropped. You may have included something in the background that you didn’t notice at the time, but now realise is distracting from the subject.
STRAIGHTEN
Check if the image needs to be straightened because the horizon is wonky. You don’t want it to look as if
the lake is draining out of one corner of your image.
HEALING BRUSH
This is a brilliant tool that allows you to remove any annoying distractions in your image. In Lightroom it replaces an area you select with another part of the image and allows you to merge the change, hopefully invisibly, by controlling the opacity and degree of feathering. Often you will need to remove twigs and branches that appear to be emerging from the fish or angler. Look closely at the fish itself and remove bubbles and bits of weed etc. You can also use this tool to remove small cuts or grazes on the fish and when you get more skilled, areas where you have failed to control unwanted glare.
MASKING
Masking tools allow you to make changes to specific areas of your image. Start by selecting a masking brush (adjusting it to an appropriate size) and look for areas of the fish that are overexposed. Quite often this is on the top of the fish or on its head. Brush these areas and use the Exposure, Highlights and Whites sliders to darken them. The sky is often another area to consider for masking and exposure reduction. Use your picture histogram to assess how much of your photo is underexposed and overexposed.
A radial gradient mask (which allows you to select a circular or elliptical area of your image) is a useful tool for increasing or decreasing exposure on the angler’s face.
SHARPENING
If you shoot in RAW file format, you will need to sharpen your images. If you shoot in JPEG format, the camera will already have sharpened the image to a level it considers optimal. There is no right or wrong level of sharpening, it is a matter of taste. Play with the sliders to observe the effect and settle for a level that is pleasing to your eye. Many models don’t like a super sharp resolution on their skin as it reveals blemishes, however, on a carp it can reveal amazing detail.
NOISE REDUCTION
Your image will have more or less digital noise/grain depending largely on the ISO setting used and the low light performance of your camera. As a rule, only make minor adjustments using the noise reduction tool. You can easily overdo it and give your image a ‘plastic’ appearance.
EXPOSURE
As mentioned, make changes to exposure on specific areas of a photo using the masking tool, but at the end of the process, assess whether as a whole the image needs to be slightly brighter or darker. This can be achieved using the exposure slider. I also occasionally use an inverted radial gradient around the fish, which then allows me to increase or decrease exposure on everything other than the fish.
COLOUR
Try to avoid making significant changes to the colour profile of your images during editing. However, occasionally you may wish to select a radial gradient tool, highlight the fish and emphasize a particular hue, for example red or orange, to bring a bit of punch to the scales or the richness of the flanks on a fish.
CONTRAST, SHADOWS, HIGHLIGHTS, WHITES, BLACKS
As a final step in the process, make judgements on whether tweaking the contrast, shadows, highlights, white and black sliders improves the overall quality of the image. It is a highly subjective craft and so there is no general guidance except to experiment and memorise what levels you find pleasing. Over time this will tend to become your ‘style’ of editing.
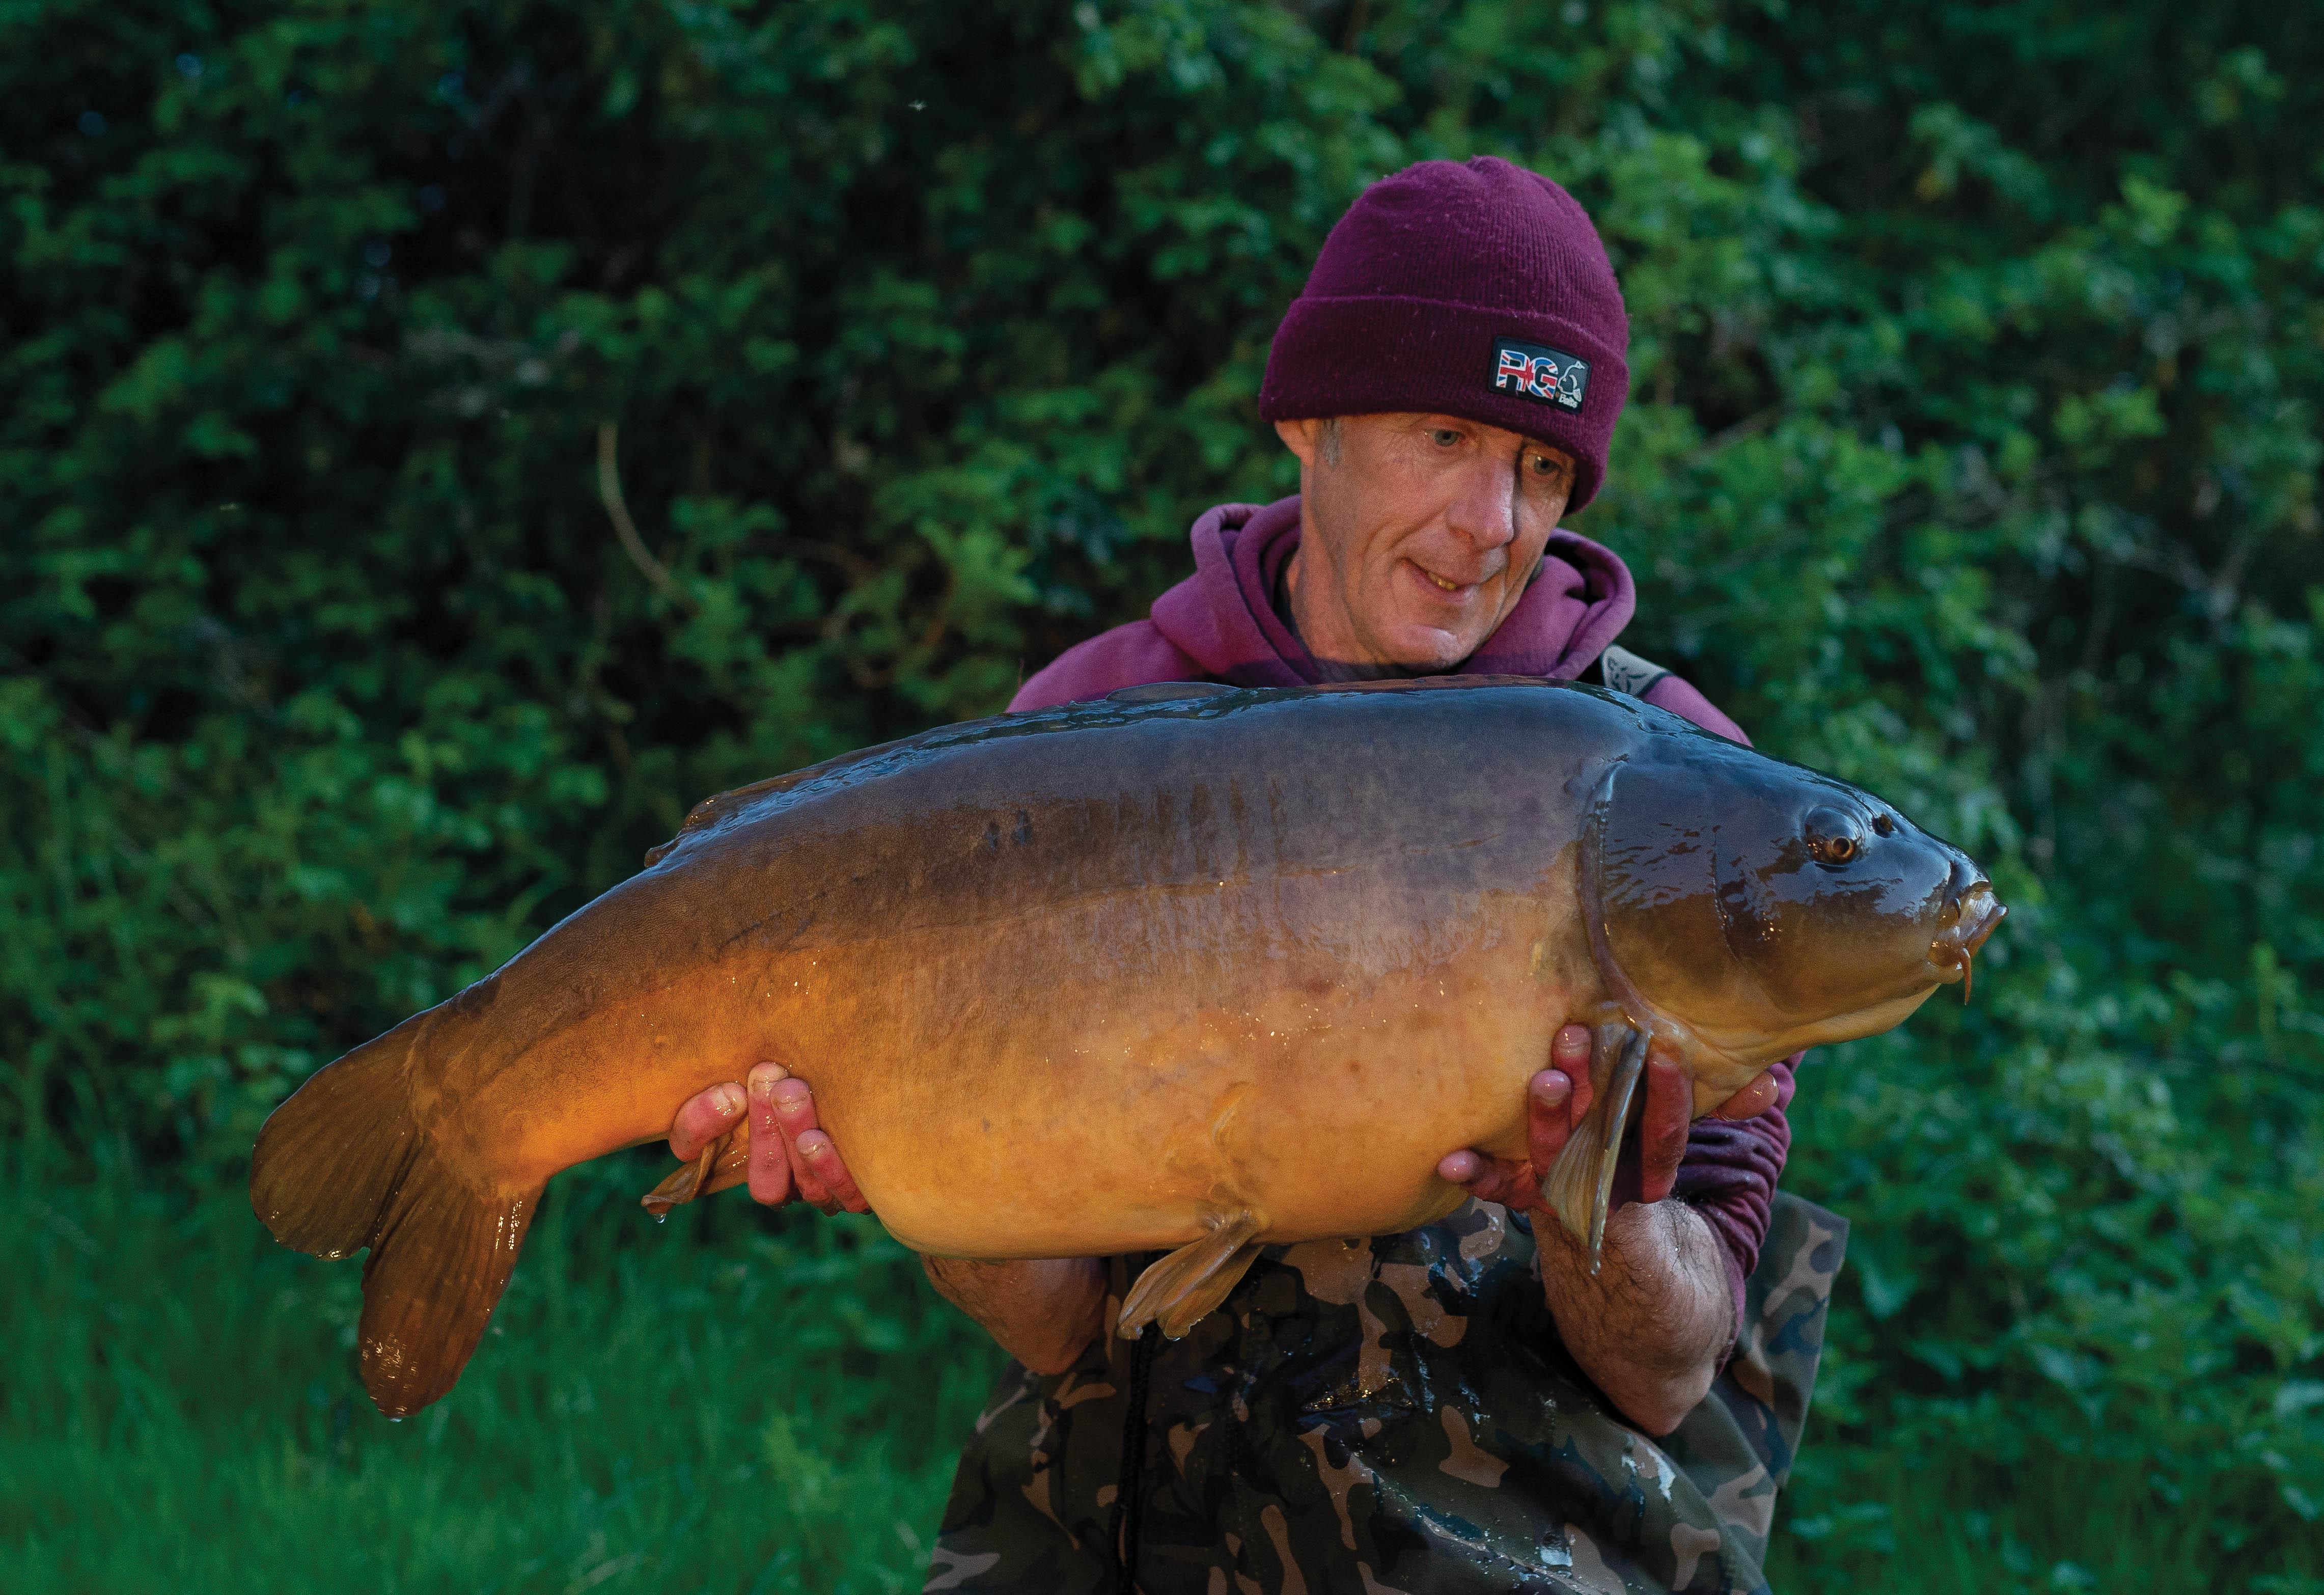
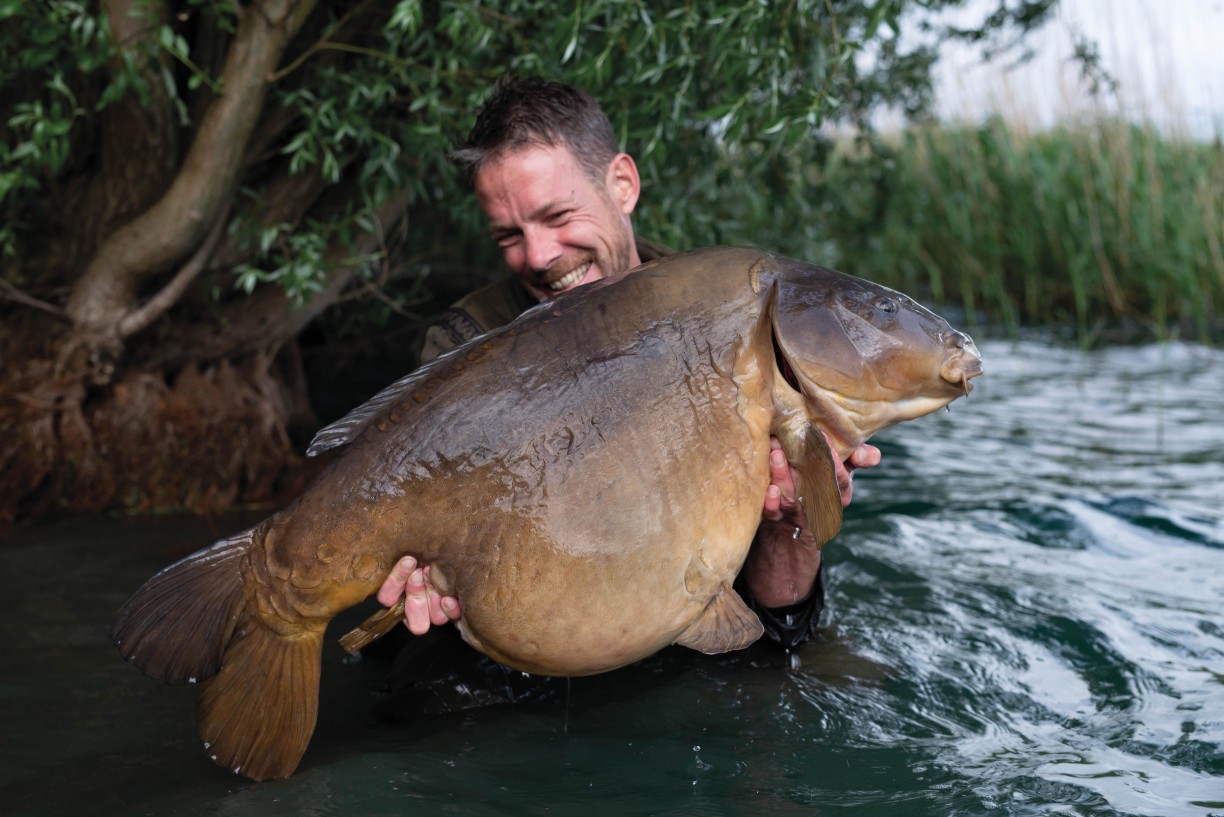
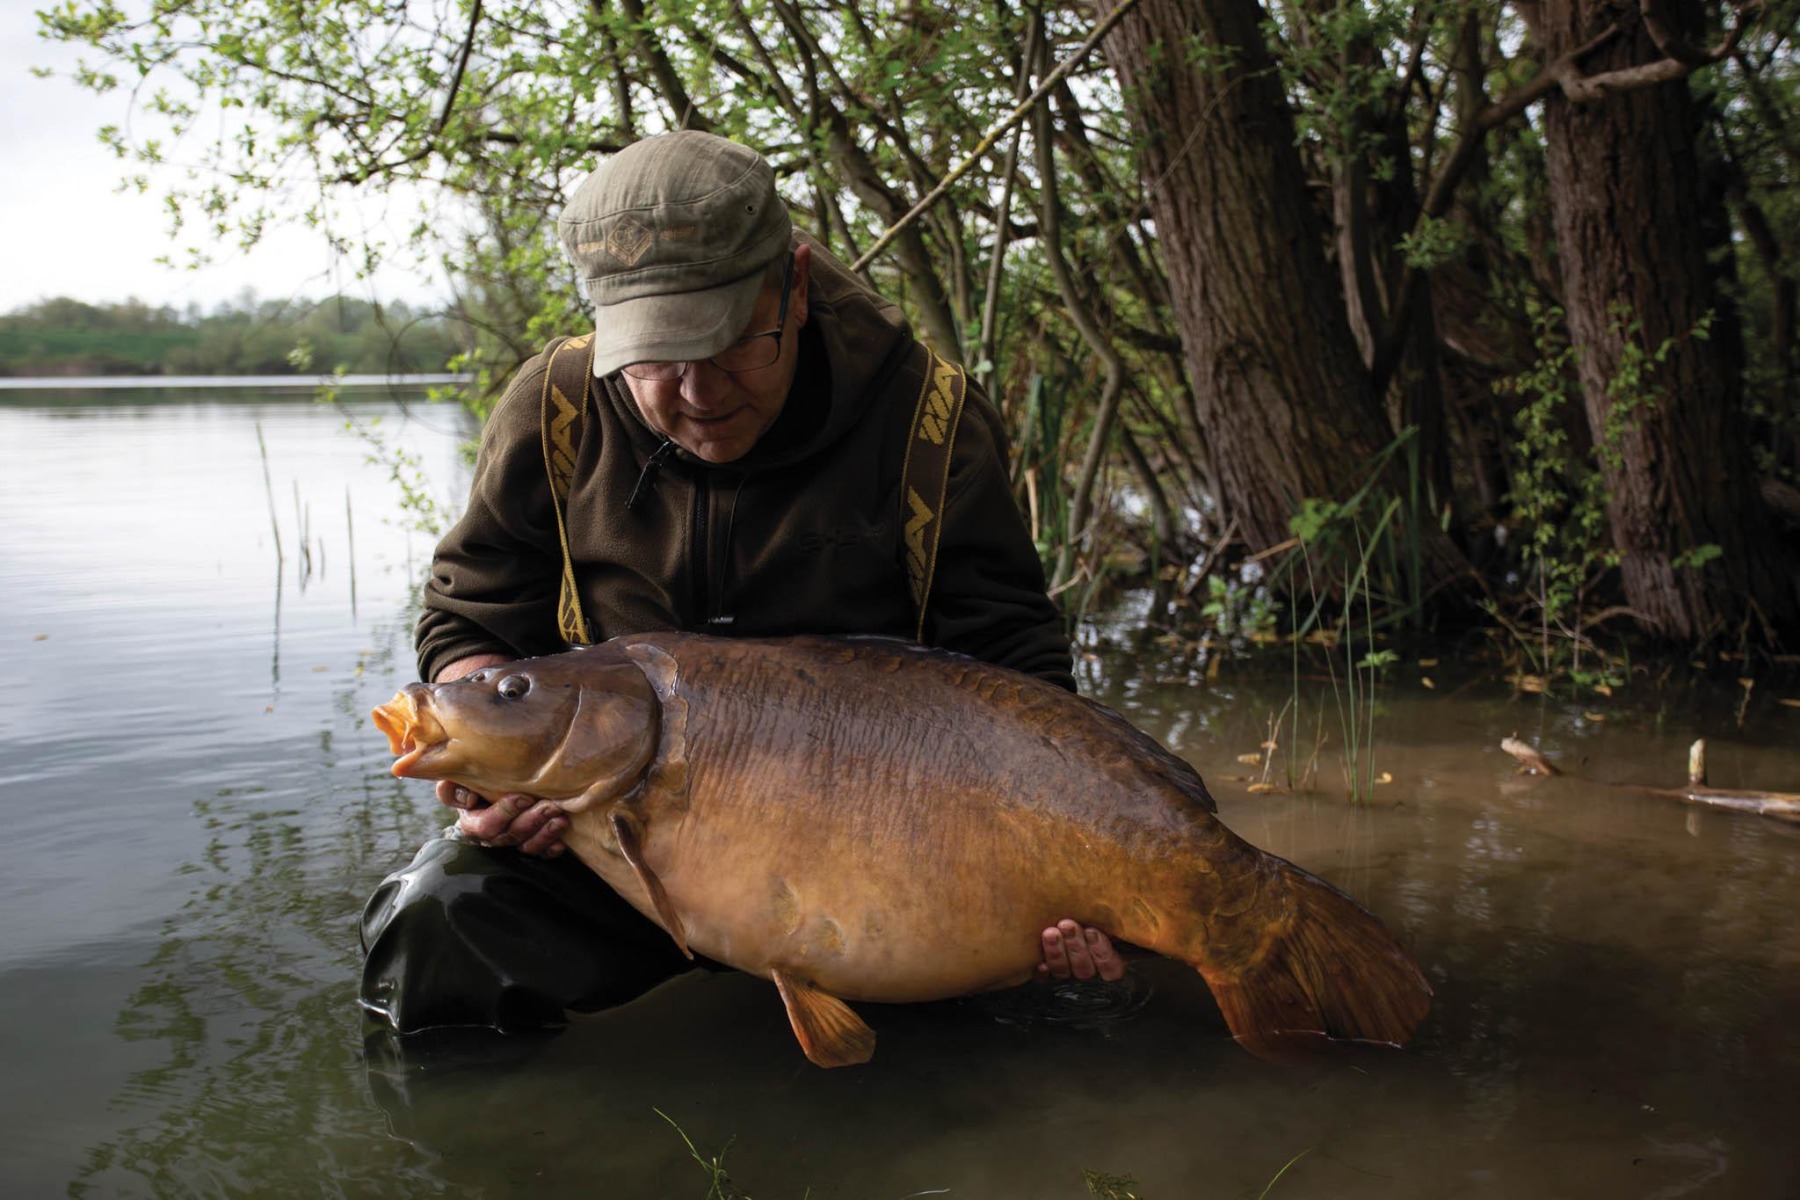
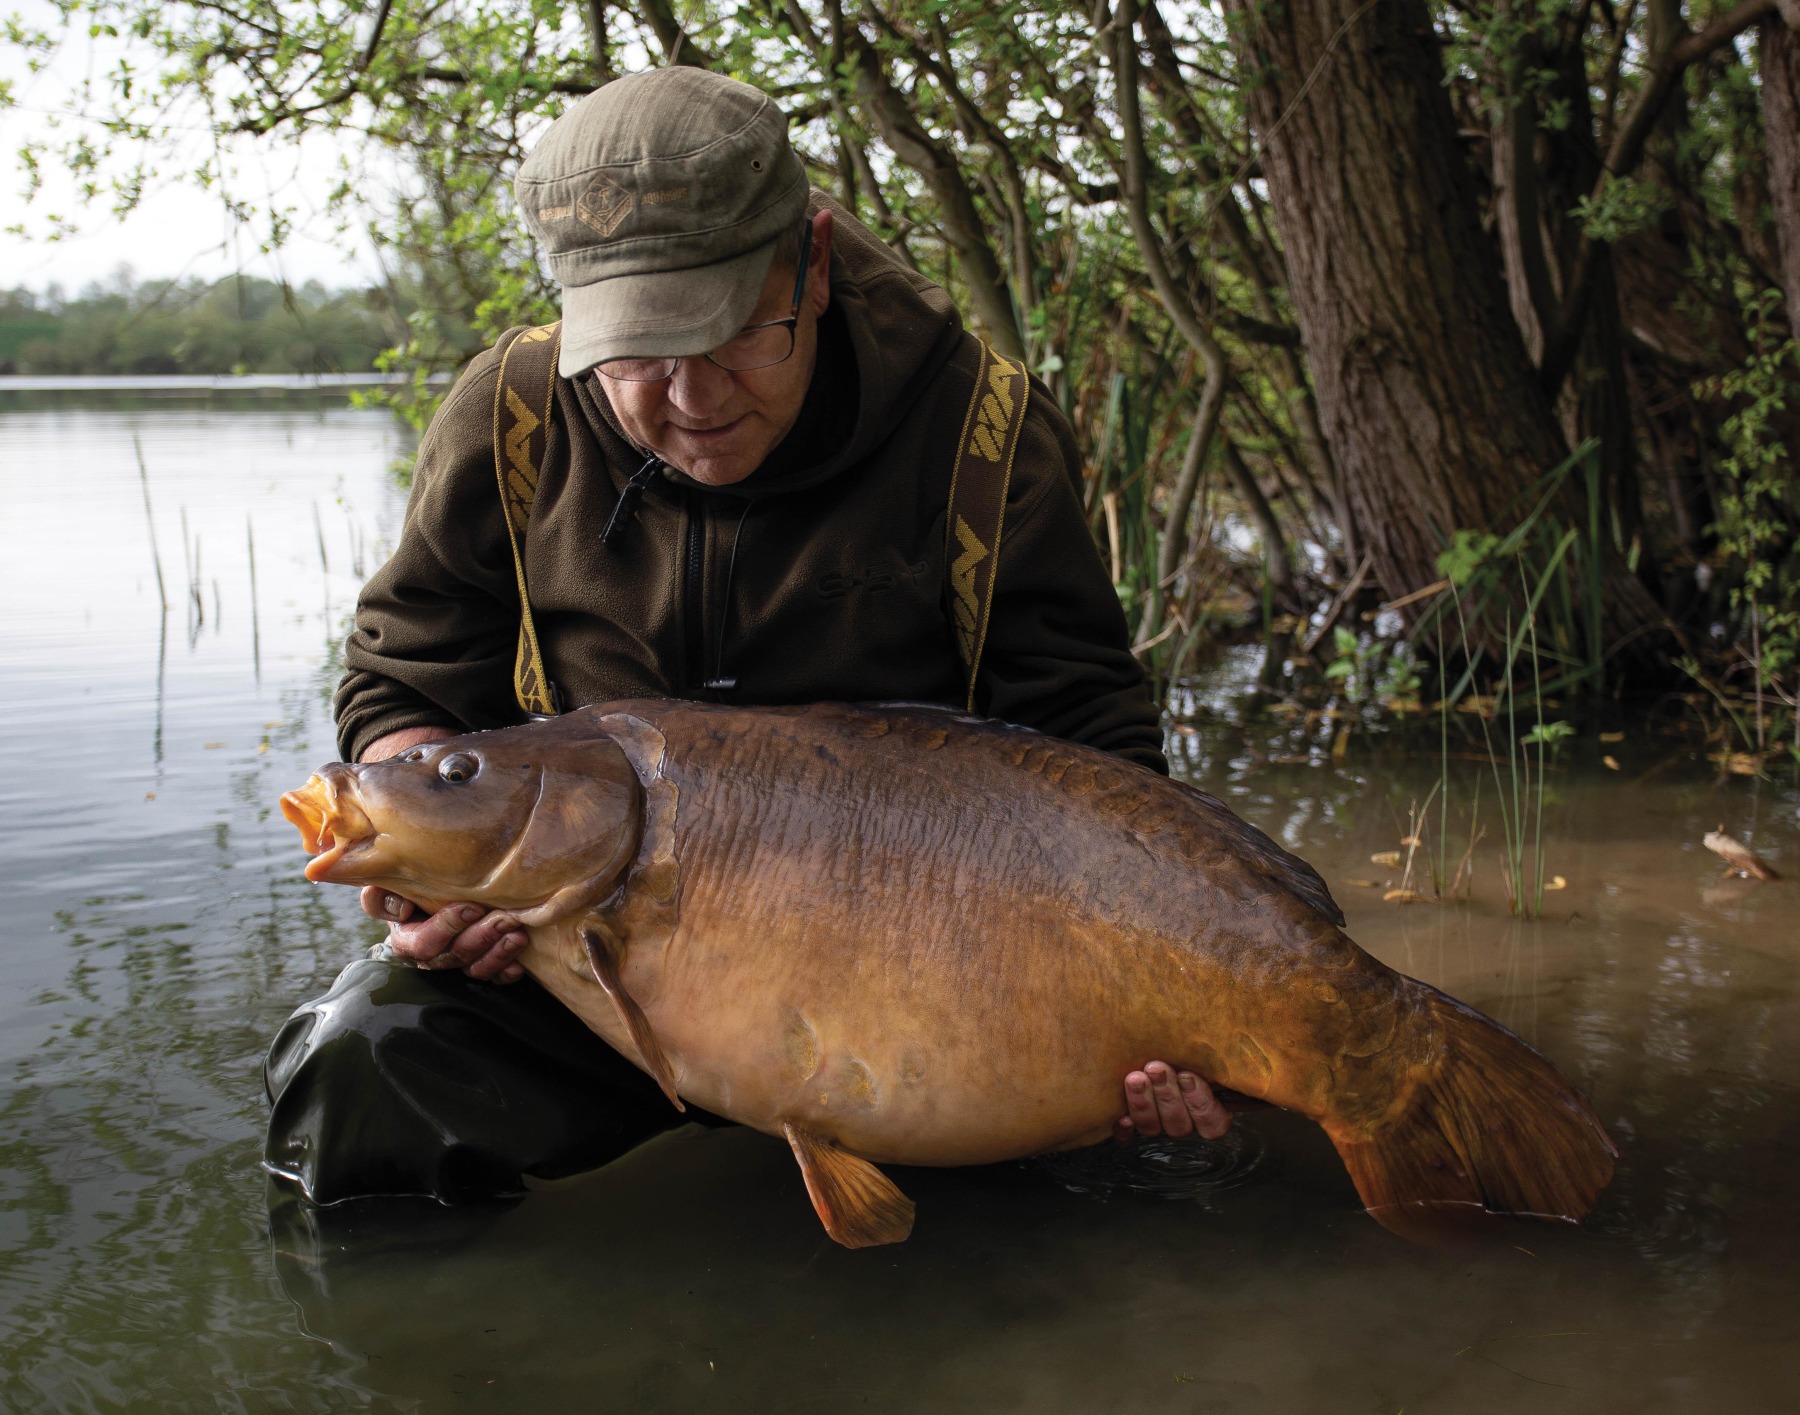
CASE STUDY #1
The editing process on this image was…
λ Crop tighter on Mark and the fish.
λ Remove distracting branches that seem to be growing out of Mark’s back.
λ Use a masking brush tool to lighten Mark’s face.
λ Sharpen the image.
λ Review the image and increase the overall exposure slightly.
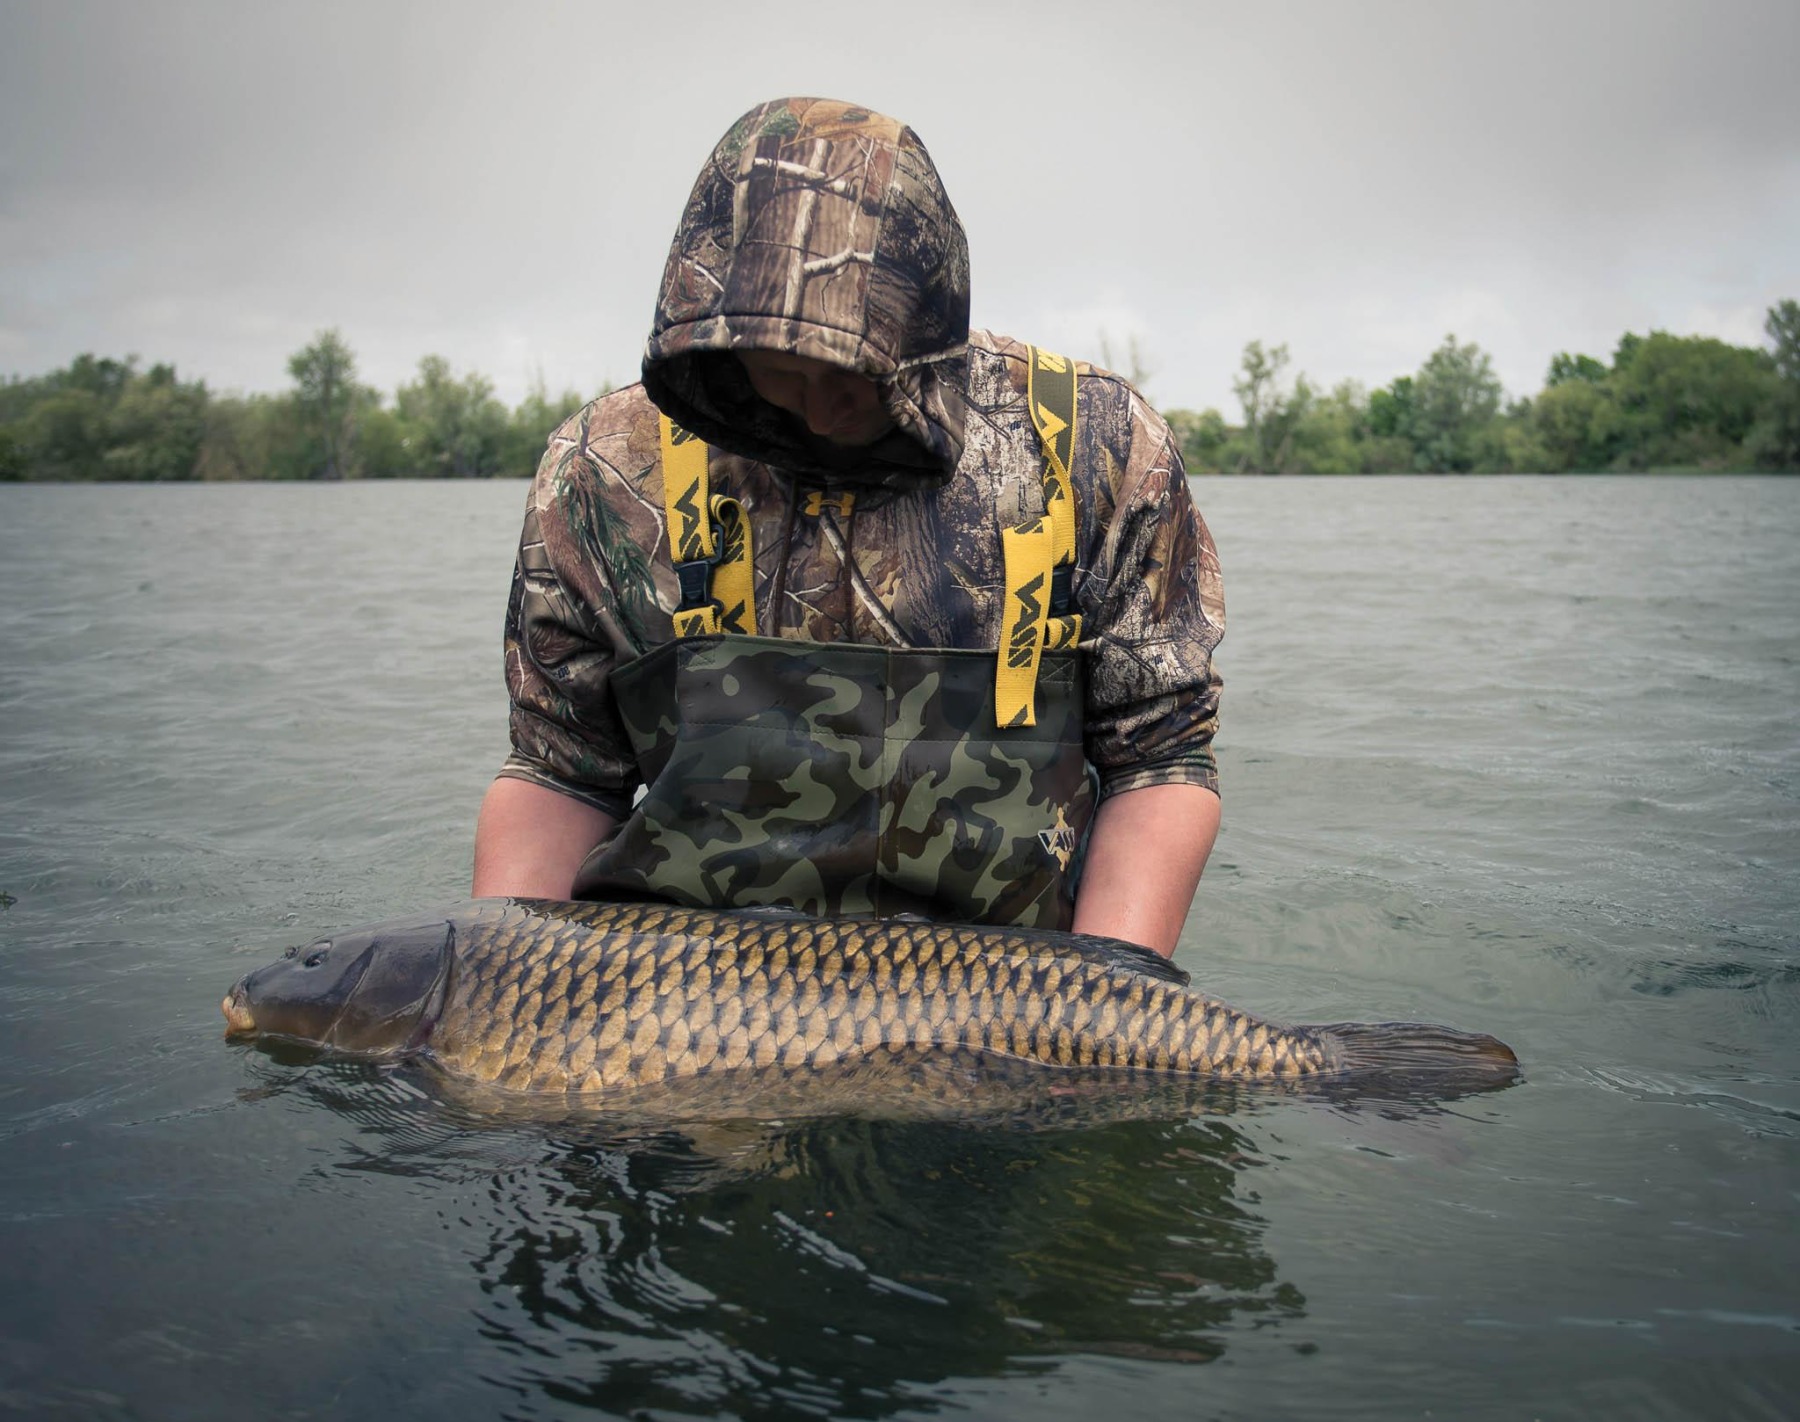
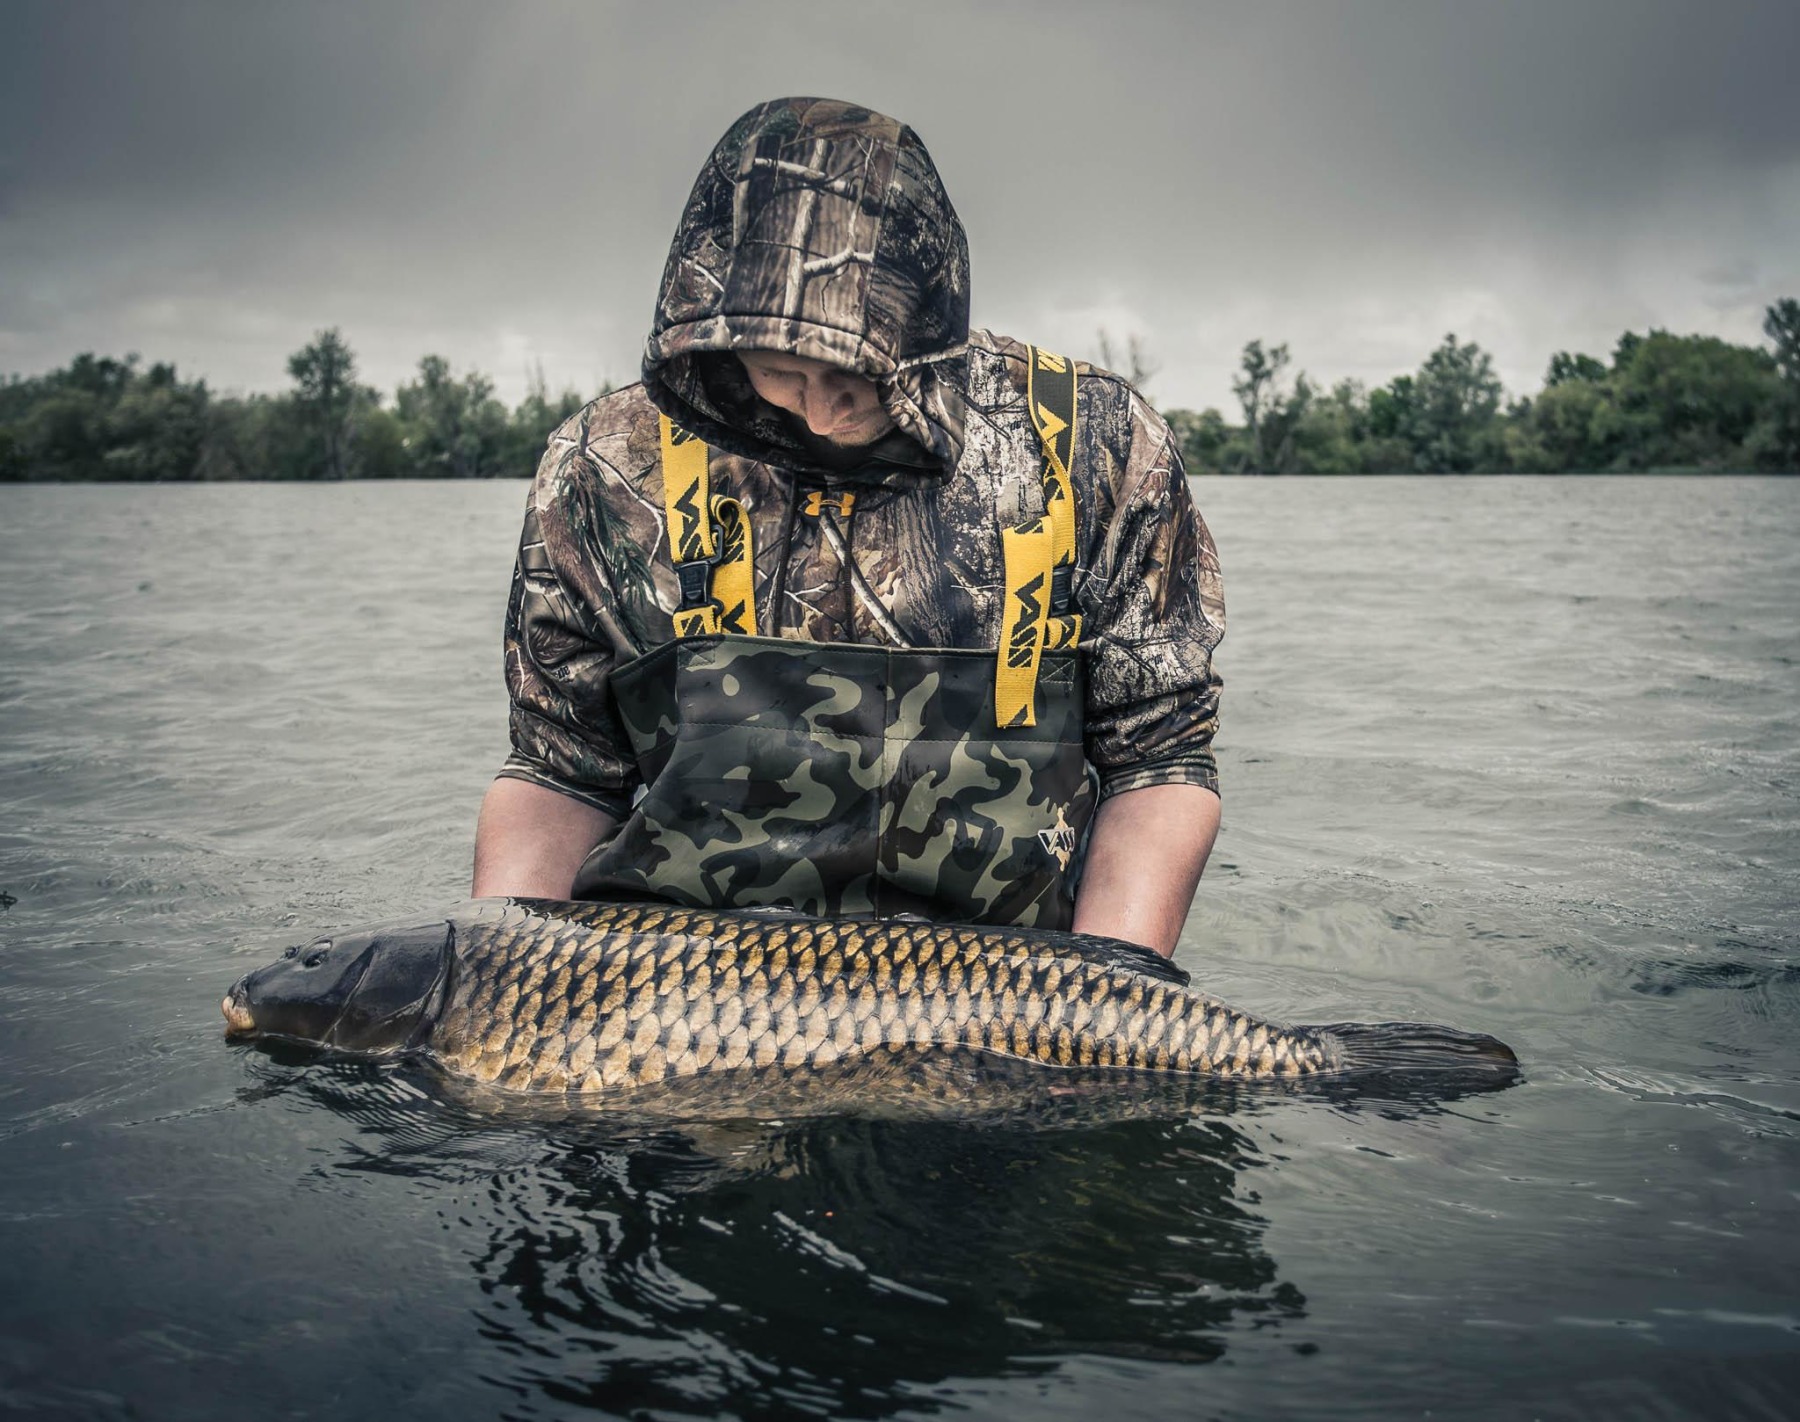
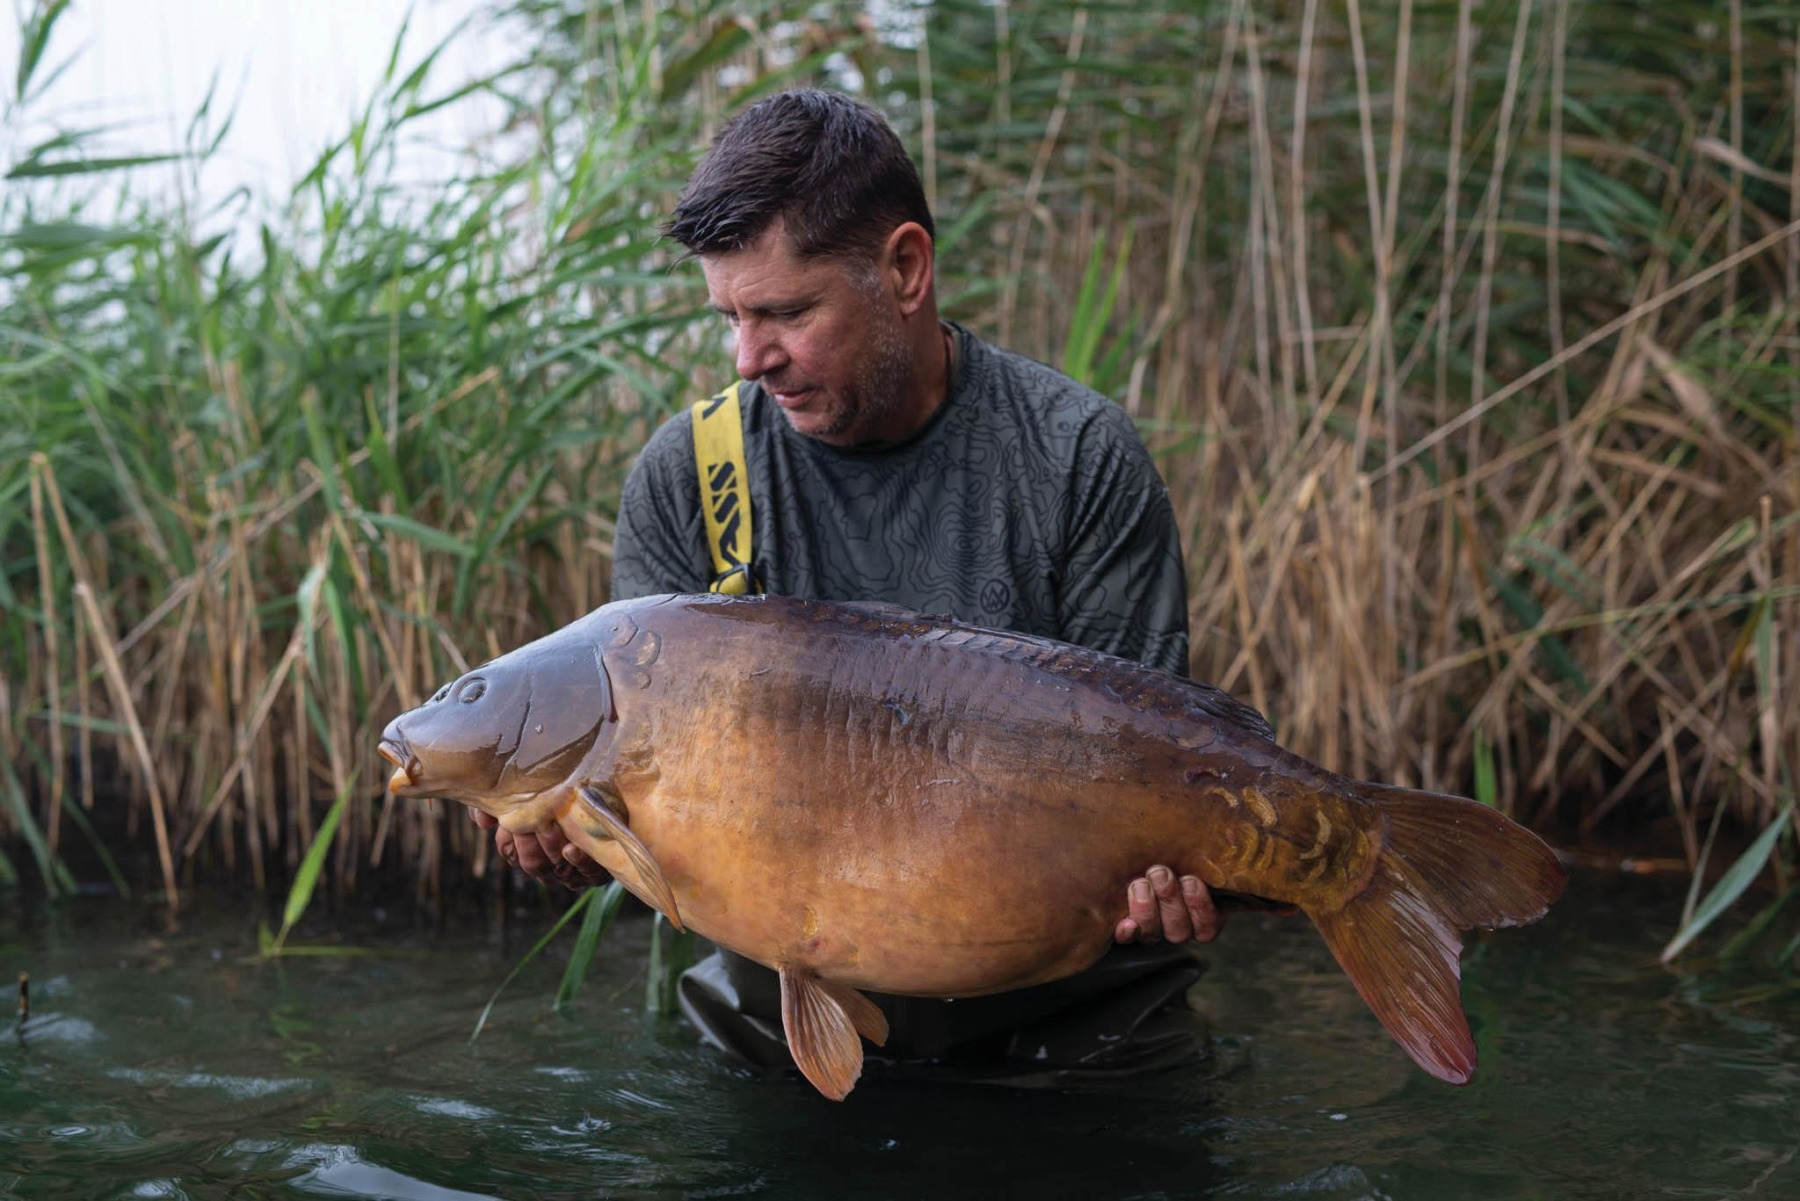
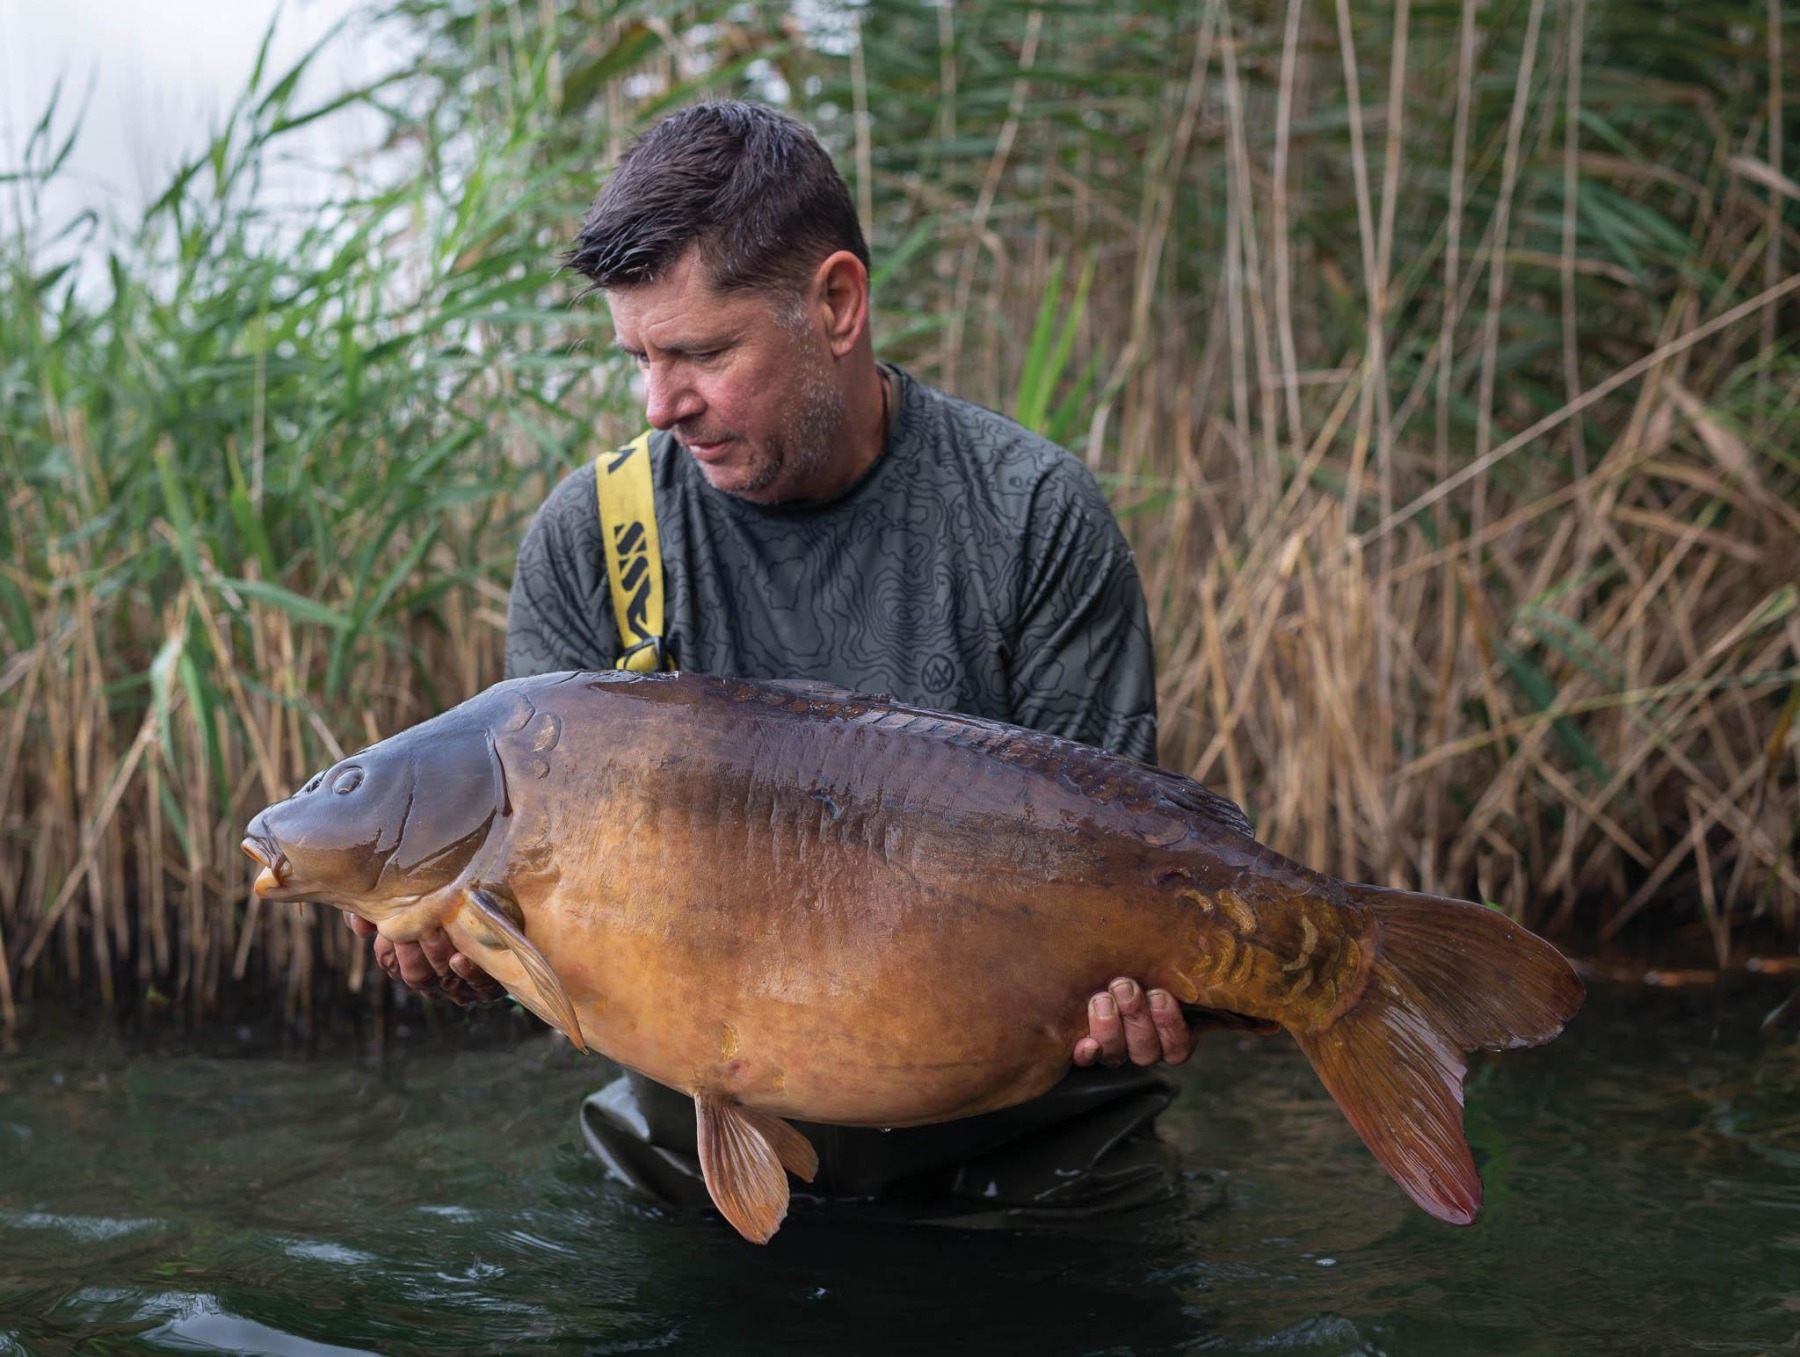
CASE STUDY #2
The editing process on this image was…
λ Crop tighter on Darren and the fish.
λ Remove the distracting reeds using the heal tool.
λ Remove a few slimy bubbles from the flank of the fish with the heal tool.
λ Use a masking brush to darken the top of the head of the fish.
λ Use a masking brush tool to lighten Darren’s face.
λ Sharpen the image.
λ Review the image and increase the overall exposure slightly.
NOVEL EDITING TREATMENTS/PRESETS
Many people offer (either for free or charged) preset editing settings for the major editing software programs such as Lightroom. These can be useful, but many are extreme and give rather artificial effects. However, if you find one that floats your boat, it can be a useful starting point to achieving a distinctive style.
So, in conclusion, my top tips for editing your photos are:
λ Sharp focus is essential as these cannot be fixed during editing.
λ Aim to get good composition and exposure in-camera.
λ Adopt your own editing sequence, such as crop, straighten, heal, mask, sharpen, exposure, colour.
λ Mastering the masking and healing tools is crucial.
If you would like to book a photography lesson, visit www.martinlawrence.net for details.