
The Game-Changer
The predecessor to the Ronnie, the 360º Rig is the go-to set-up for the likes of Dave Lane, Tom Maker and Tim Paisley, and yet it doesn’t occupy much column inches these days. Here’s everything you need to know—including the “finesse details”...
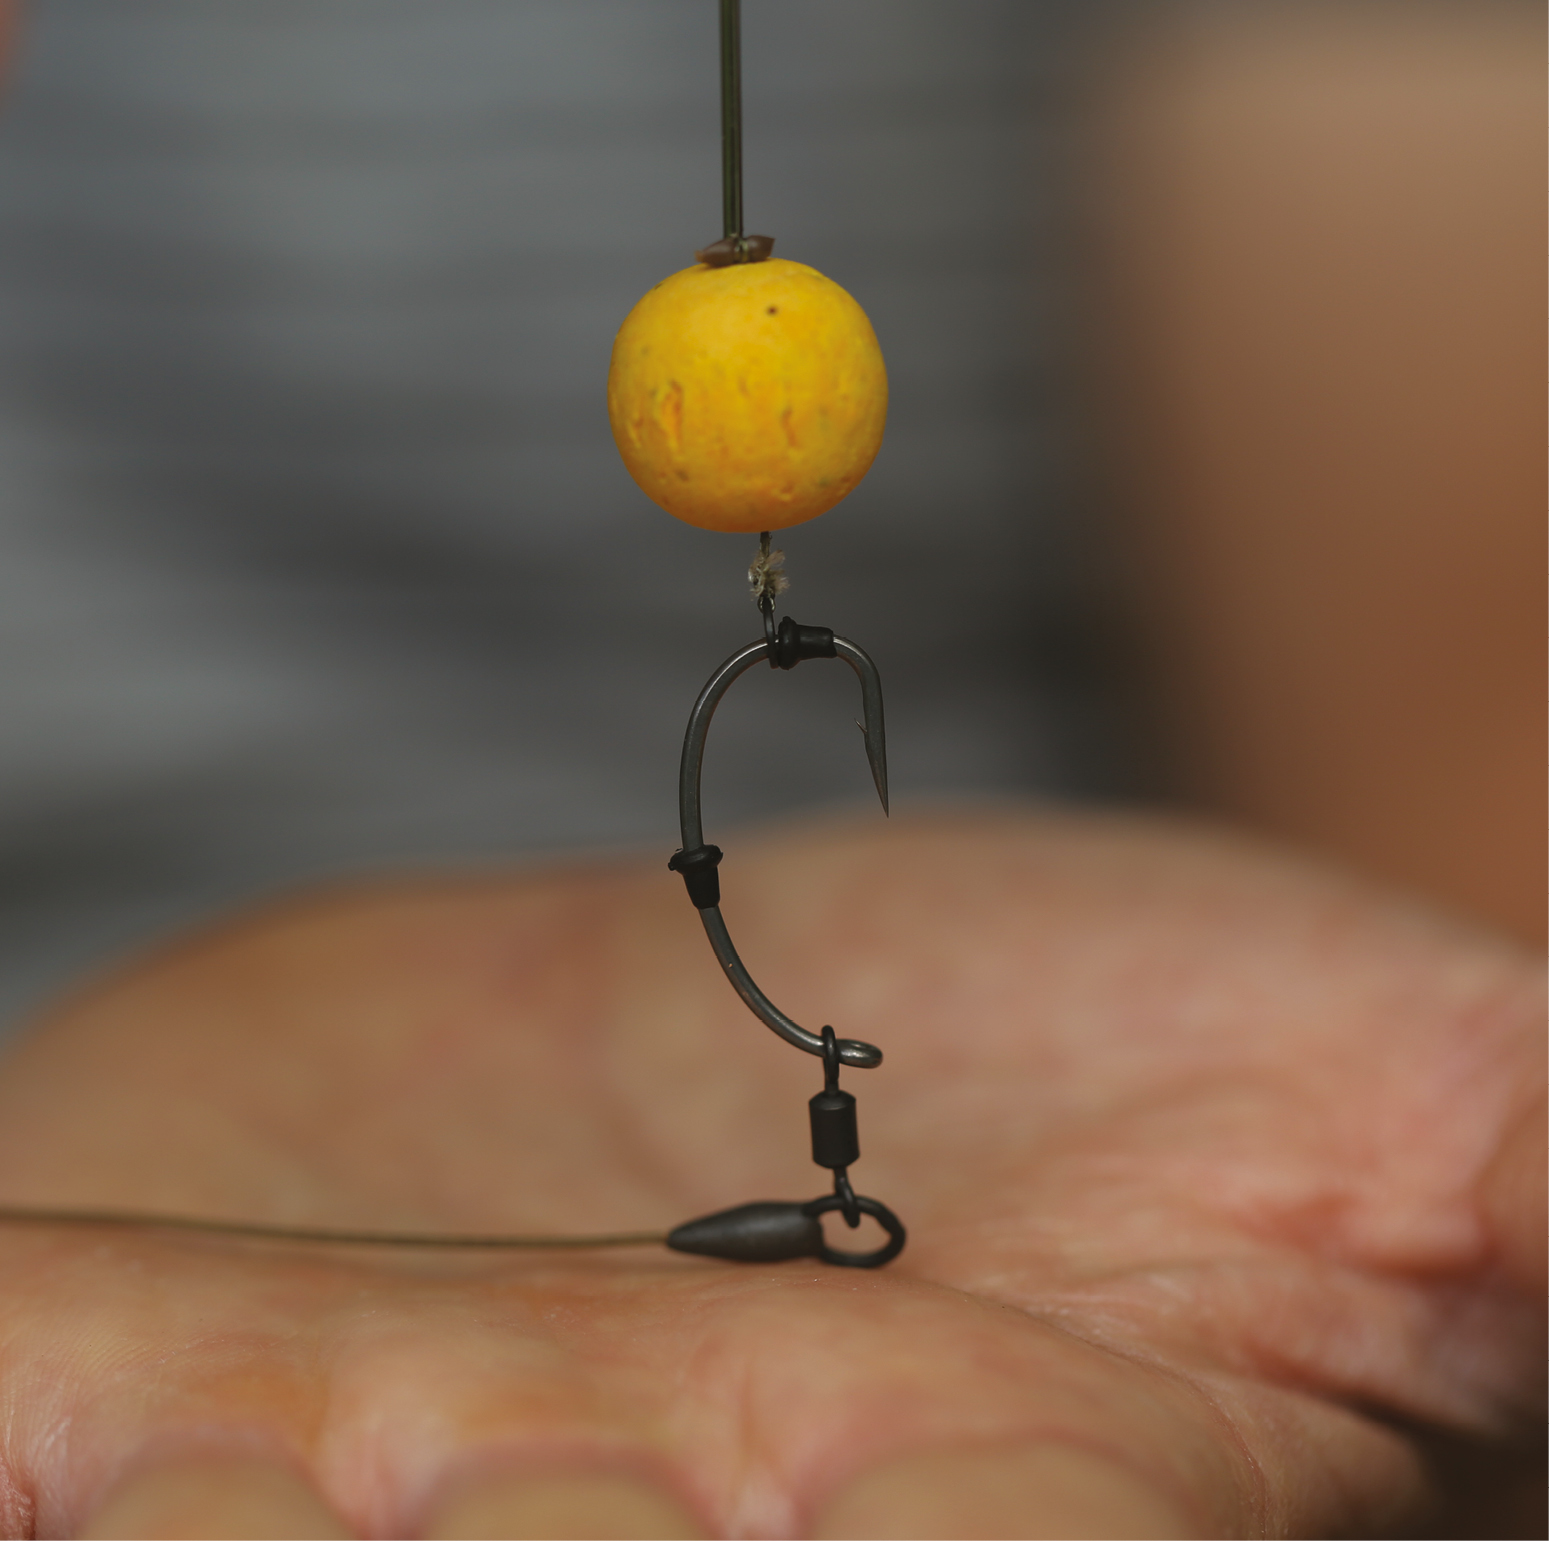
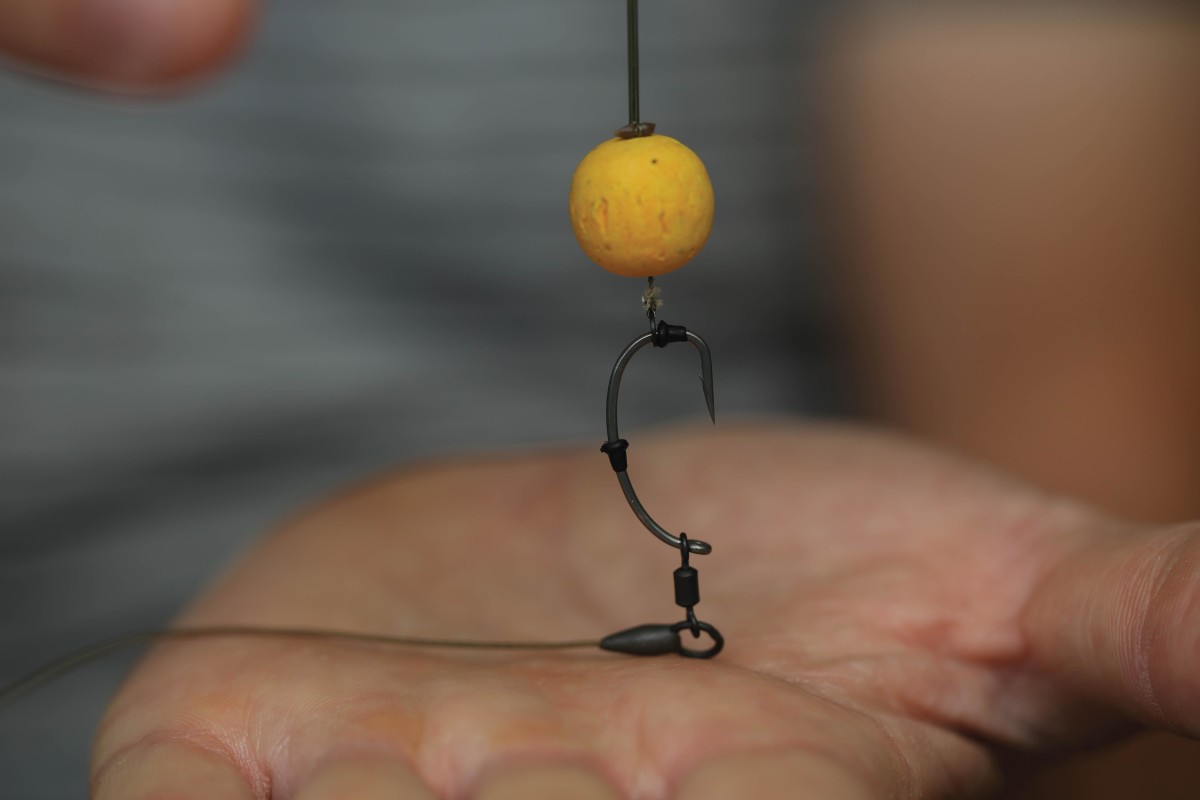
The 360º Rig really is versatile—and we’re not just talking about how much it rotates and spins. Although primarily used with a pop-up, as Dave Lane states in his cover interview this month, “the 360º works perfectly for wafter hookbaits too”. It also works in isolation or over a tight bed of bait, thanks to being one of the most subtle pop-up presentations around. The eye of the hook sits on the deck, so the pop-up is very low-lying. And, of course, if fished with a wafter, it’s even more discrete.
When it comes to attaching your hookbait of choice, you have more options. The simplest and lightest presentation—the one Dave Lane likes to use—incorporates a rig ring with a short Hair. Between 3 and 4mm of separation between the top of the bait and the bend of the hook is ideal. Some prefer to achieve this separation with a bait screw, which should be used with a flexi-ring attached. Or you can use a hookbait swivel and then mount the hookbait using the ‘Blobbing Method’.
Another key area to get correct is the positioning of the two hook beads. The first one is pushed over the point and round, halfway to two-thirds down the shank. Then, your rig ring, bait screw or hook swivel is threaded on, followed by the second hook bead. You’re using a long hook, and you really don’t want it to turn sideways and catch on the way in, so the position of this bead is critical. This one wants to be right at the bottom of the bend so that the hook follows the bait in lengthways.
Finally, it’s also recommended to use a tiny piece of shrink tube over the hook’s eye, just enough to cover the point where the eye closes. It won’t improve the mechanics, but it will protect against mouth damage by preventing the hook from catching in the net mesh.
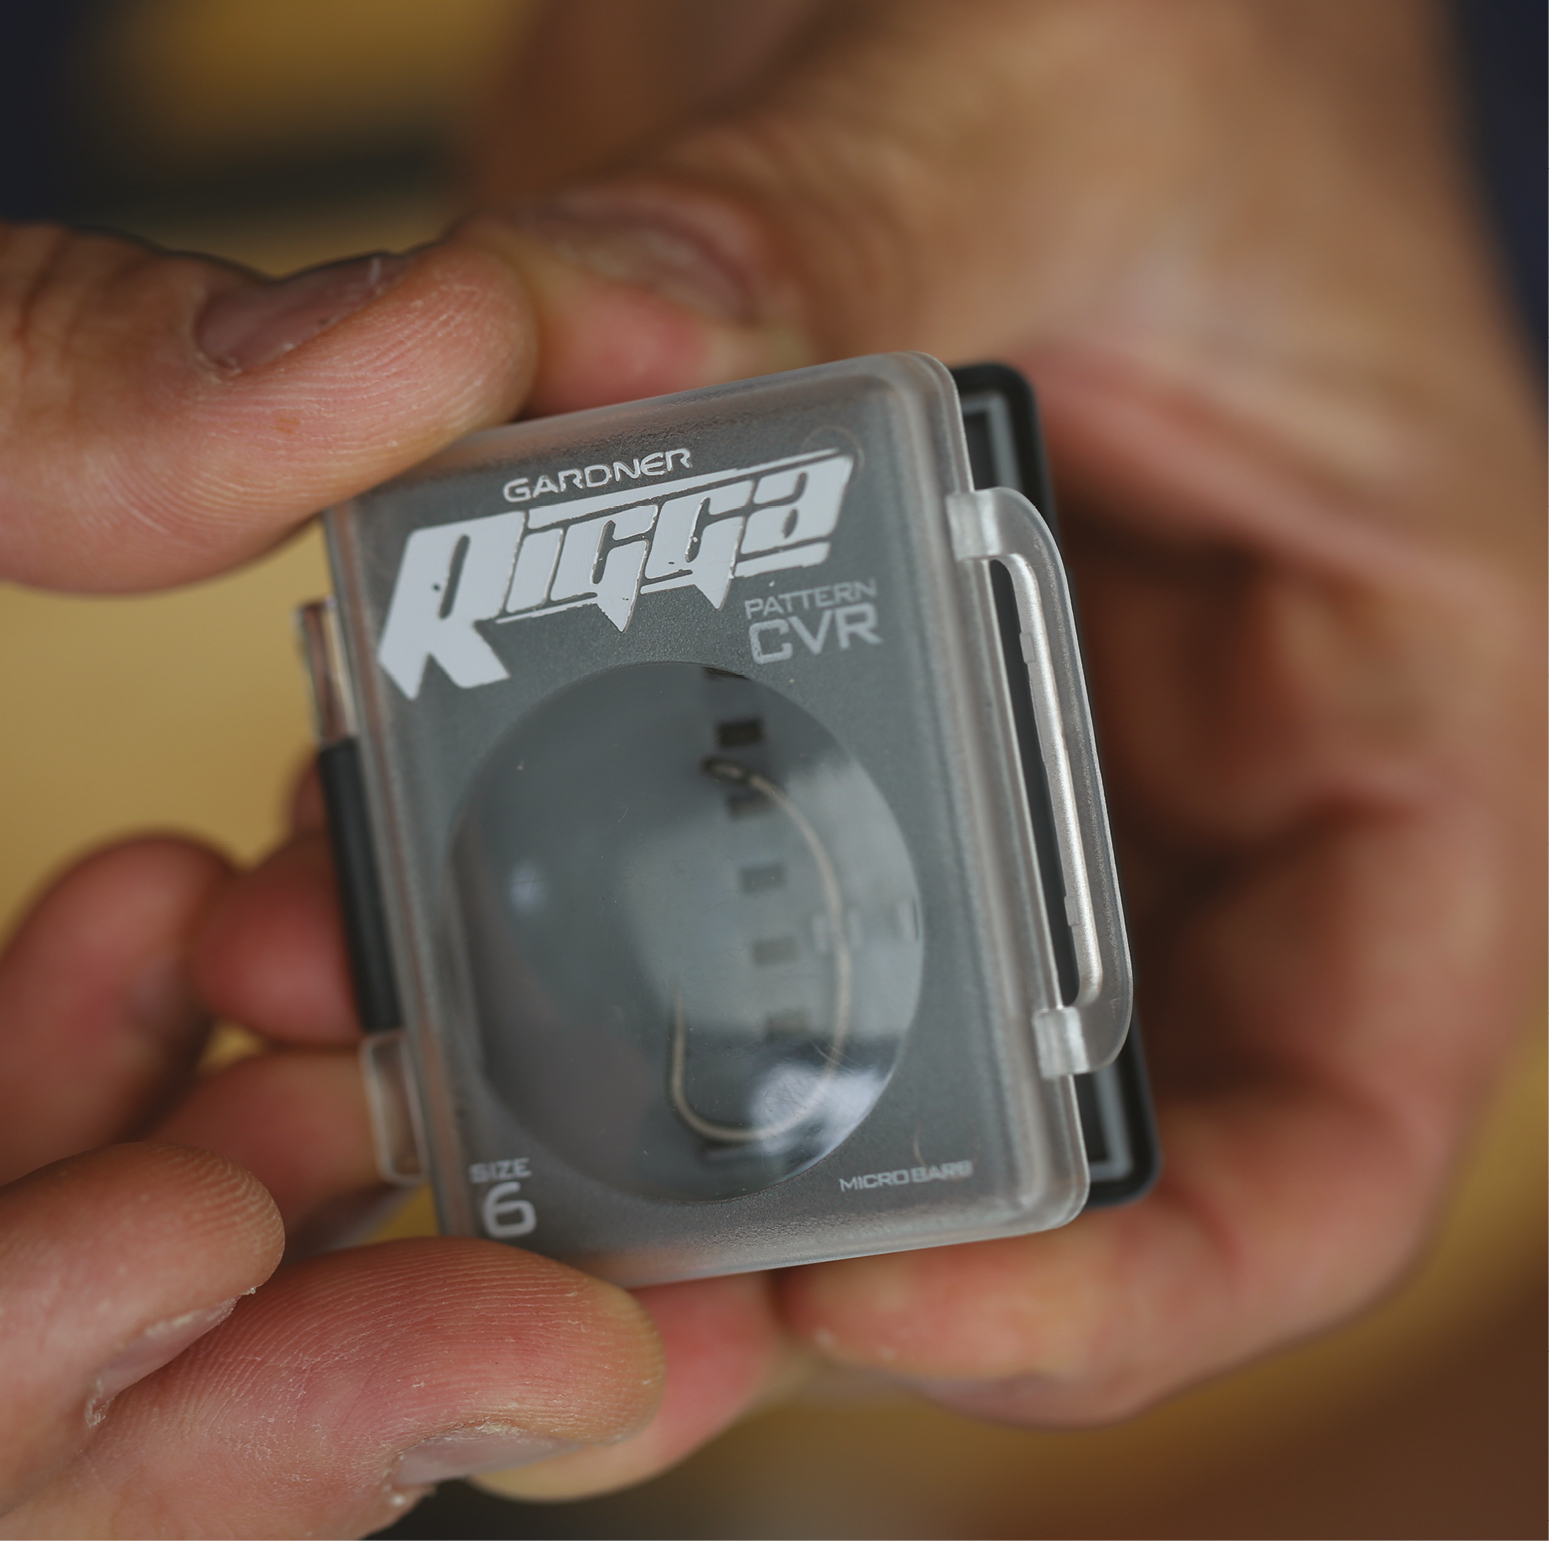
1. Hook choice is critical, and the perfect hook is Gardner’s Curved Rigga.
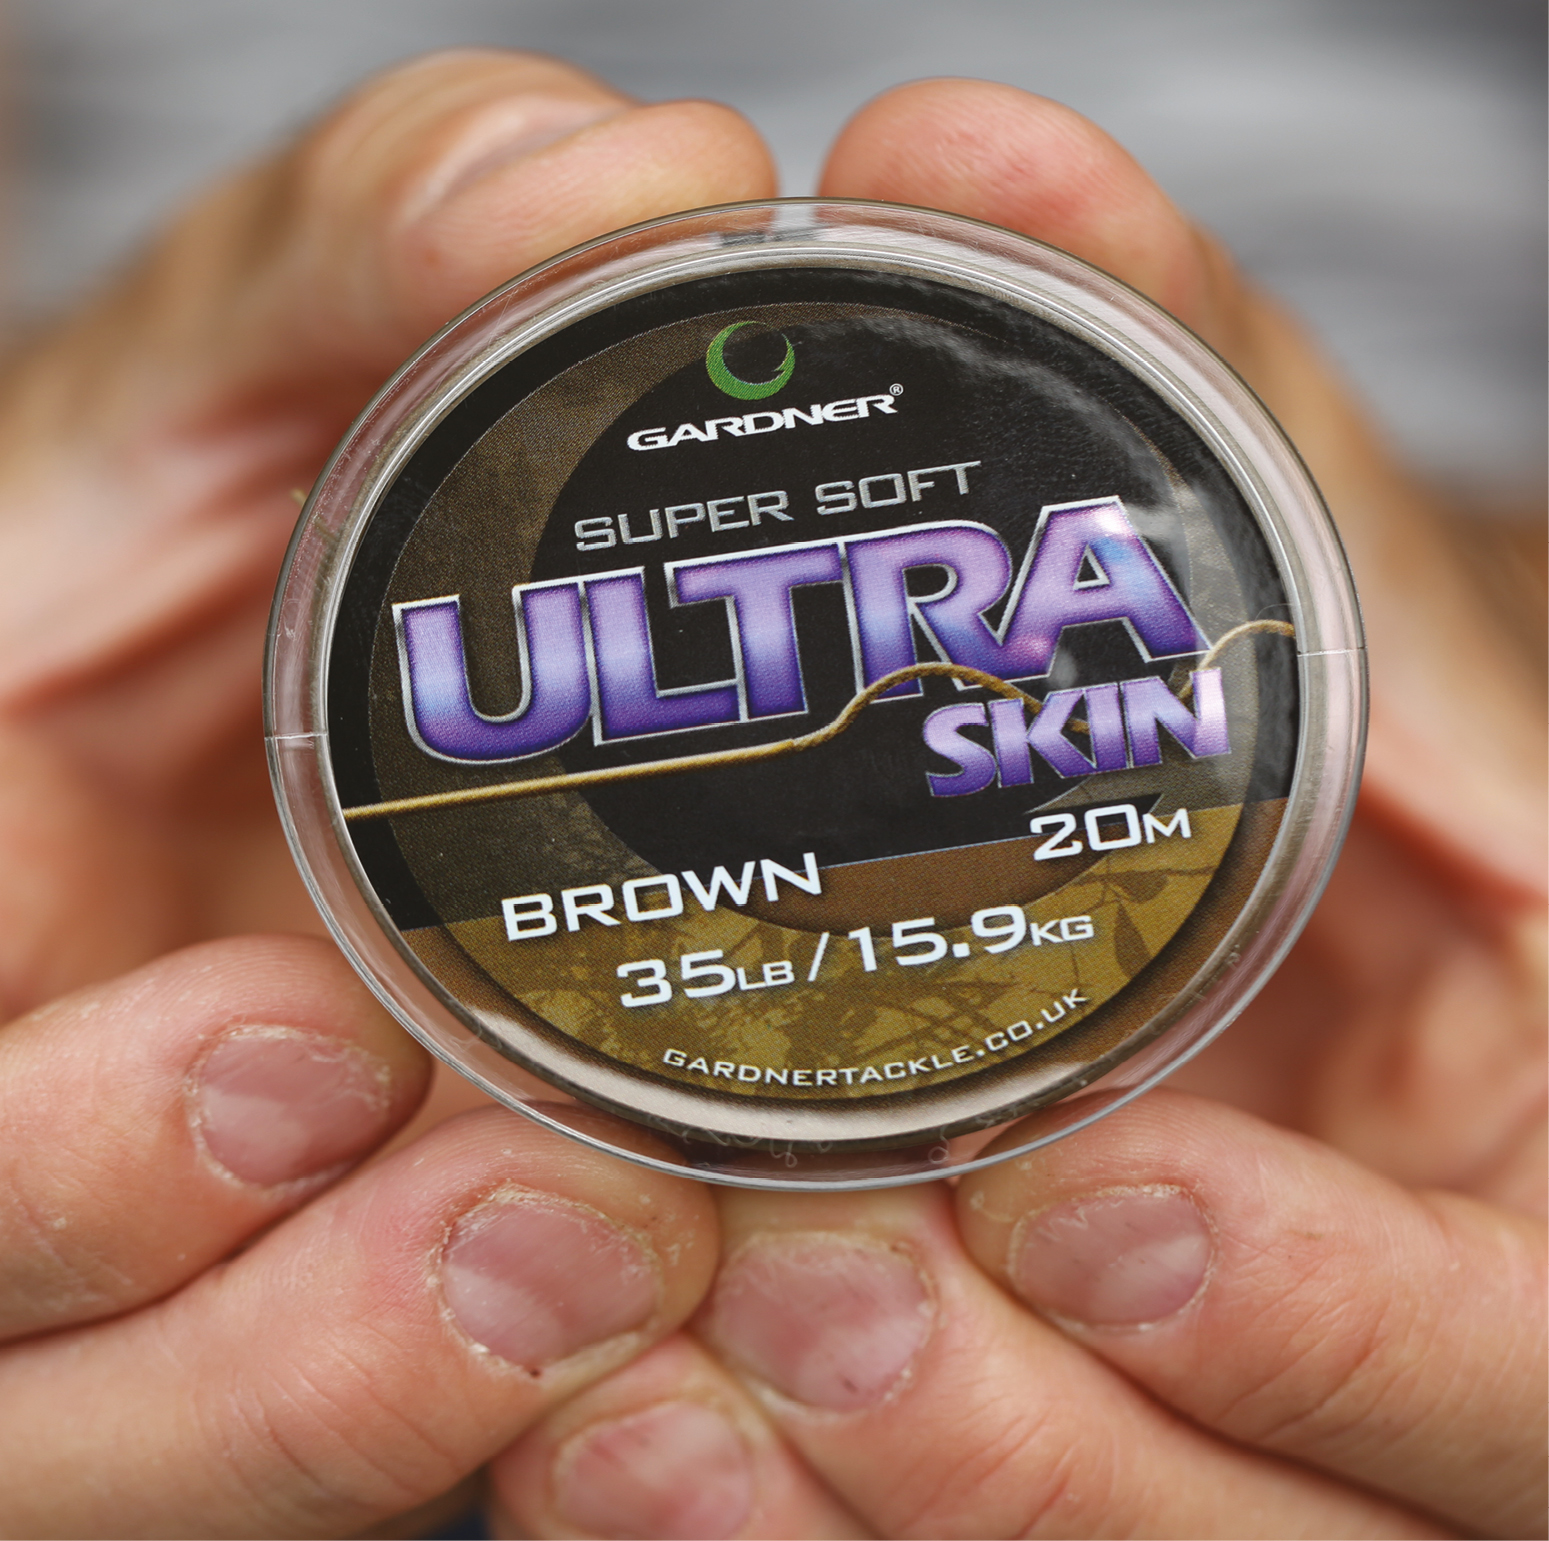
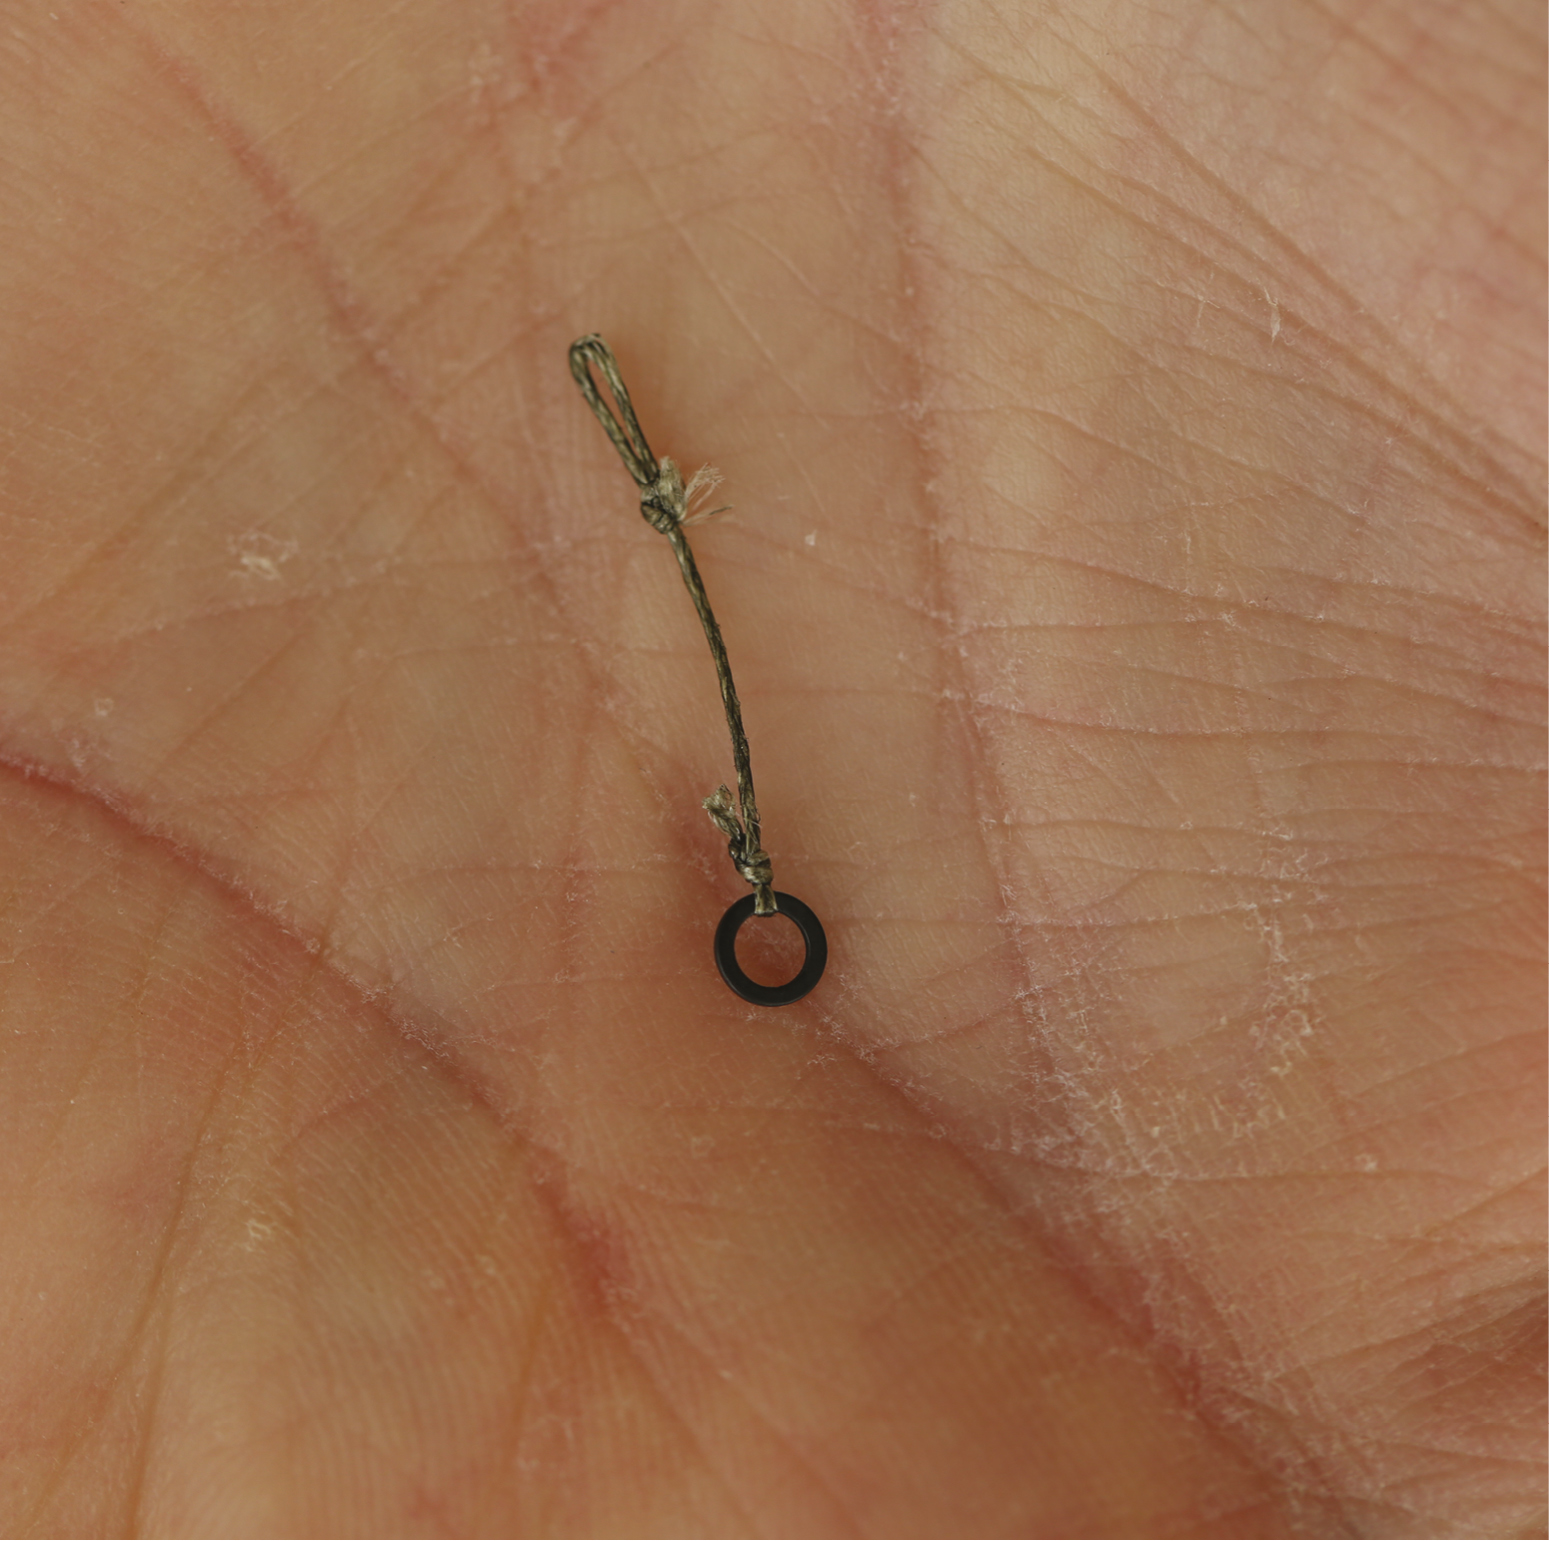
2. Take a length of your chosen hooklink material—this is Dave’s preferred option.
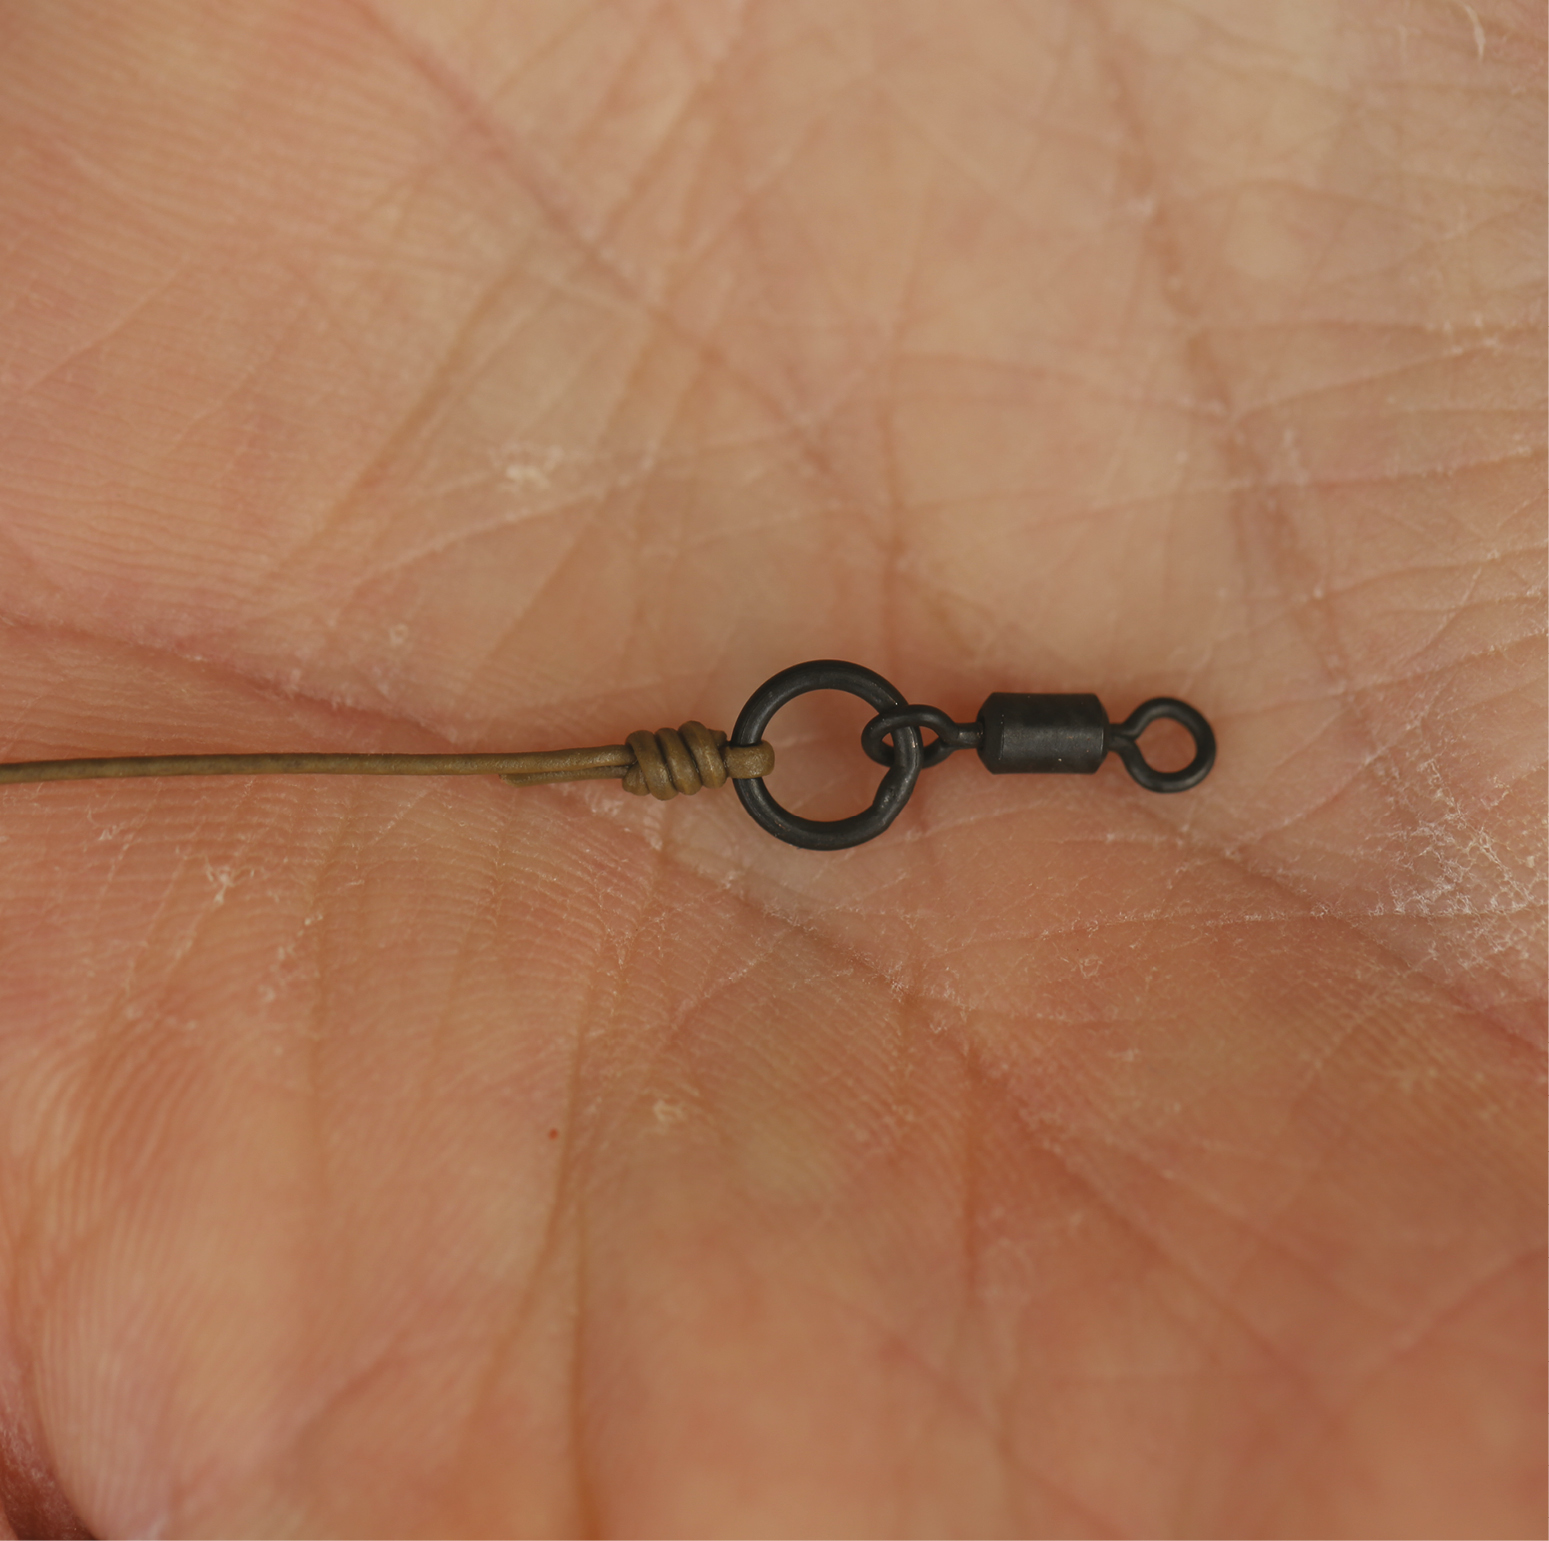
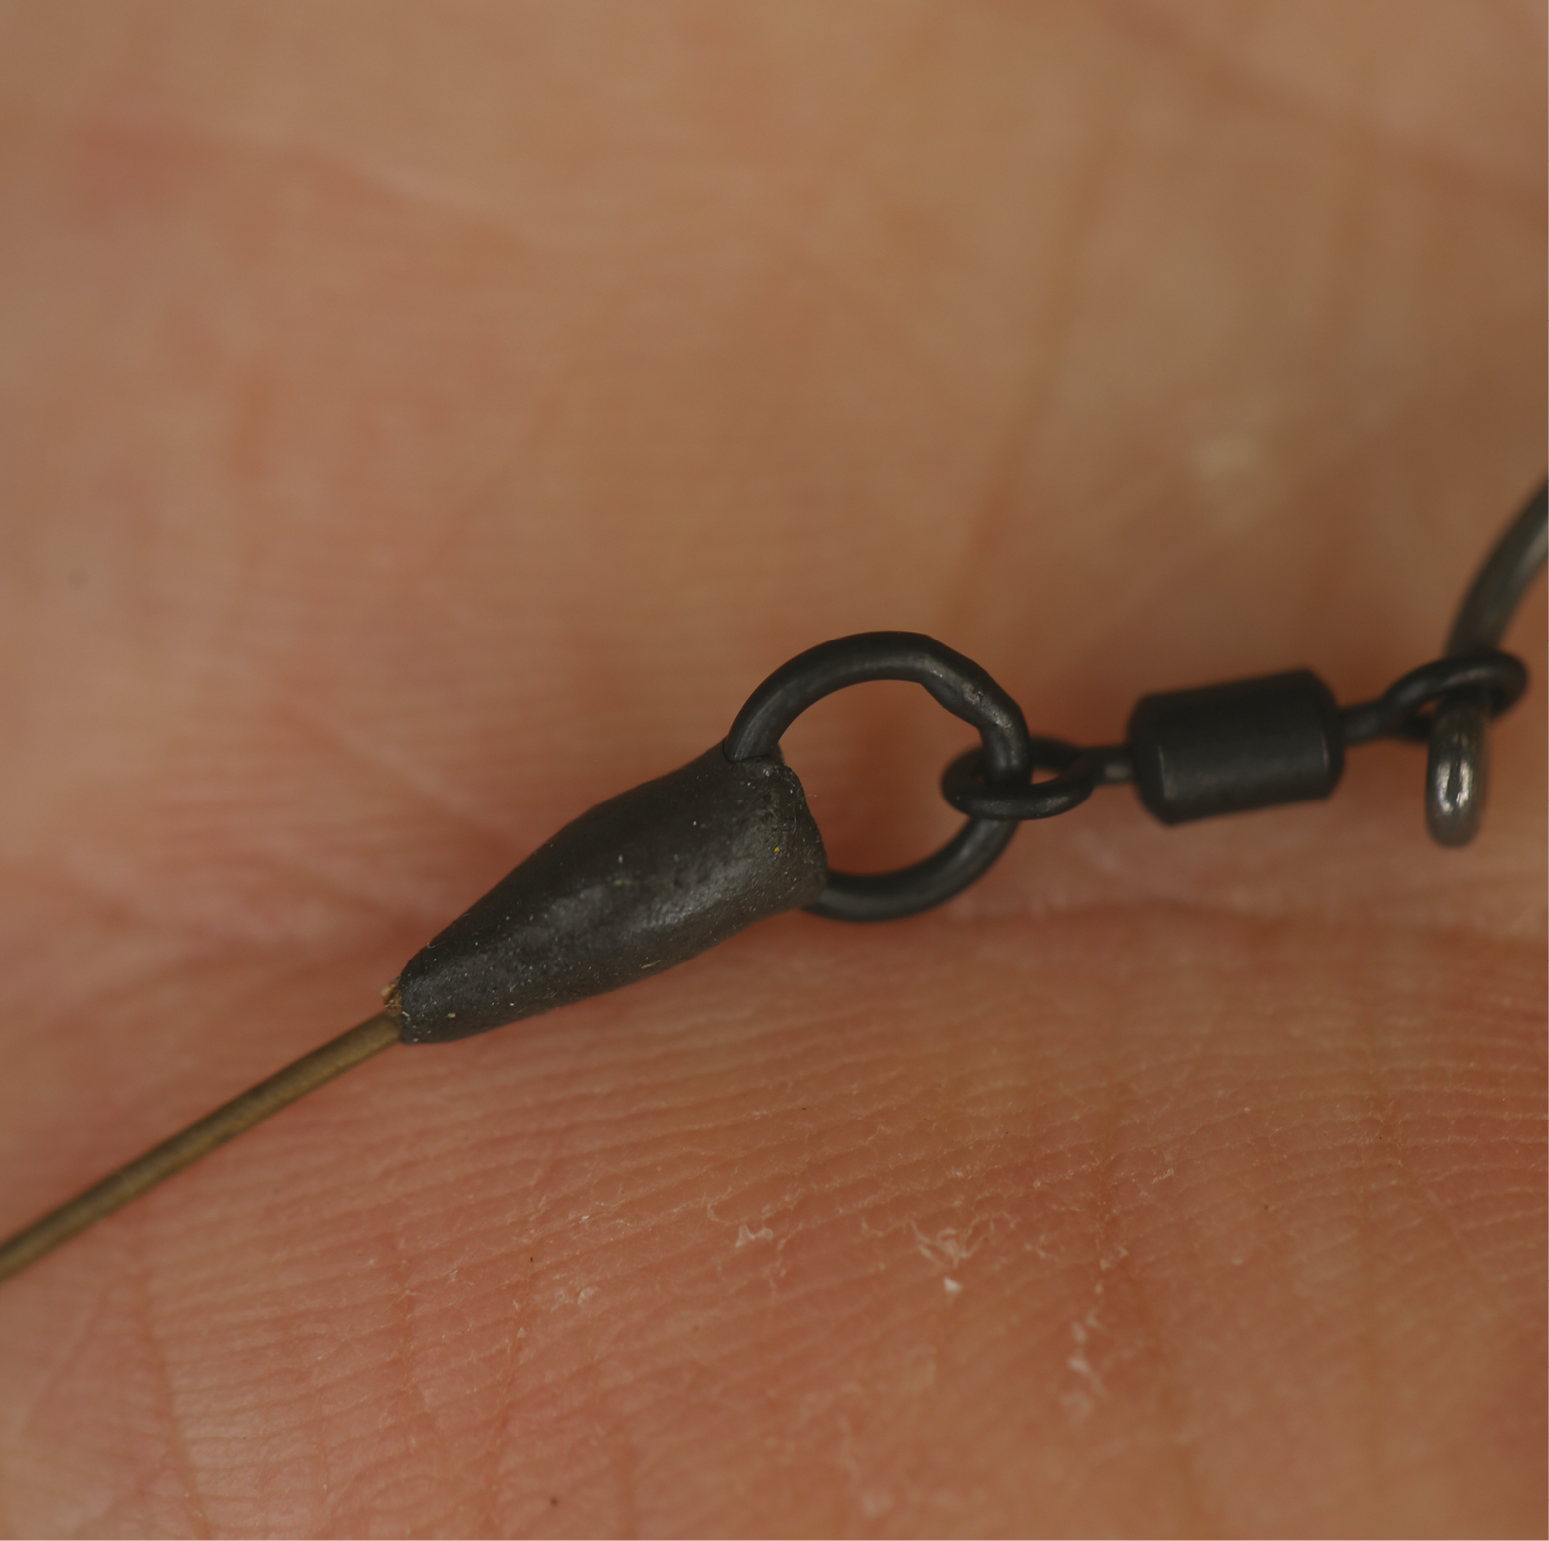
3. Tie a size 12 flexi-ring swivel to your chosen material, as shown here.
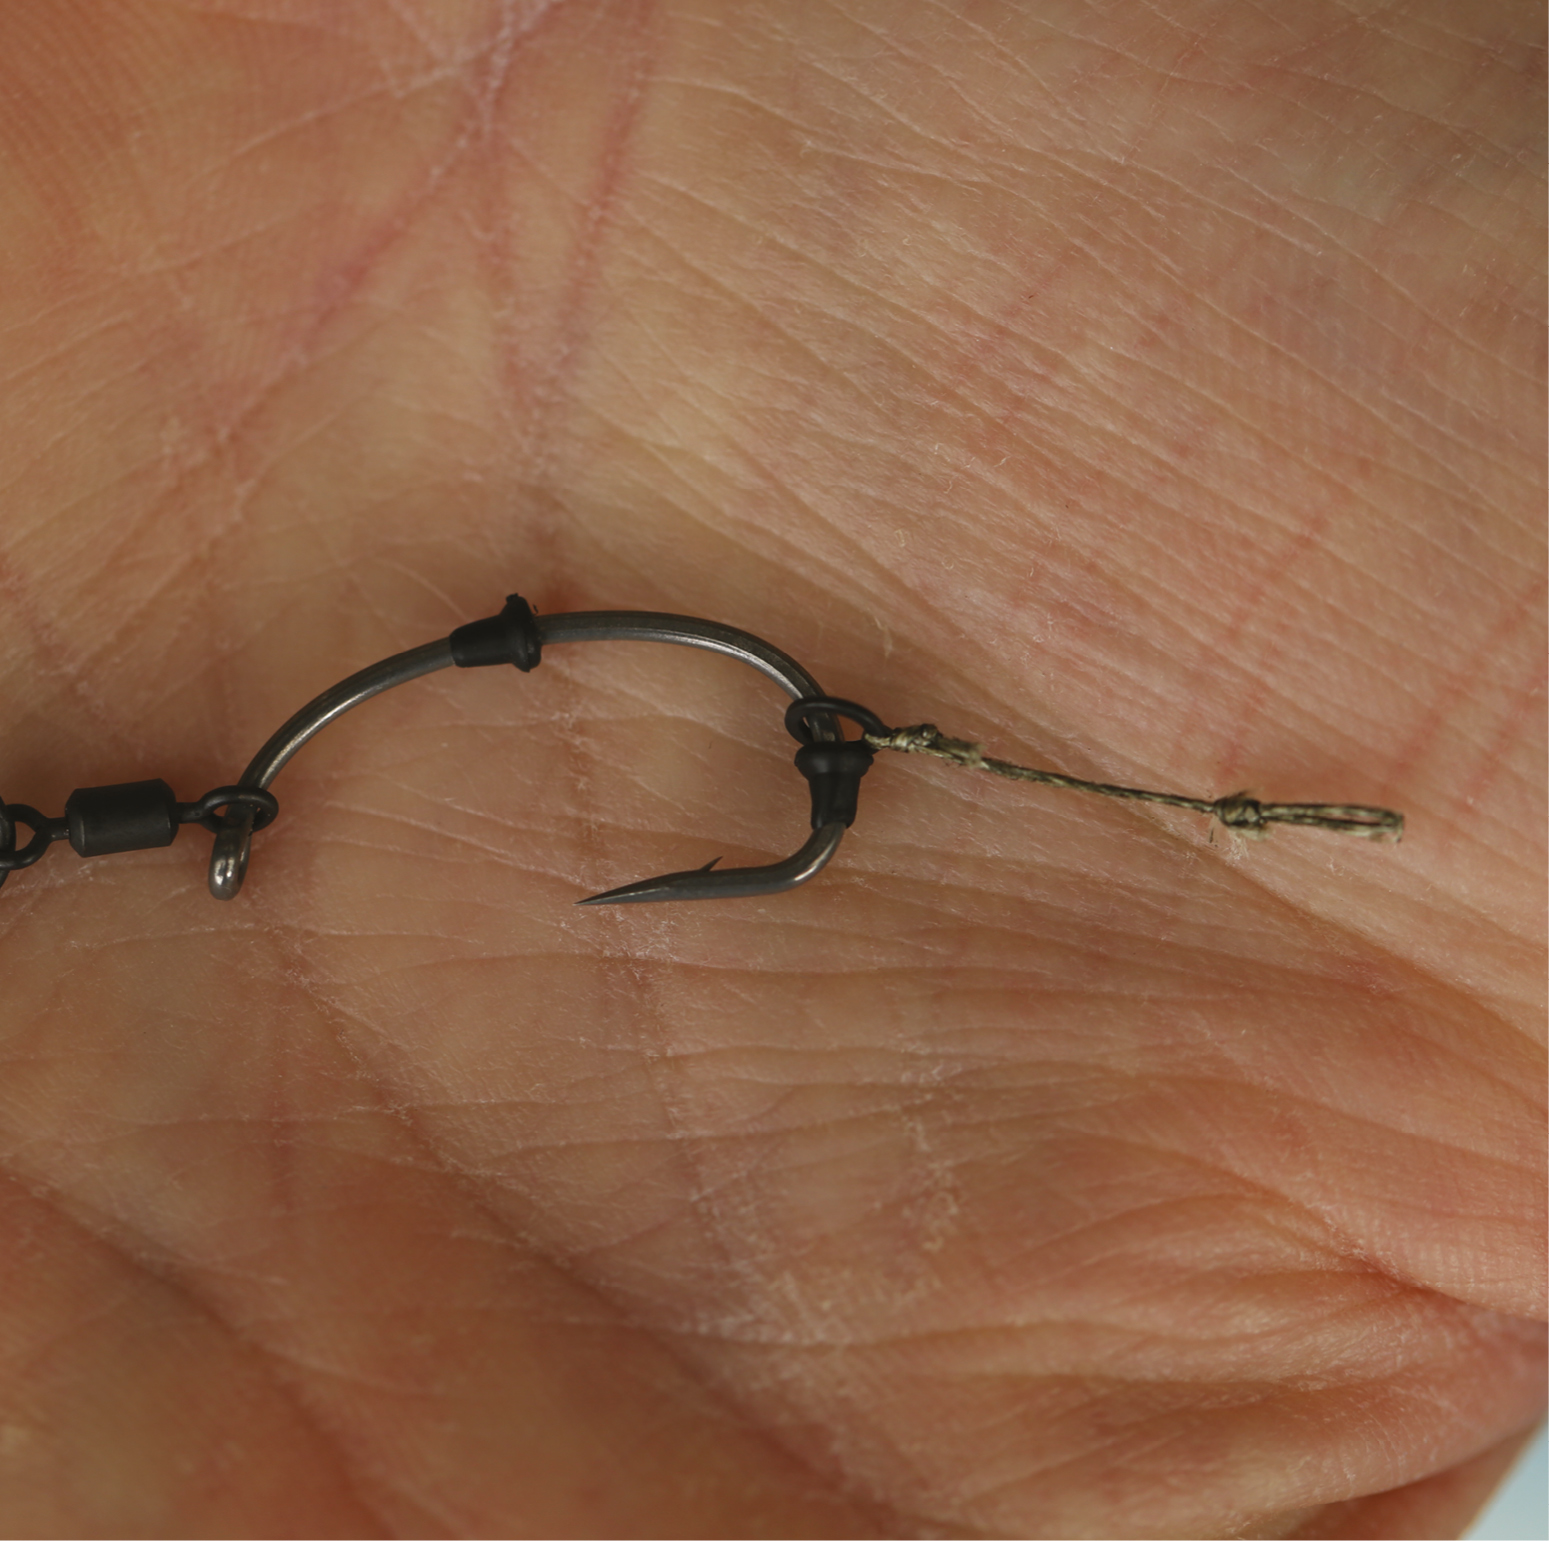
4. Now pass the hook through the swivel on the boom section. The add your first hook stop bead and position it opposite the hook point.
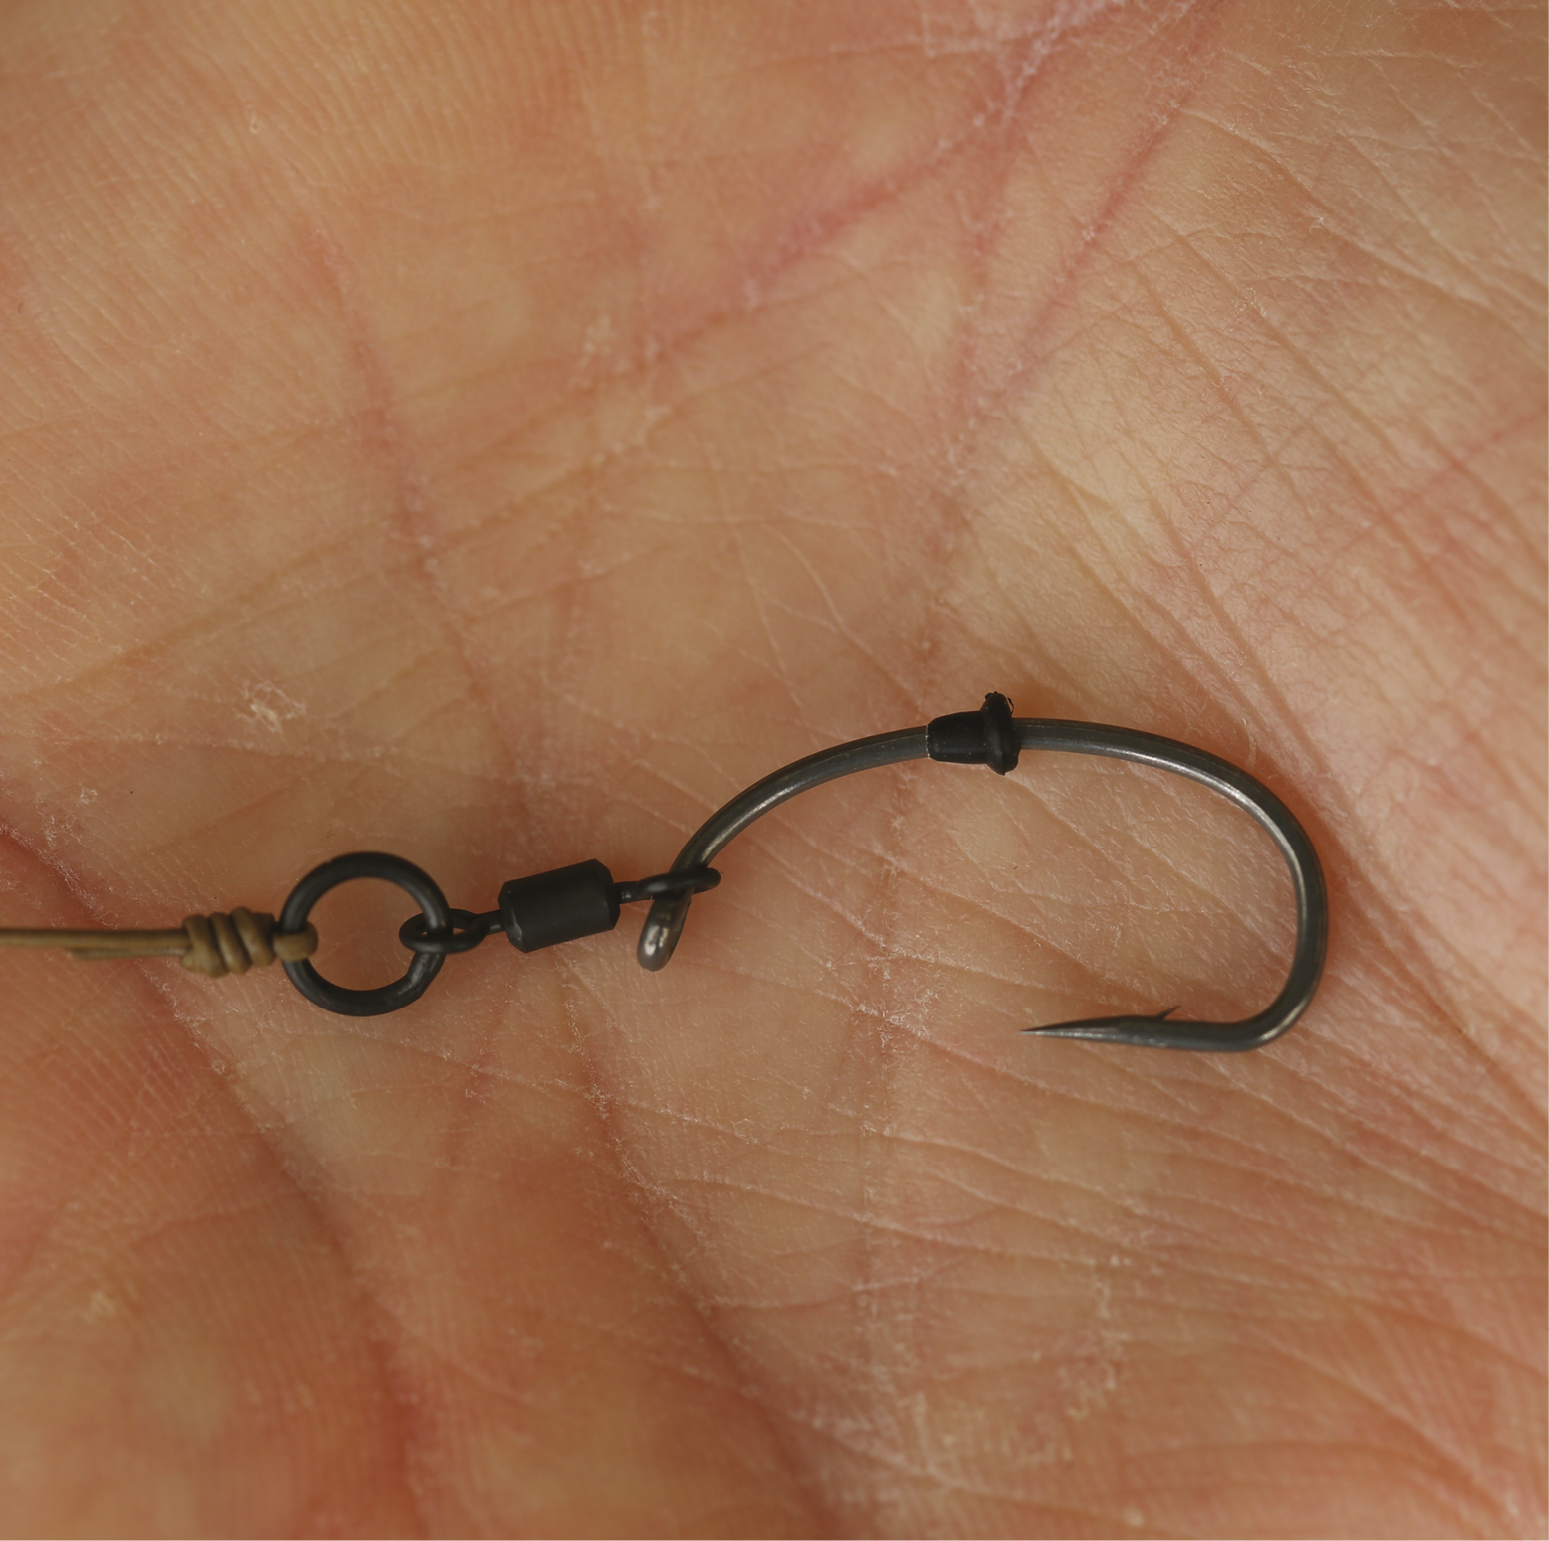
6. Thread on your hookbait swivel, screw or rig ring/Hair as we’ve made here.
7. Carefully add a second bead, positioning it on the top of the bend.
8. To balance a pop-up, you can either trim the pop-up or add some putty.
9. When tied correctly, this is one seriously effective pop-up presentation