

How to be more effective this spring
Be more effective in 2017 by getting your kit into tip-top condition ready for the start of those gorgeous spring sessions!
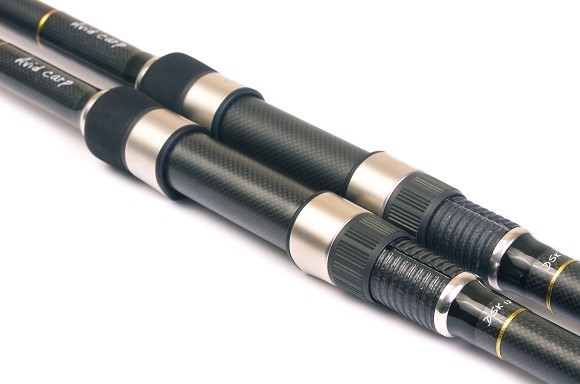
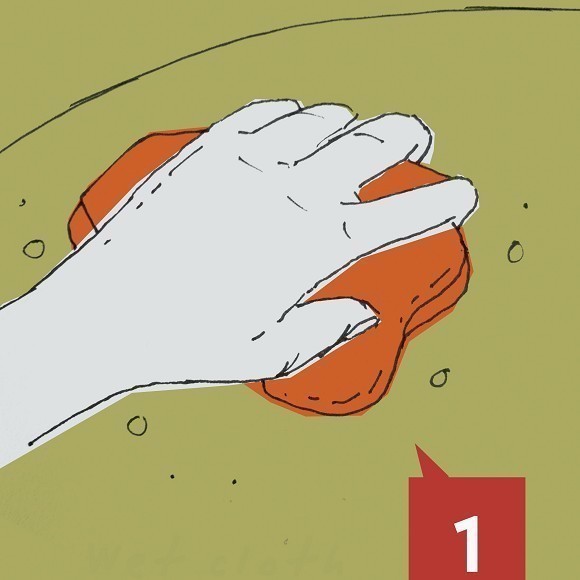
1 Rod care
Start off by using a towelling cloth and wash down the blank and handle parts with warm soapy water. A toothbrush can be used to remove grime from the rod guides and reel seat before rinsing off with clean water and then dry off the excess with a clean cloth or chamois leather and allow to dry.
If the gloss finish of the blank is faded and scratched, T-Cut can be used and then polished with a silicone-based polish such as Mr. Sheen or a car wax to restore the blank back to a near new appearance. Be very careful not to get polishes on EVA or shrink rubber as it will be difficult to remove. For cleaning EVA and shrink rubber handles and grips, a rubber-cleaning agent such as Bufsol should be used as it is excellent for this purpose.
EVA handles can suffer from dents such as impressions left by the rod guides when the rods are folded, but these can be removed or minimised by steaming the affected area. Over a period of time (three to four years of moderate use), UV rays from the sun degrade the resin that covers the whippings, therefore the whippings may start to show a milky white appearance in damp conditions. This is purely cosmetic and doesn’t affect the structure or performance of the rod in anyway and usually clears once the rod has dried out. If it bothers you, then unfortunately the only sure way of solving this is to have the rod re-whipped.
Stuck together sections
This is normally caused by grit or the tip and butt sections of the rod having been forcefully pushed together. In these circumstances lubricants designed for metals such as oils or WD40 should not be used as it has been found to reduce the chances of getting the sections apart, they seem to react with the resin in the carbon cloth to fuse the joint, which is the opposite to what is required. Getting the sections apart is normally a two-person job and requires trying to revolve the sections with gentle pressure, pulling the sections apart either side of the joint.
Get your rods in shape
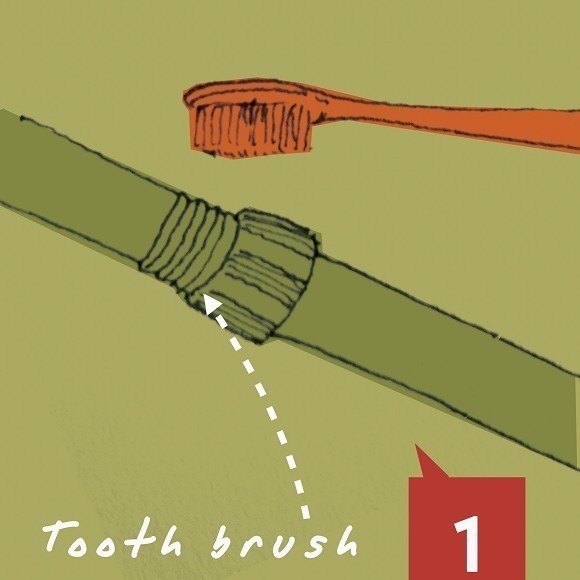
1 A toothbrush can be used to remove grime from the rod guides and reel seat before rinsing off with clean water.
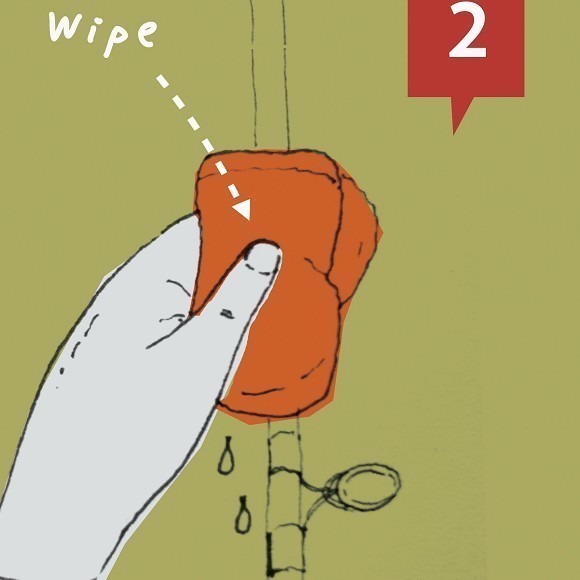
2 Use a towelling cloth and wash down the blank and handle parts with warm soapy water.
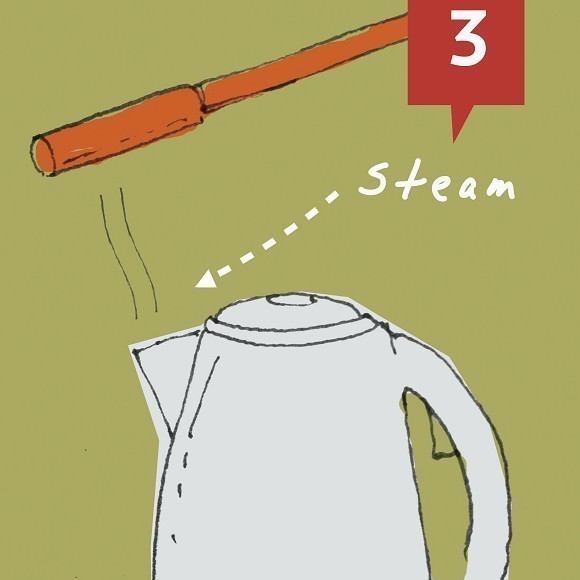
3 EVA handles can suffer from dents left by the rod guides. Remove them by steaming the area with a kettle.
2 How to wash your sleeping bag
One of the most important aspects of sleeping bags, particularly those that have high loft materials such as down or ‘hollowfill’ fillings, is to keep them in top condition. Make sure you keep the zips lubricated with silicone zip ‘lube’, avoiding contact with the material; this will ensure the zips work smoothly and last for a long time.
If you wash the sleeping bag follow (if available) the manufacturer’s washing instructions, otherwise follow these simple instructions. You need to wash at a low temperature setting (no higher then 40-degrees Celsius) and don’t be tempted to use fabric conditioners or detergents; it’s best to use a specialist cleaning agent that you can purchase from any good camping shop (such as those by Nik-Wax). These not only clean but also offer some degree of water-repellent properties without affecting the breathable properties of the materials. Ensure you do any zips up, as this will keep the bag’s shape and insulation in place. Tumble dry at a low heat and here is a good little tip: put two or three tennis balls inside the tumble dryer, this really does help ‘loft’ the bag as it is drying.
Obviously if you are going to lie on top of the sleeping bag with dirty clothing and footwear you are best to use a lightweight bedchair cover to prevent the materials from becoming contaminated with dirt particles, this is particularly important with waterproof and breathable fabrics.
Step-by-step
3 Bivvy cleaning

Those first few warm spring days are perfect for getting your bivvy/brolly out to ensure it is all clean and performing at its very best. There are many different things that can be checked including the joins, zips, poles, elastic and pegs, and below is everything you’ll need to know about giving your shelter a spring service.
Checking all storm poles
If you are a brolly user, it is important to check and make sure all of the storm poles are in good working condition. The first thing to check is the caps that they screw onto. Make sure the threads are still in good condition and see if they still screw on firmly. Secondly, check if they extend and lock properly and finally check the tips to see if they still screw into the ground easily.
Pegs and pegging points
It is very important to always go fishing with a full set of pegs because if the weather gets really bad and the wind picks up, you could find yourself with a very unstable shelter. Ensure you have a full set of pegs and also check the condition of the pegging points. If the stitching is coming loose or any have come off, you can send it for repair to ‘Army Andy’ at the Tackle Box. Andy offers a first class bivvy and luggage repair service which he has years of experience in. Any repairs or modifications needed, speak to the lads at The Tackle Box and then send or bring your shelter in to them. The turnaround is usually within 14 days – www.tacklebox.co.uk
Cleaning the material
To clean the material, start by erecting and pegging down your shelter in a clean and non-muddy environment. Once taut and pegged down, take a bowl of warm water and a clean cloth and start by rubbing off any loose mud/grit. Once this has been removed, wash the cloth again and rub firmly to remove any final grime and dirt.

Checking the joints
Cleaning the joints makes the bivvy a lot easier and less problematic when erecting it on the bank. Take a small soft brush and remove any mud/grit from inside and outside the pole joins and this ensures they go together easily without any grinding. Once you have removed any grit and dirt, spray silicon ‘lube’ on both the male and female part of the join, as this will ensure it packs up and down easily with a minimum of trouble.
4 Reels: general maintenance
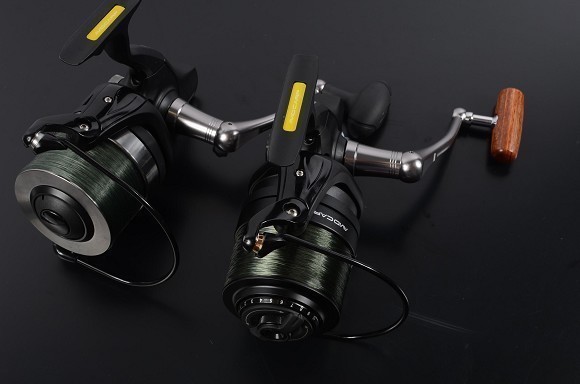
This is something that can be done after a session by you: (1) Loosen clutch and free spool tension where applicable, to prolong life of component parts. (2) Wash off with hot water. This takes away any dirt or bait residue that may get into the workings and hot water will allow reel to dry on its own. (3) Lightly lubricate with light oil such as 3-in-1 in bail mechanism, handle spindle and remove spool and lubricate spindle. N.B. Although lubricating moving parts on your reel will make them work smoothly, excessive oil or grease also attracts abrasives such as dust dirt and remnants of bait which can get into the mechanics of the reel and cause premature wear and tear, so be careful if you do attempt your own general maintenance.
MOT your reels
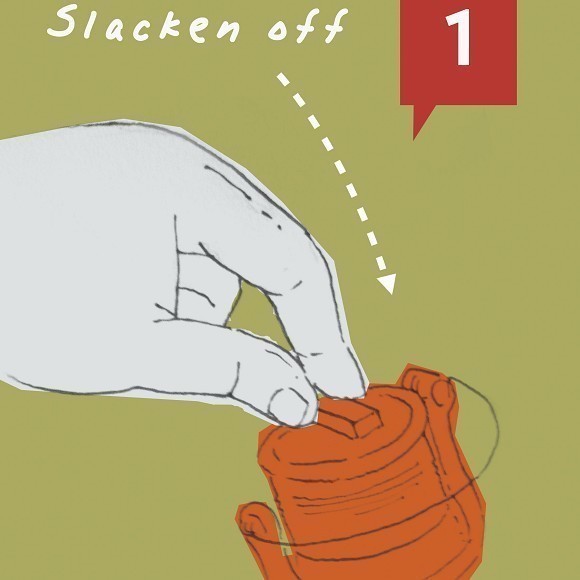
1 Loosen the clutch and free spool tension where applicable to prolong the life of component parts.
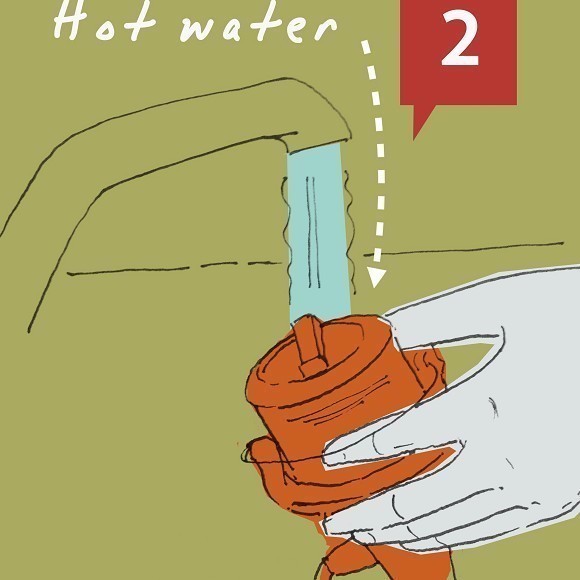
2 Wash off with hot water. This takes away any dirt that may get into the workings and hot water will allow reel to dry on its own.
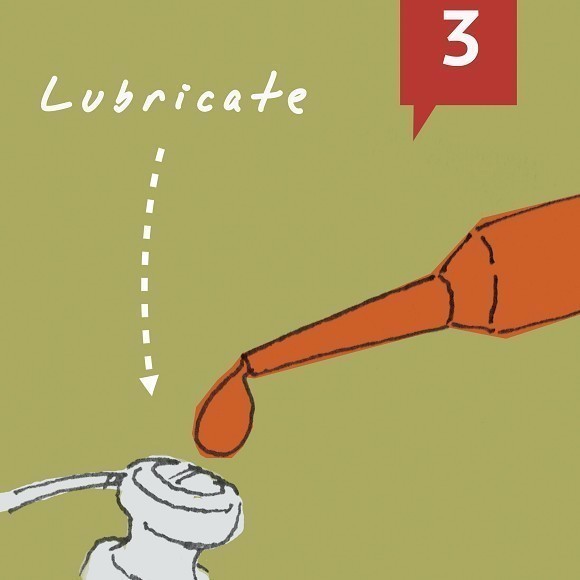
3 Lightly lubricate with light oil such as 3-in-1 in bail mechanism, handle spindle and remove spool and lubricate spindle.
5 Re-spooling your reels
After having old line sat on your reels over the cold winter period, it’s best to strip that all off and re-spool with new line to be totally safe. Ensuring you do it properly in the first place not only makes it easier to work with from the start but it’ll also make it last a lot longer. Follow these easy steps to get the best line lay possible.