

How to take the perfect self-take
Follow these simple steps to take the perfect self-take every time
So there is no one else around and you’ve got one in the net. It isn’t the end of the world these days, as most cameras have some sort of remote or timer facility and if they don’t, then a bulb release system can be used. In fact, many people still prefer bulb release as it allows you to basically operate the camera’s autofocus and shutter manually.
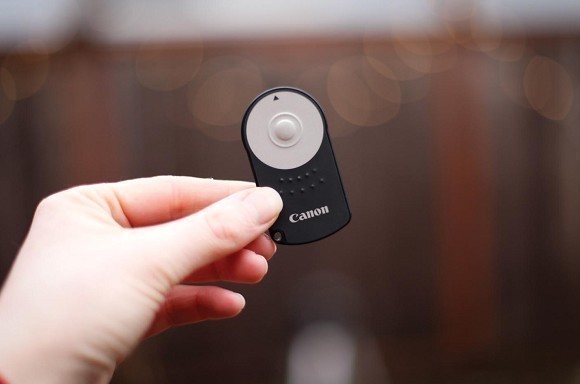
However, the latest generation of programmable remotes make things even easier: you simply set the initial delay, how many shots you want the camera to take and the time between each shot (e.g. take 10 shots two seconds apart 10 seconds after the shutter is pressed) The camera will autofocus between each shot allowing you to simply lift and pose with the fish. These can be had for less than £30 and are a worthwhile investment if you fish on your own a lot.
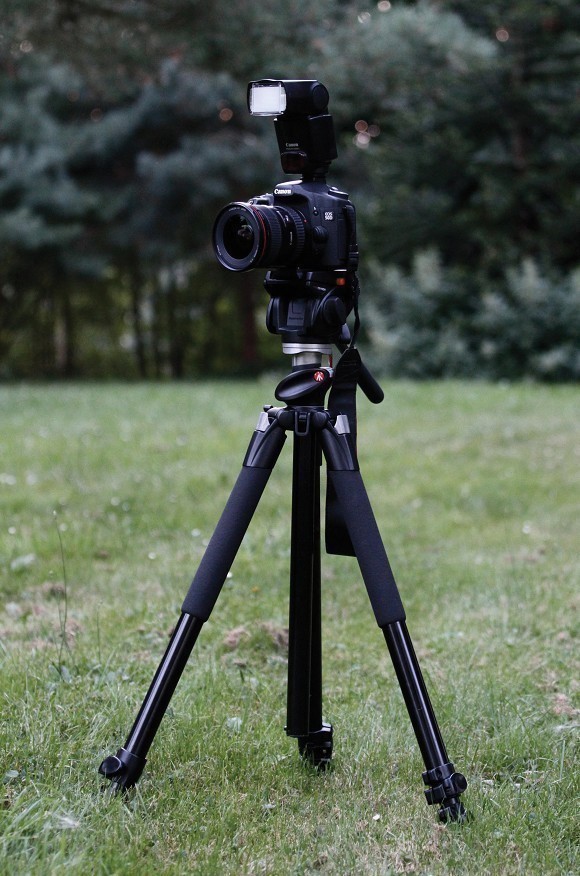 You’ll need a tripod for self-takes
For self-takes you will need a tripod or a bankstick adapter to mount the camera on. Set-up the camera, kneel in front of it where you will be holding the fish and take a few test shots to ensure that the framing is correct. Once you are happy that the camera is in the right place, a bankstick placed either side of the mat will help you line yourself up.
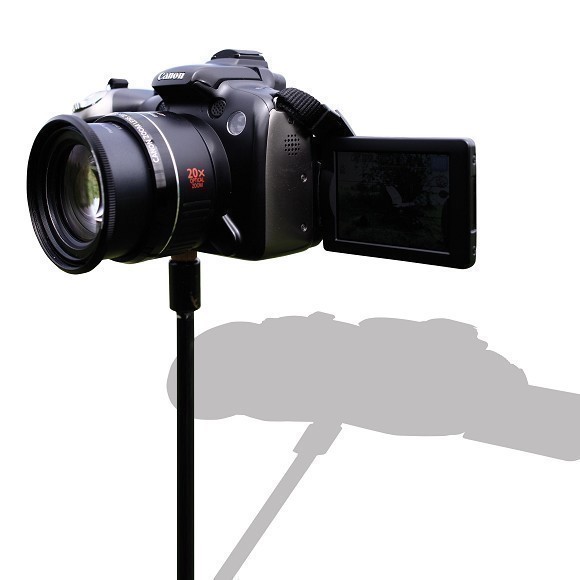 Many bridge cameras have a flip screen for simple self-takes
Many cameras, especially the ‘bridge’ type and some DSLR’s will have a flip-round screen and these really do help with self-takes, allowing you to see each picture as it is taken and move the fish accordingly to achieve a well-composed picture.
Ensure that face recognition is turned off, as this will mean the camera is not focusing on the fish itself. Once you have done it a couple of times you will get to know exactly where the camera needs to be placed in relation to the mat, and at what height you need to hold the fish.