
Photography Lesson 4: Mastering Self Takes
Martin Lawrence is back to explain how you can nail self-takes like a pro…
Many anglers struggle to master self-takes, but they’re not that hard once you get your head round what’s required and put in some practice. If your self-take photos are badly composed, poorly focused and contain annoying motion blur, then read on. I’ve been there and come out the other side. Brace yourself for some detail but stick with it and you’ll have all the knowledge required for banging self-takes.
COMPOSITION
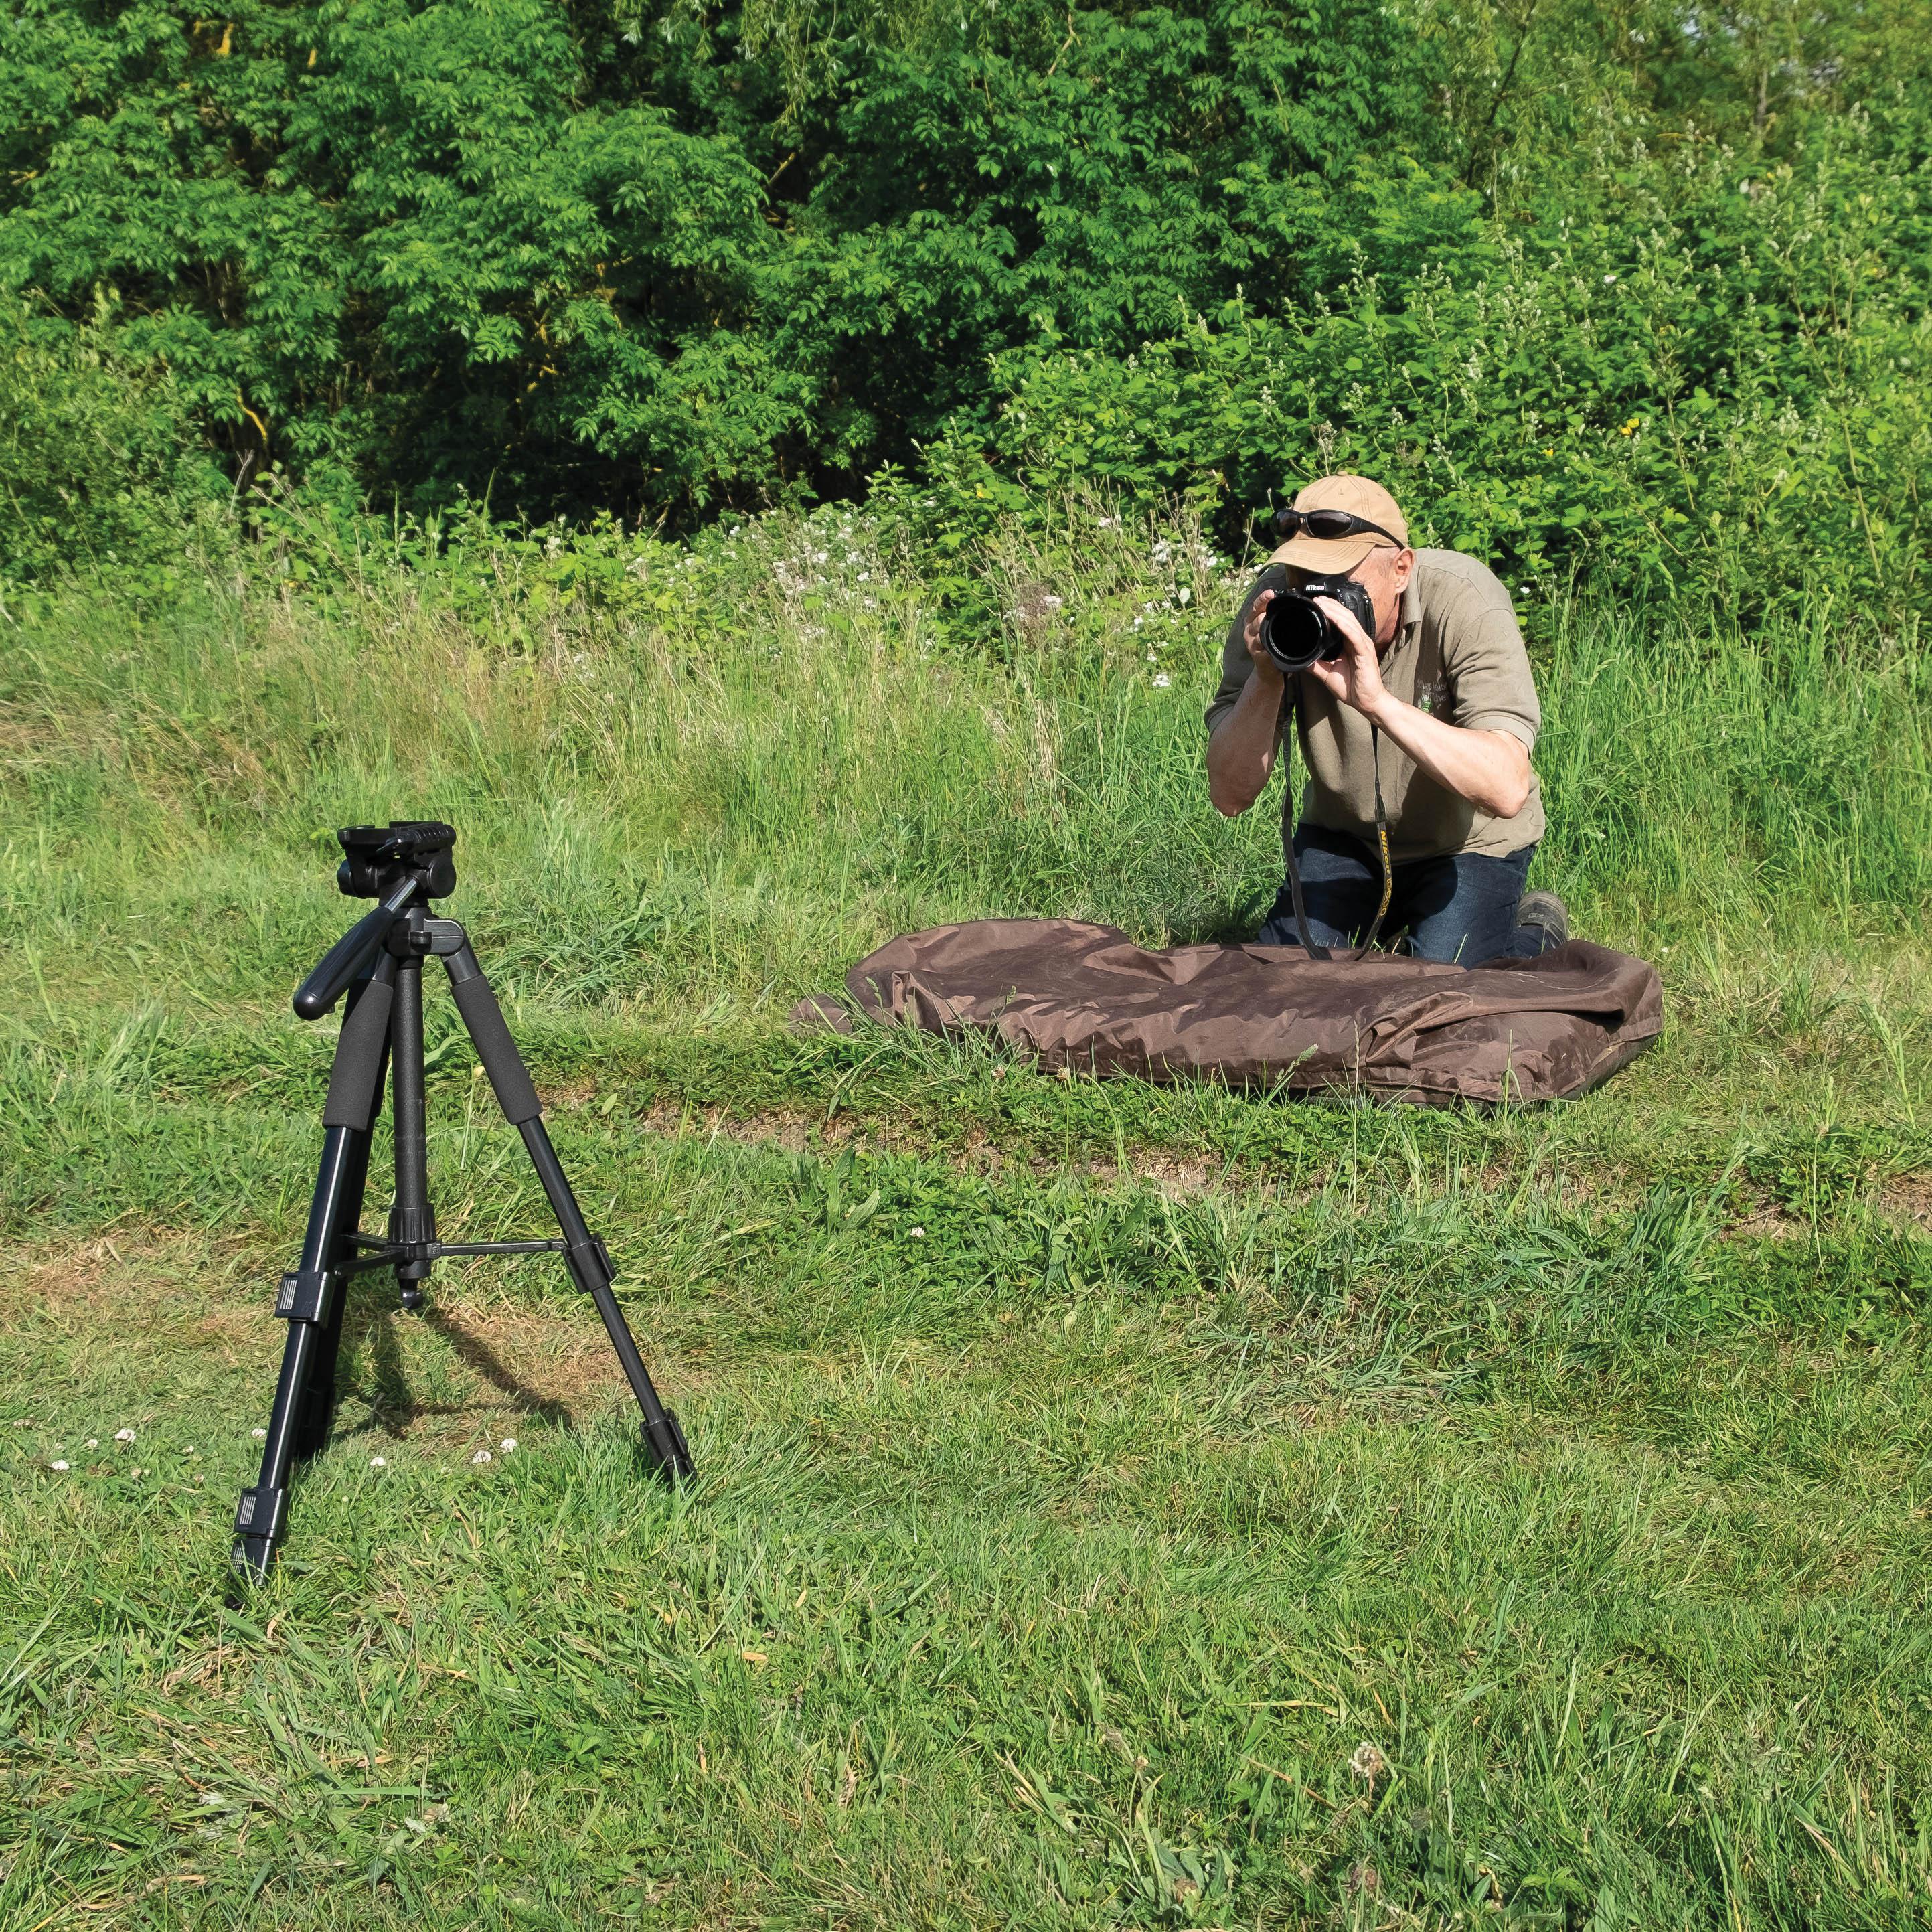
As with any capture photos, the first thing to do is choose a location with good lighting and a background that compliments you and the fish. Position your unhooking mat in the chosen location and set-up the camera on a tripod in front of it. The distance you need to be from your mat will depend on the focal length of the lens. Shooting with a 35mm or a 50mm prime lens on a full frame camera is my preference, although other photographers like an 85mm or 100mm focal length for portraits. Just remember the longer the focal length the further you must be from your mat to get fish and angler in the frame, which can be tricky in a tight swim.
APERTURE
Next set your aperture. I find a smallish aperture for self-takes is best, as this gives you a greater field of focus and therefore a bigger margin for error on the focusing. That is, you are more likely to get both yourself and the fish in focus if you go for an aperture somewhere between f/4 and f/8.
SHUTTER SPEED AND ISO
After you have chosen the aperture, set your shutter speed. Start with 1/100 of a second with ISO 100. Look through your viewfinder and check your exposure using the light meter, which is usually present at the bottom of your viewfinder. If your light meter is telling you the image is overexposed, increase your shutter speed. If it is underexposed, crank up the ISO. I have a rule of thumb that if I can’t get good exposure with ISO 800, then I reduce the shutter speed on self-takes to as slow as 1/60 sec (as the camera is on a tripod). I will also consider increasing the aperture size to let more light into the camera, but at f/4 and below remember to hold the fish close to your body. If I still can’t get good exposure, it’s time to get the lights out.
So far so familiar. Now the bits that seem to confuse a lot of anglers while doing self-takes: focusing and timed or remote shutter release.
FOCUSING
There are different techniques for focusing a self-take…
Using your continuous focusing mode (AI Servo/AF-A)
Select the centre of the screen and the camera should focus on the fish when you lift it. This can be a bit hit and miss on some cameras, and more modern cameras may hunt for human faces/eyes, taking focus off the fish.
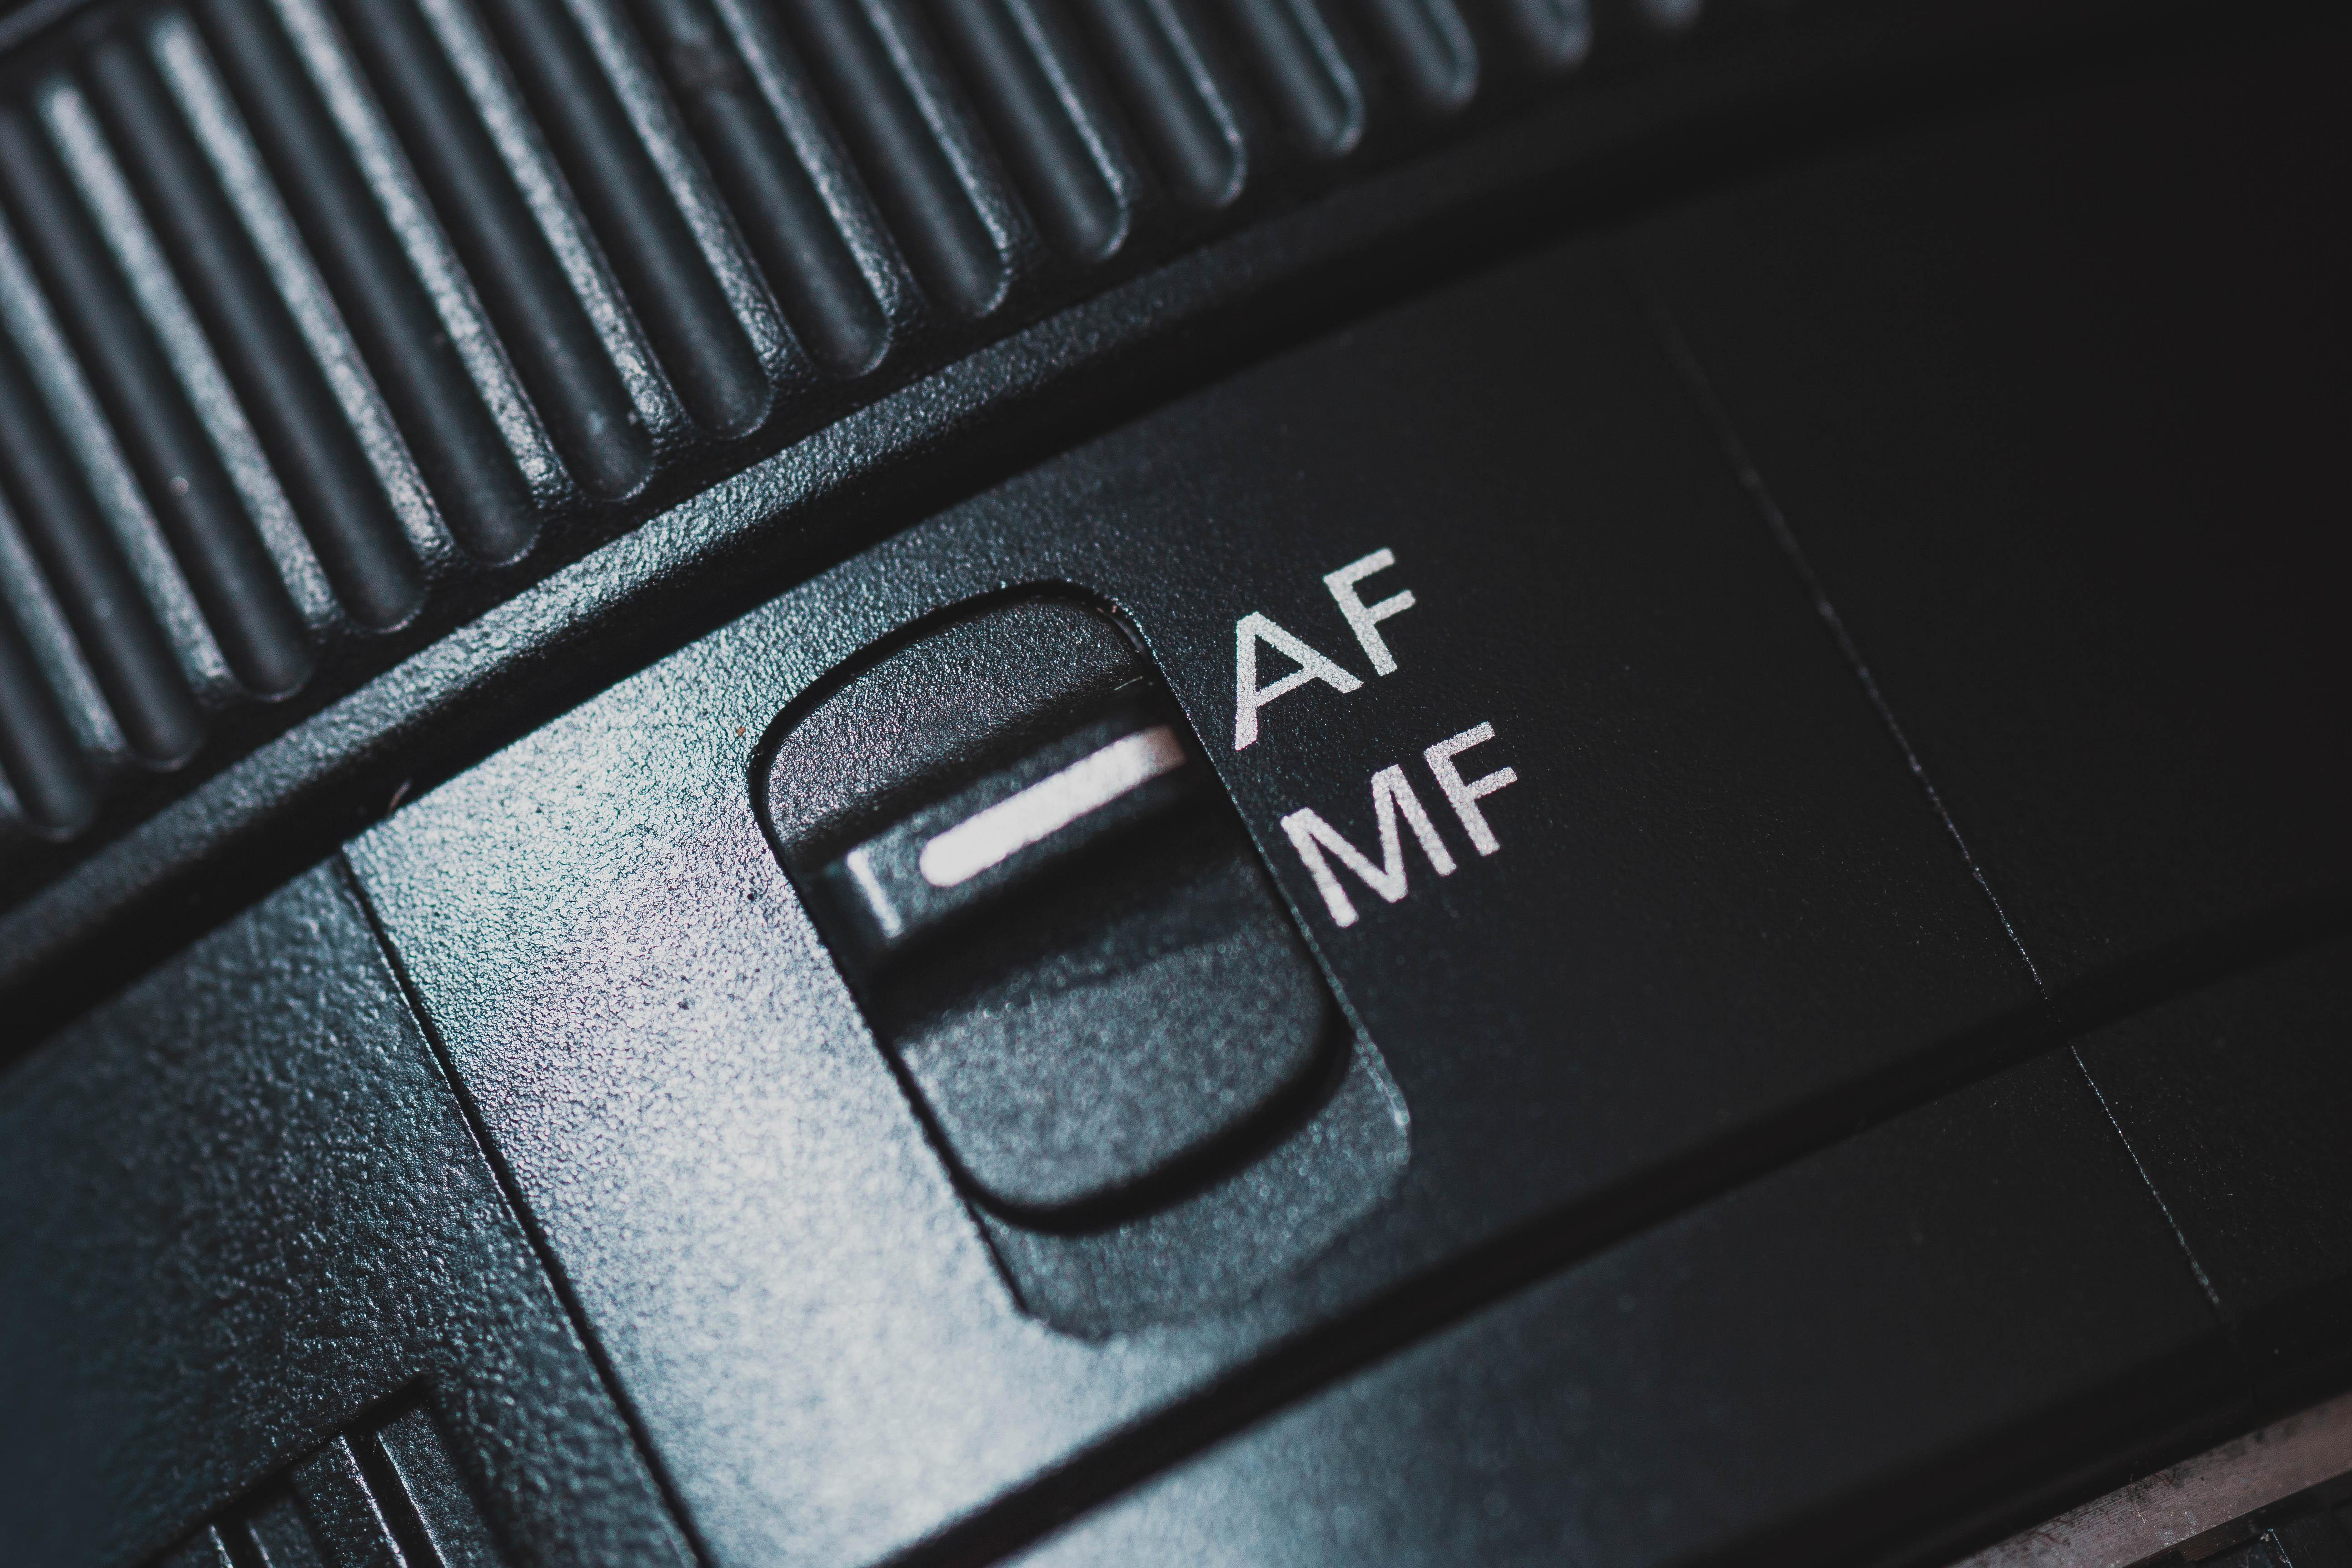
Using manual focus (MF)
This may seem a bit old school, but it’s a reliable way to nail the focus (so long as you don’t move your mat and remember to hold the fish in the same spot your camera is focused on). Here’s how you do it:
λ Put your camera in manual focus mode (usually a switch on the side of your lens).
λ Take your camera off the tripod, crouch where you will hold the fish behind mat, and focus back onto the top of the tripod (using the manual focus ring on the lens).
λ Then replace the camera on the tripod.
Using Single Focus
You can also put your camera in Single Focus mode and repeat the process outlined above. In this mode the camera will not ‘hunt’ for the subject but remain focused on you/the fish.
Using a remote shutter button in your hand
On most camera systems you can also use it to focus. It can be quite fiddly to master using the remote while holding a carp, but with practise and getting to know your camera it is a solid approach.
SHUTTER RELEASE
Next you need to decide how to trigger the shots, and again, there are different methods you can use:
As mentioned above, a remote shutter button is one approach, but many cameras now have a built-in interval timer function which allows you to take multiple shots. How you set this up varies from model to model but is usually quite easy to master. Check YouTube for guidance on how to set it up on your camera. You can set a delay for a number of seconds between pressing the shutter button and the camera taking the photos. This gives you time to go back behind the mat and pick up the fish. You should have an option to select the number of shots it will take. This number varies between camera models. And finally, you can choose the delay between shots. My preference is 2 seconds.
Another excellent method is to plug in an intervalometer, which enables you to follow the steps described above on a camera without a built-in interval timer. When using an intervalometer, you usually have to set the shooting/drive mode on your camera to the timer/remote control option. When you turn on the intervalometer it will then automatically trigger repeated exposures.
I am also getting good reports from other anglers about the Rhino Camera Release Pedal. It costs £25.99 and comes with a long cable (make sure you get the correct one for your camera) that you plug in to your camera. You operate it by kneeling on the pedal to focus and then keep kneeling on it to take a picture, repeating as many times as required. Worth a look and sounds simpler than programming an intervalometer.
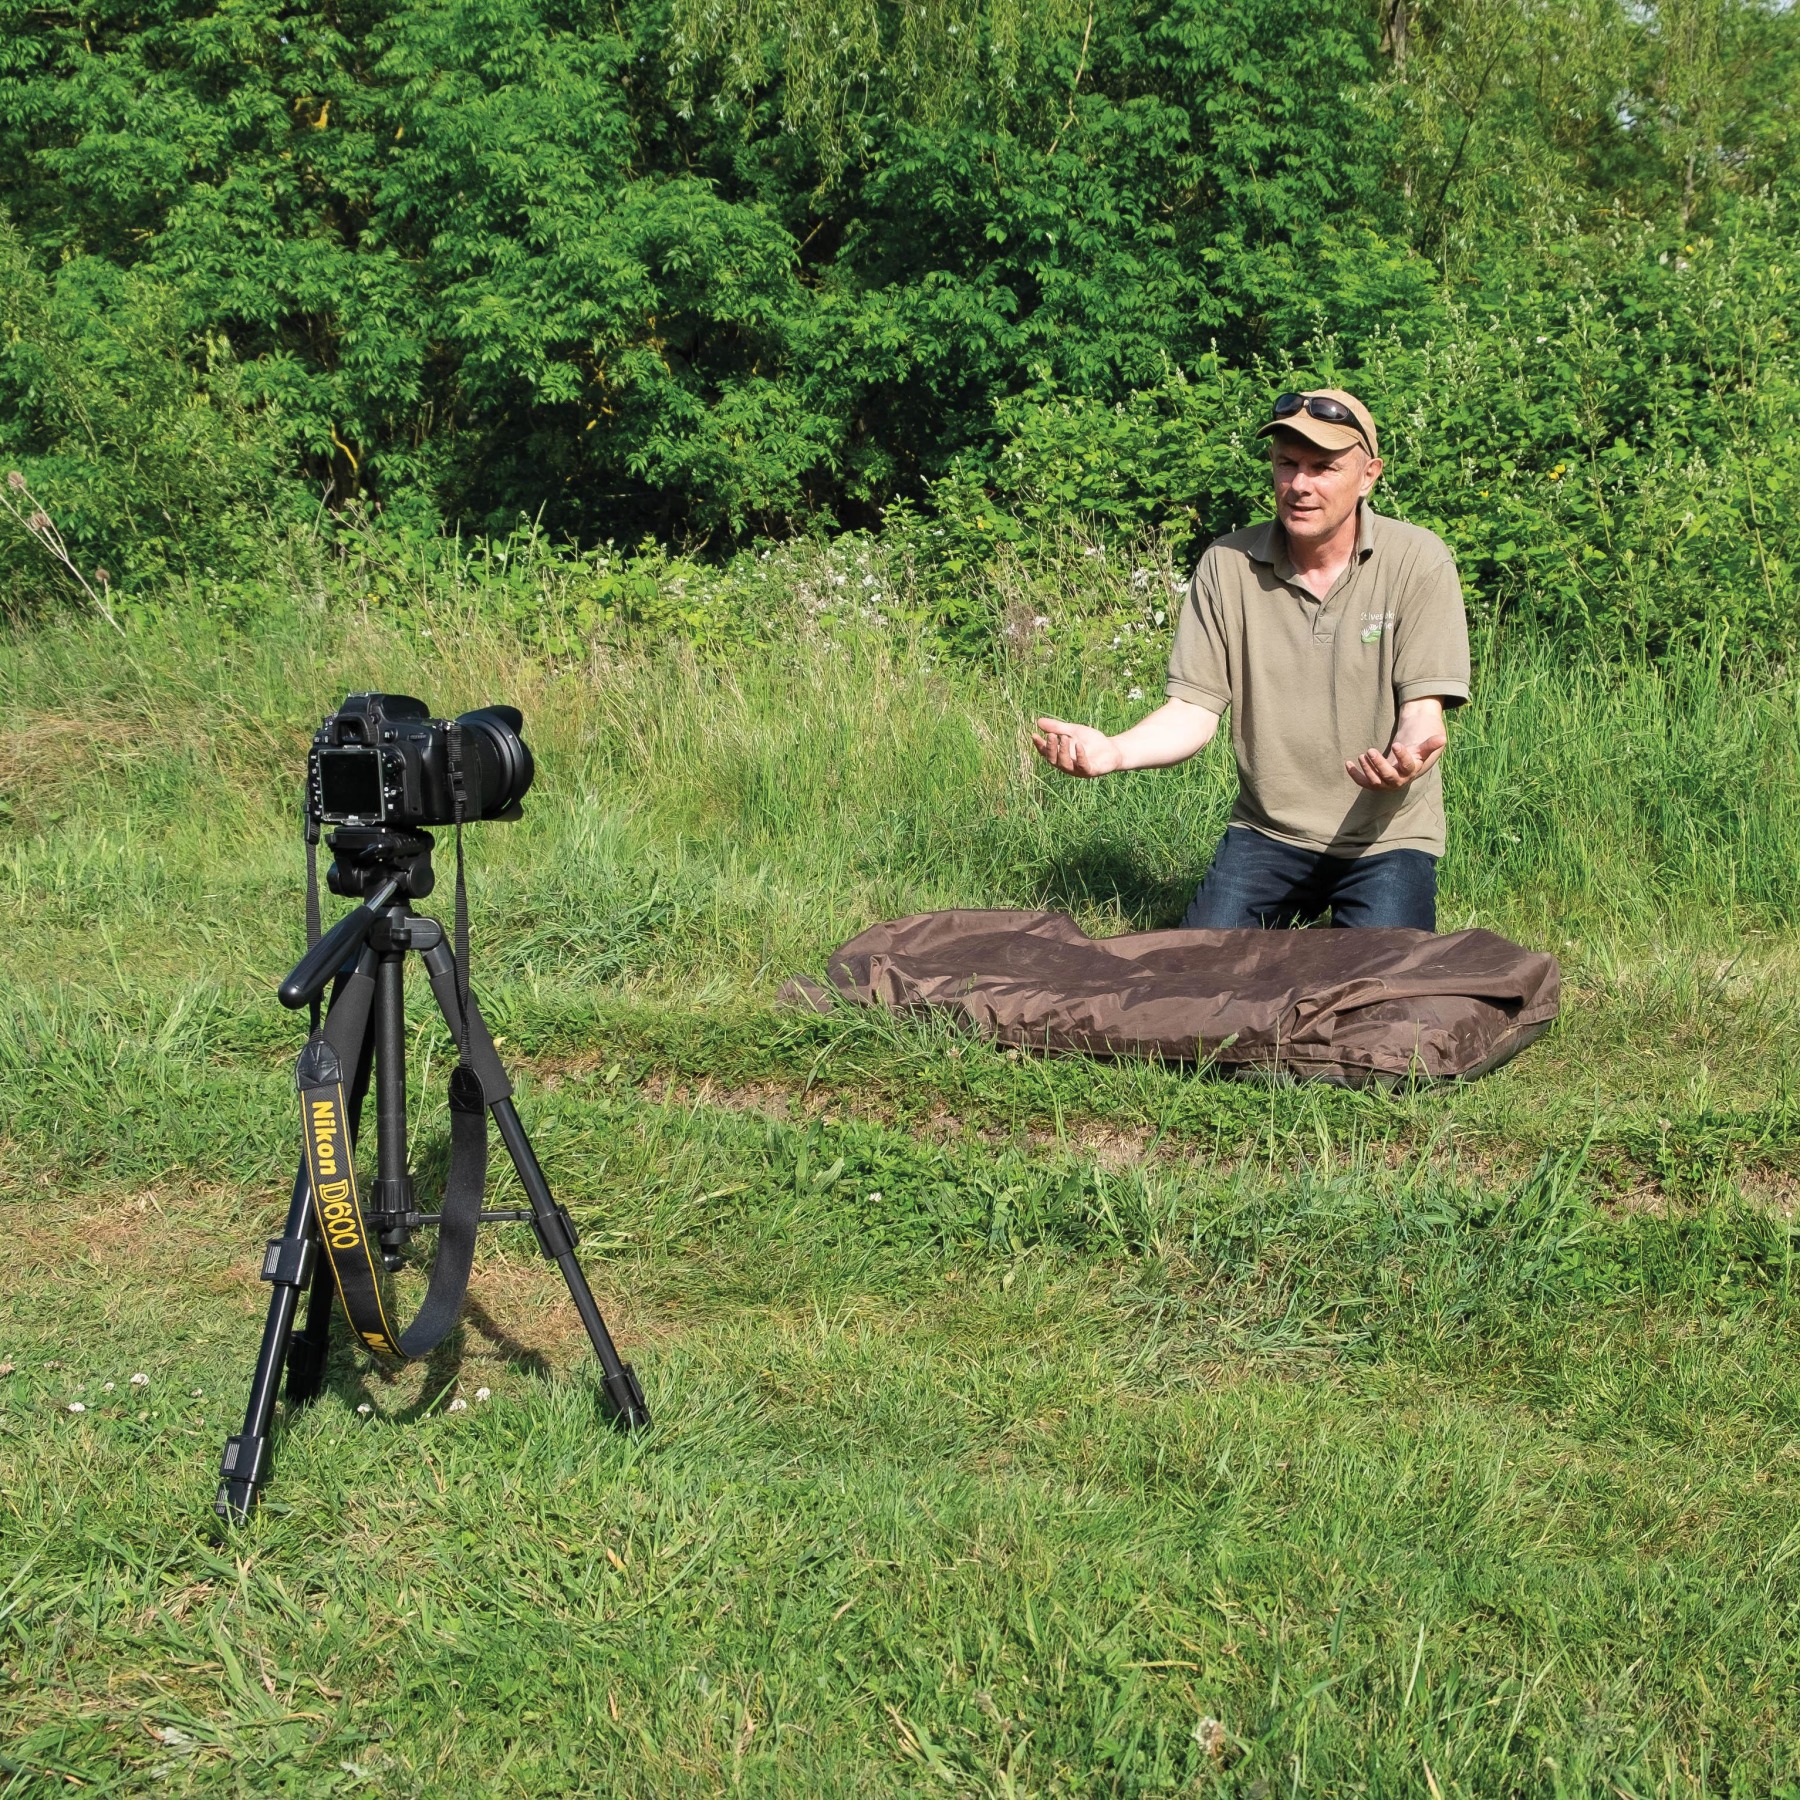
TAKE TEST SHOTS WITHOUT THE FISH
Once you have all the technical stuff sorted, it’s time to double check your composition by taking test shots with yourself crouching in the position you will hold the fish. At this stage you are looking to see if you and the fish will be in shot, that there aren’t any major distractions in the background, and that the final photos will be well exposed and focused. You may have to zoom your lens, or move the tripod if you are using a prime lens, to get the framing you want. Many people like a flip round screen for this part of the process, but I don’t find I need it. Once you are familiar with your lens, a couple of test shots and you are good to go with everything framed perfectly.
TOP TIPS FOR SELF-TAKES ARE:
λ Practice self-takes before you actually catch a fish.
λ Choose a small aperture (f/4+) to create a large depth of focus, making it easier to focus on yourself and the fish.
λ Use manual or single focus mode.
λ Take test shots to check your composition, exposure and focusing.
λ Check your photos before you return the fish.